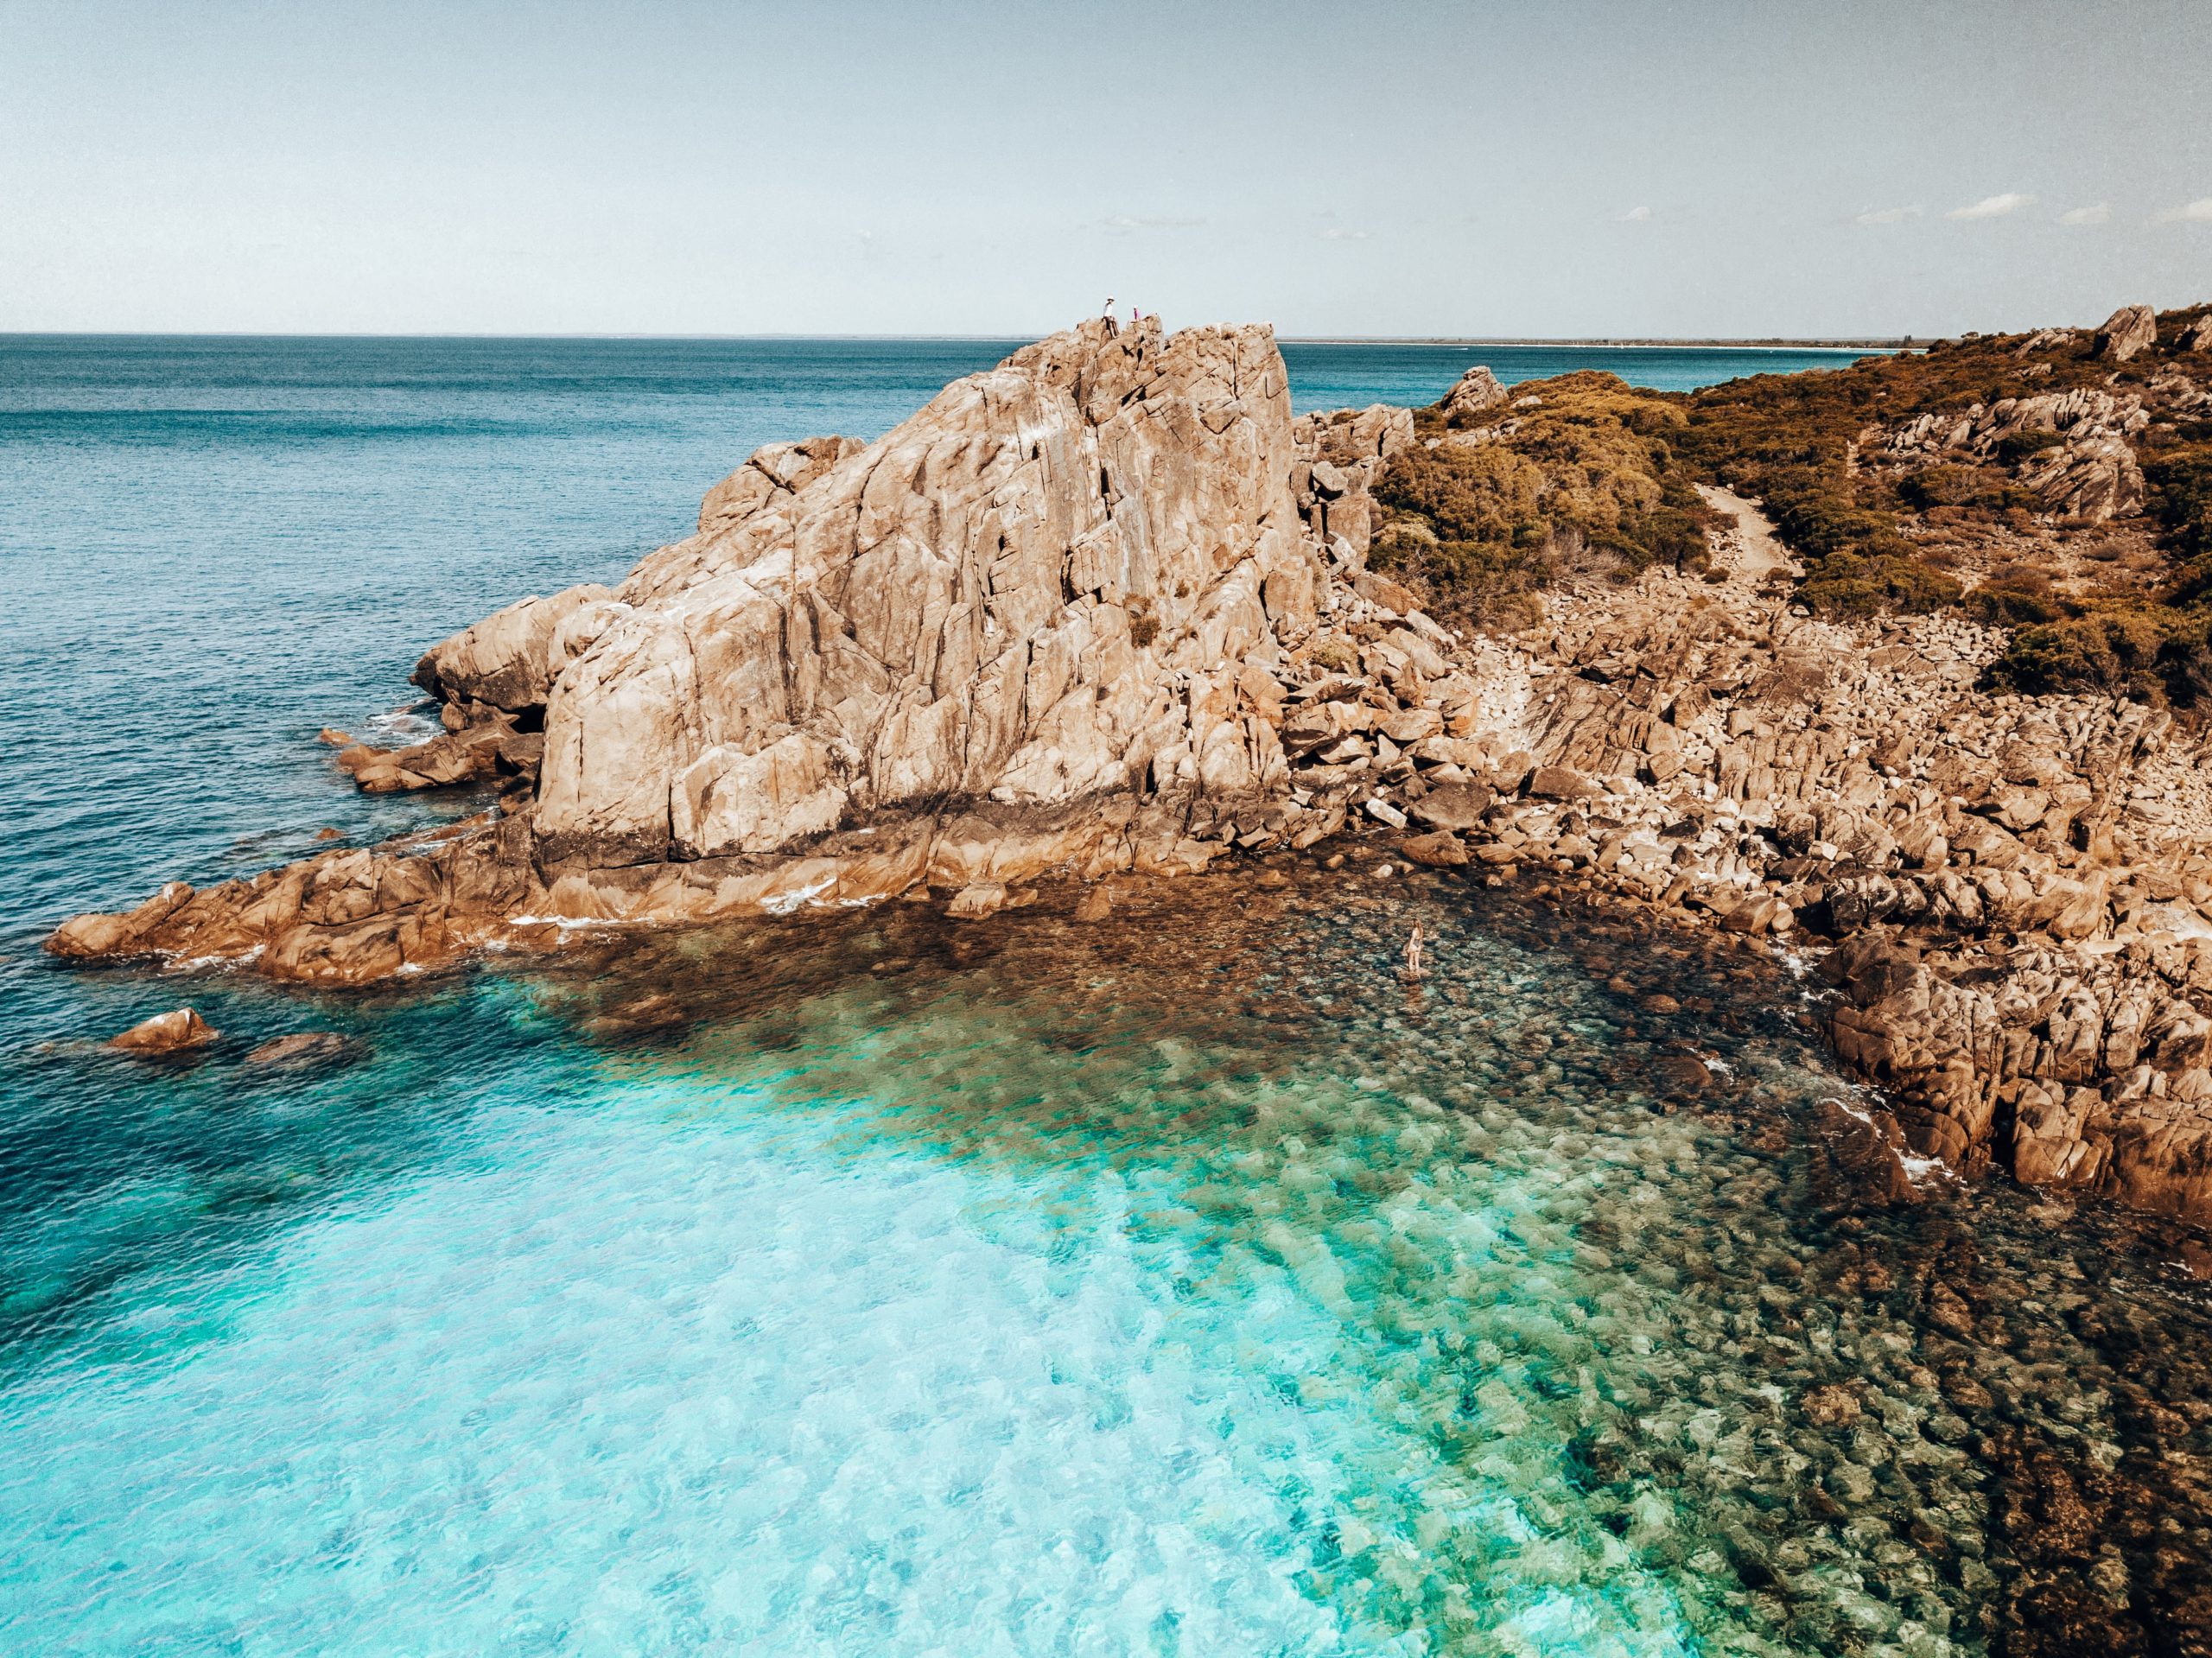
If you’re one of my followers on Instagram, you know how much I adore travel drone photography. Nothing beats the thrill of capturing stunning aerial views of some of the world’s most amazing destinations.
Why settle for just ground-level shots when you can take things up a notch and get a bird’s eye view with a drone? Plus, if you’re traveling solo, drones make it super easy to capture incredible photos and videos.
But let’s face it, with so many drone options and accessories out there, it can be daunting to figure out where to start. That’s why I’m here to help with my beginner’s guide to travel drone photography!
The Best Drone Gear for Travel
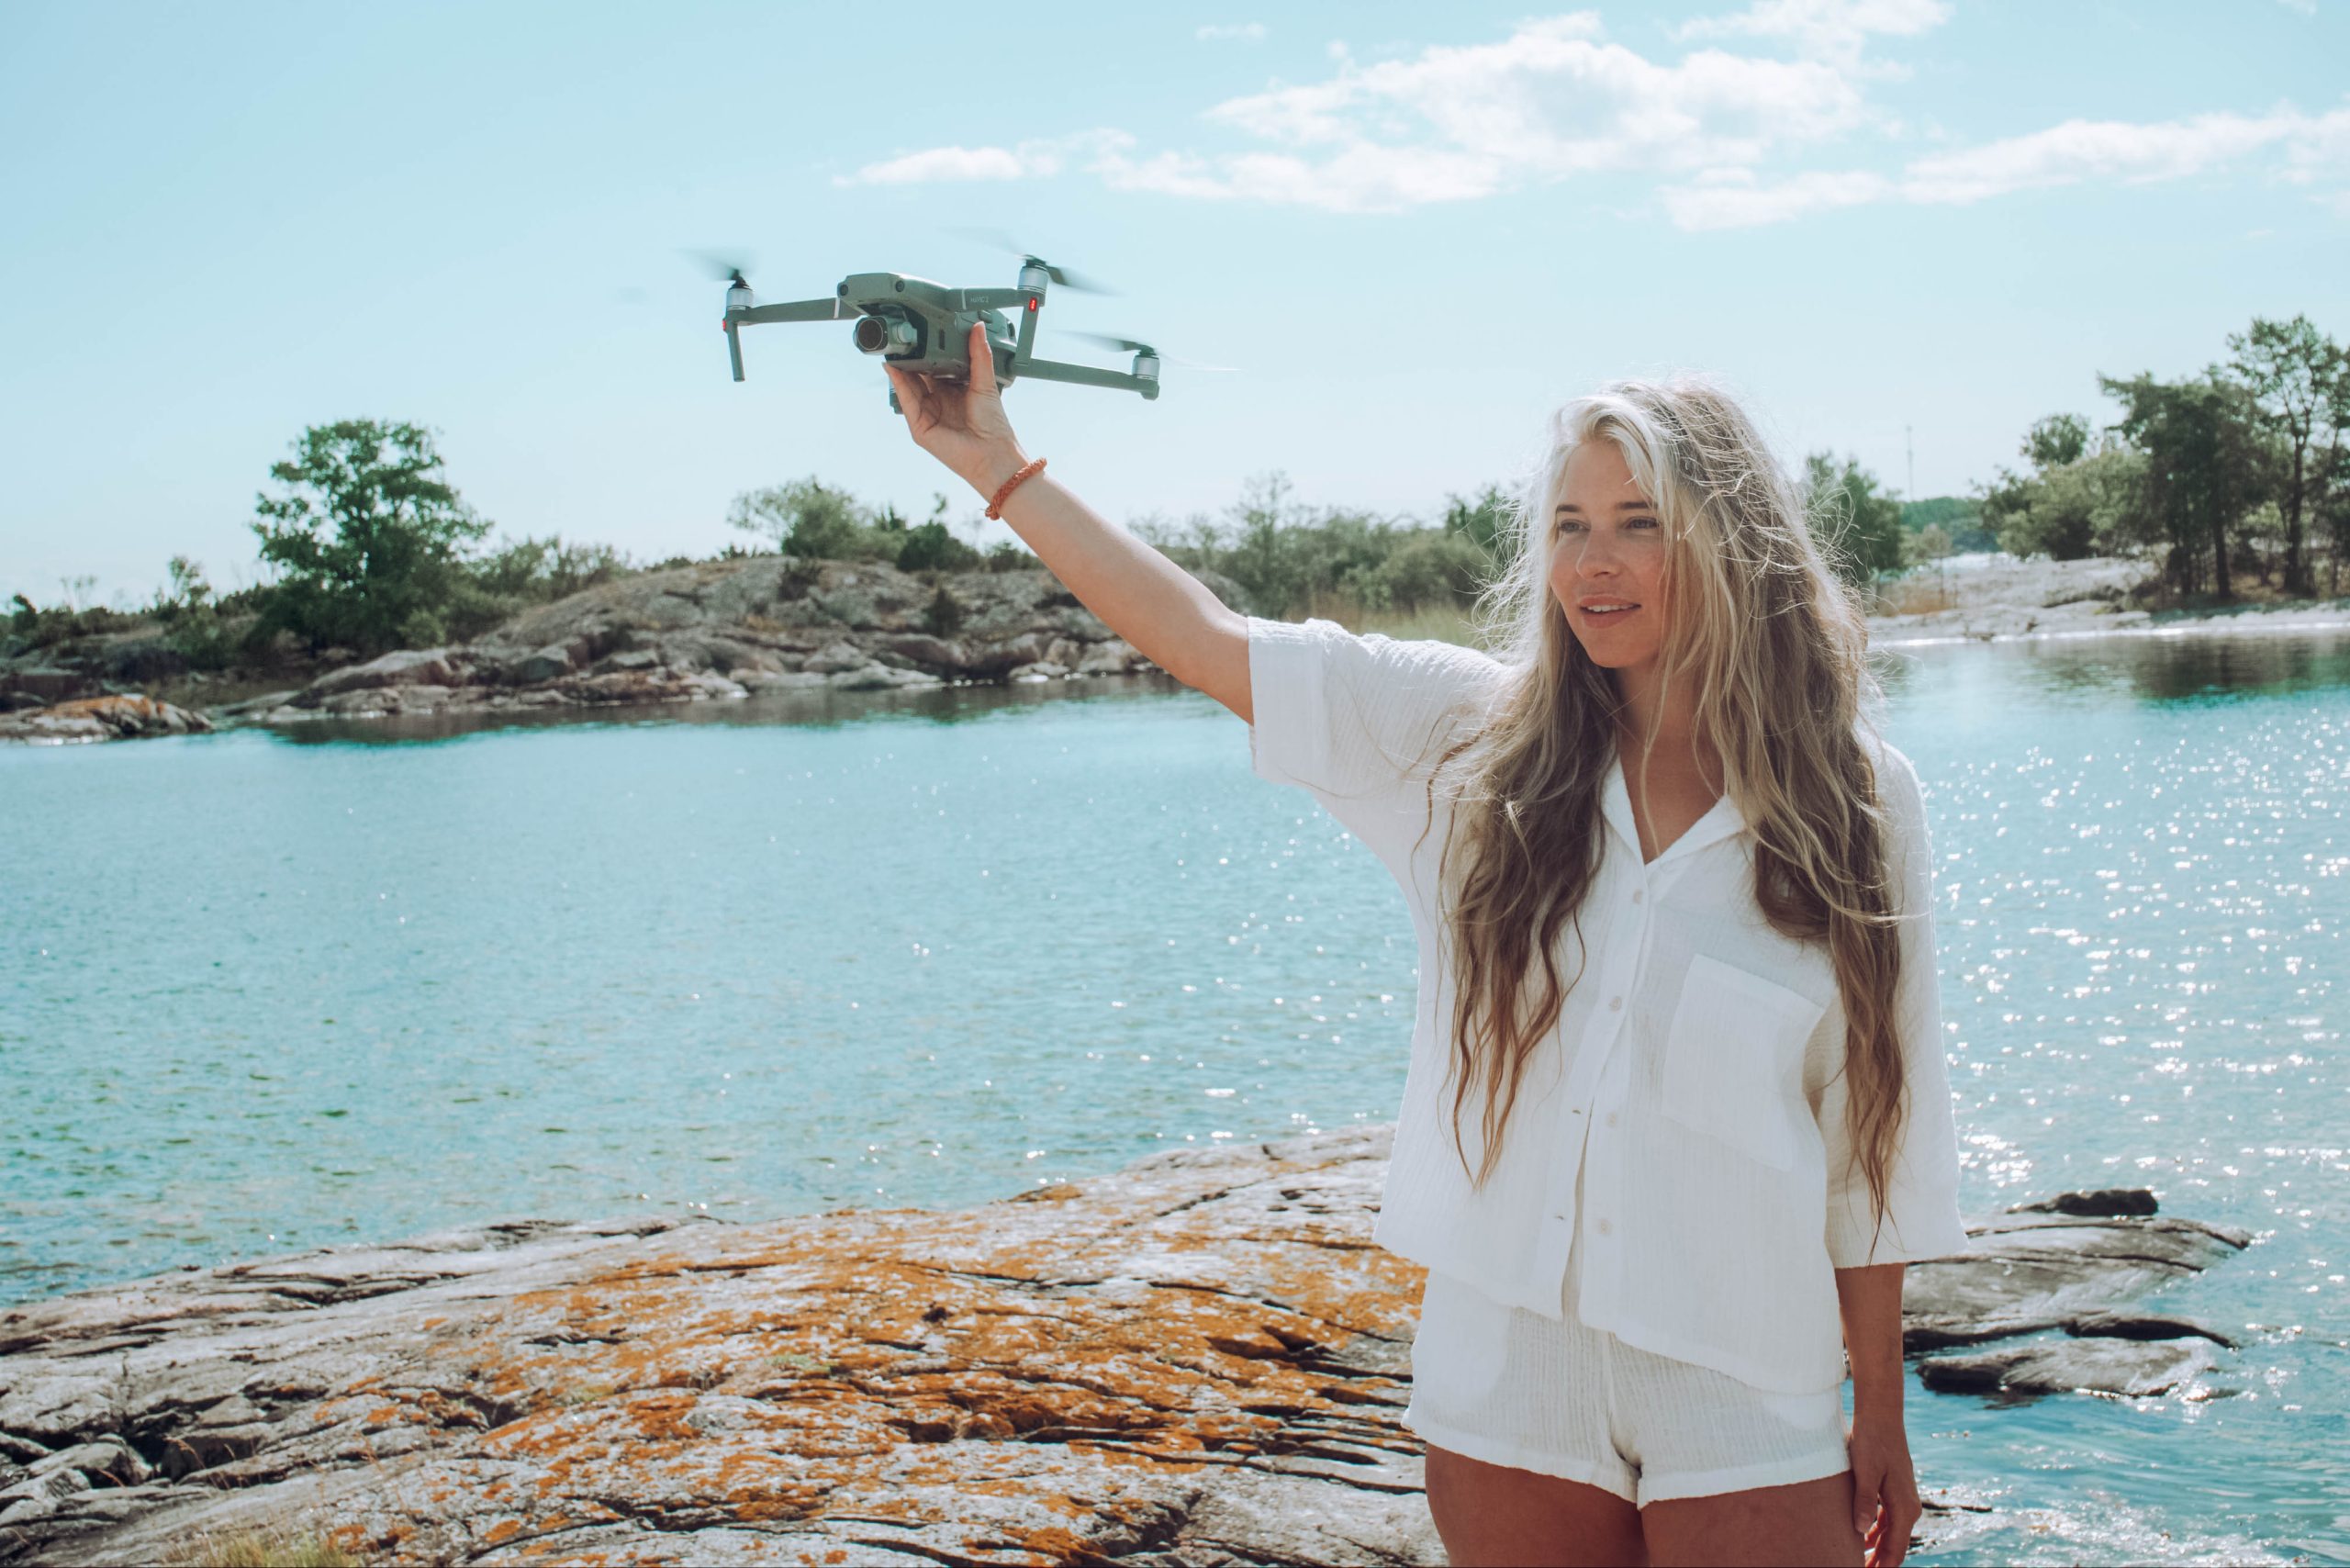
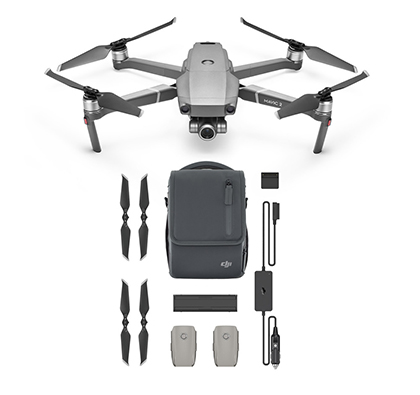
As you may have gathered, I’m obsessed with using my DJI Mavic Pro Drone and polarizing filters for my travel photography. Not only is this drone compact and easy to carry around, but it also produces high-quality shots and videos that will take your breath away.
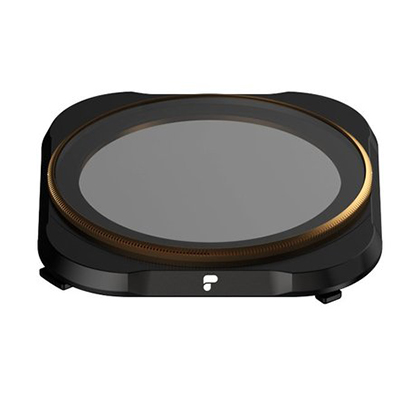
But hey, with all that sunlight shining down, sometimes you need a little help to reduce the glare. That’s where polarizing filters come in handy! They’re an absolute must-have for any drone photographer looking to capture those crystal-clear images.
Be Aware of Local Drone Laws
Before you pack your bags and head out on your next adventure with your drone, it’s crucial to know the rules and regulations. A great way to get started is by checking out the DroneMate app, which is available for both Android and iPhone. It’ll help you discover drone-friendly countries, and more importantly, those that are not so friendly.
Trust me, it’s not worth the risk to be caught off guard. Some countries might confiscate or detain your drone, such as for example Egypt. So, be prepared and do your research beforehand!
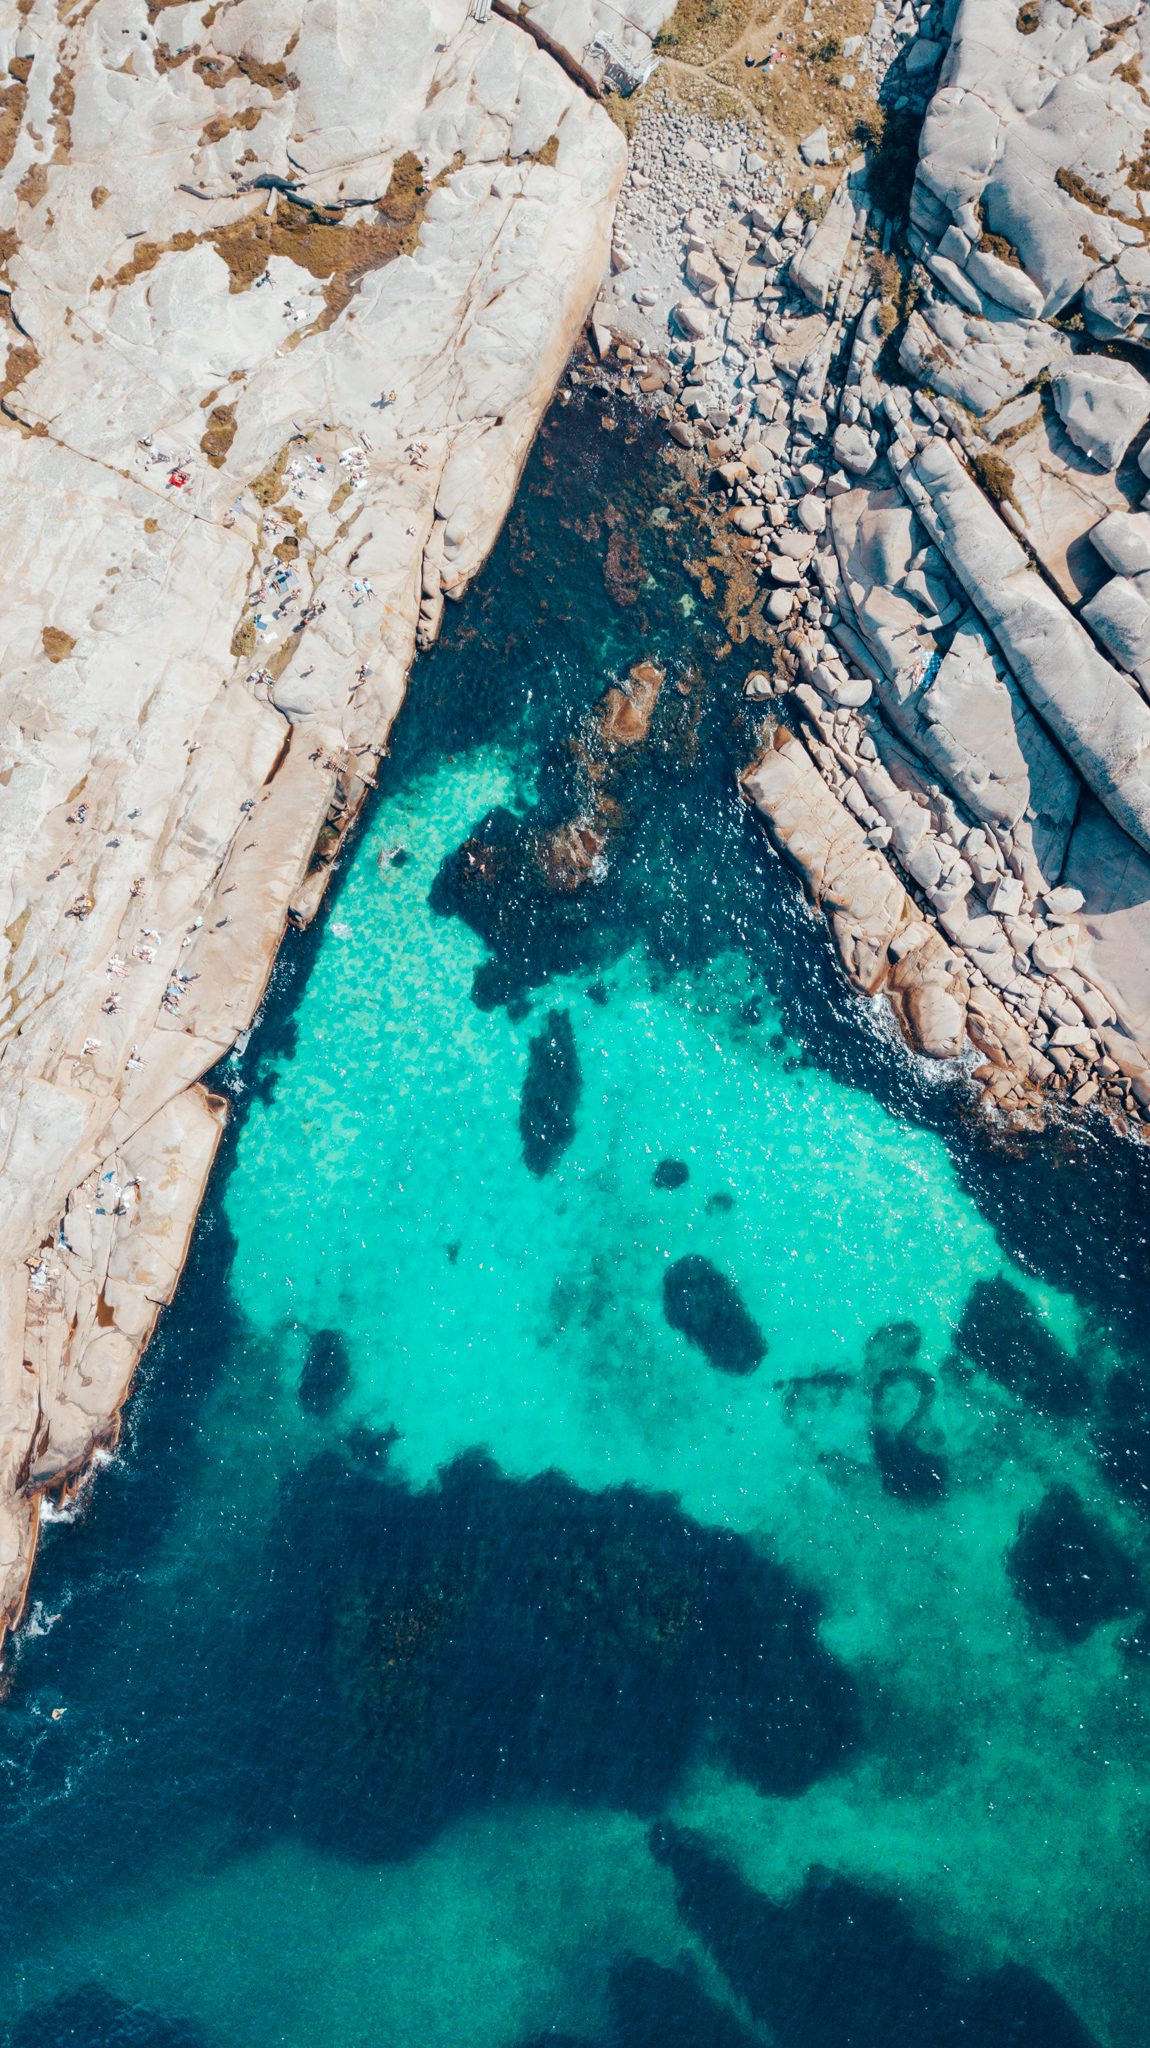
Kullö, Sweden
Apps for Flying Drones
Let me share some awesome apps that I use to help me capture breathtaking aerial shots. One app that I recommend is Drone Buddy. It’s available in 20 countries, including the US and Europe, and is great for checking no-fly zones and weather conditions. If you’re heading to a remote area, you can always Google the UAV forecast for your destination. But, if you own a DJI Mavic Pro drone, the free DJI Go app is a must-have. It offers intelligent flight modes, live HD view, and flight data tracking and logging.
Oh, and here’s a helpful tip for you all: knowing wind speed, the chance of rain, cloud coverage, and visibility will help you get stunning drone photography.
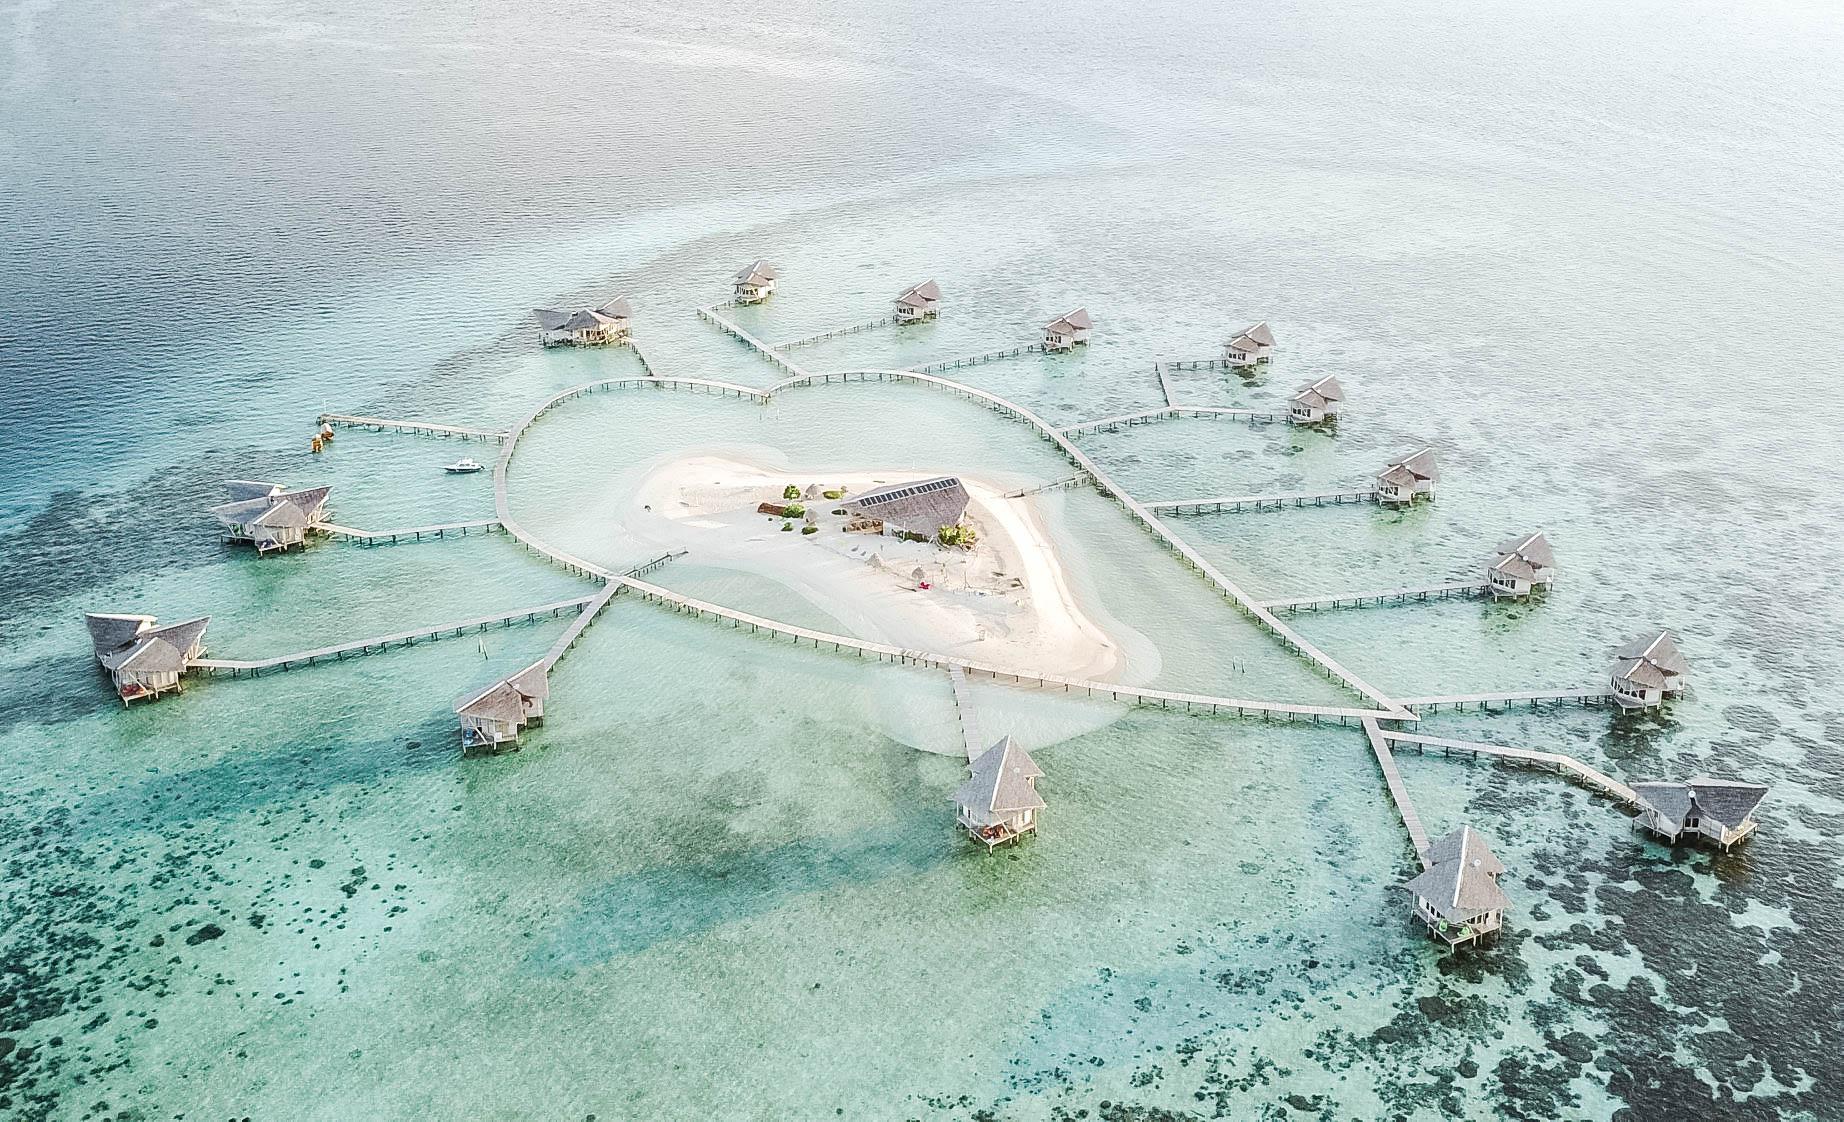
Plan for the Best Drone Photography Light
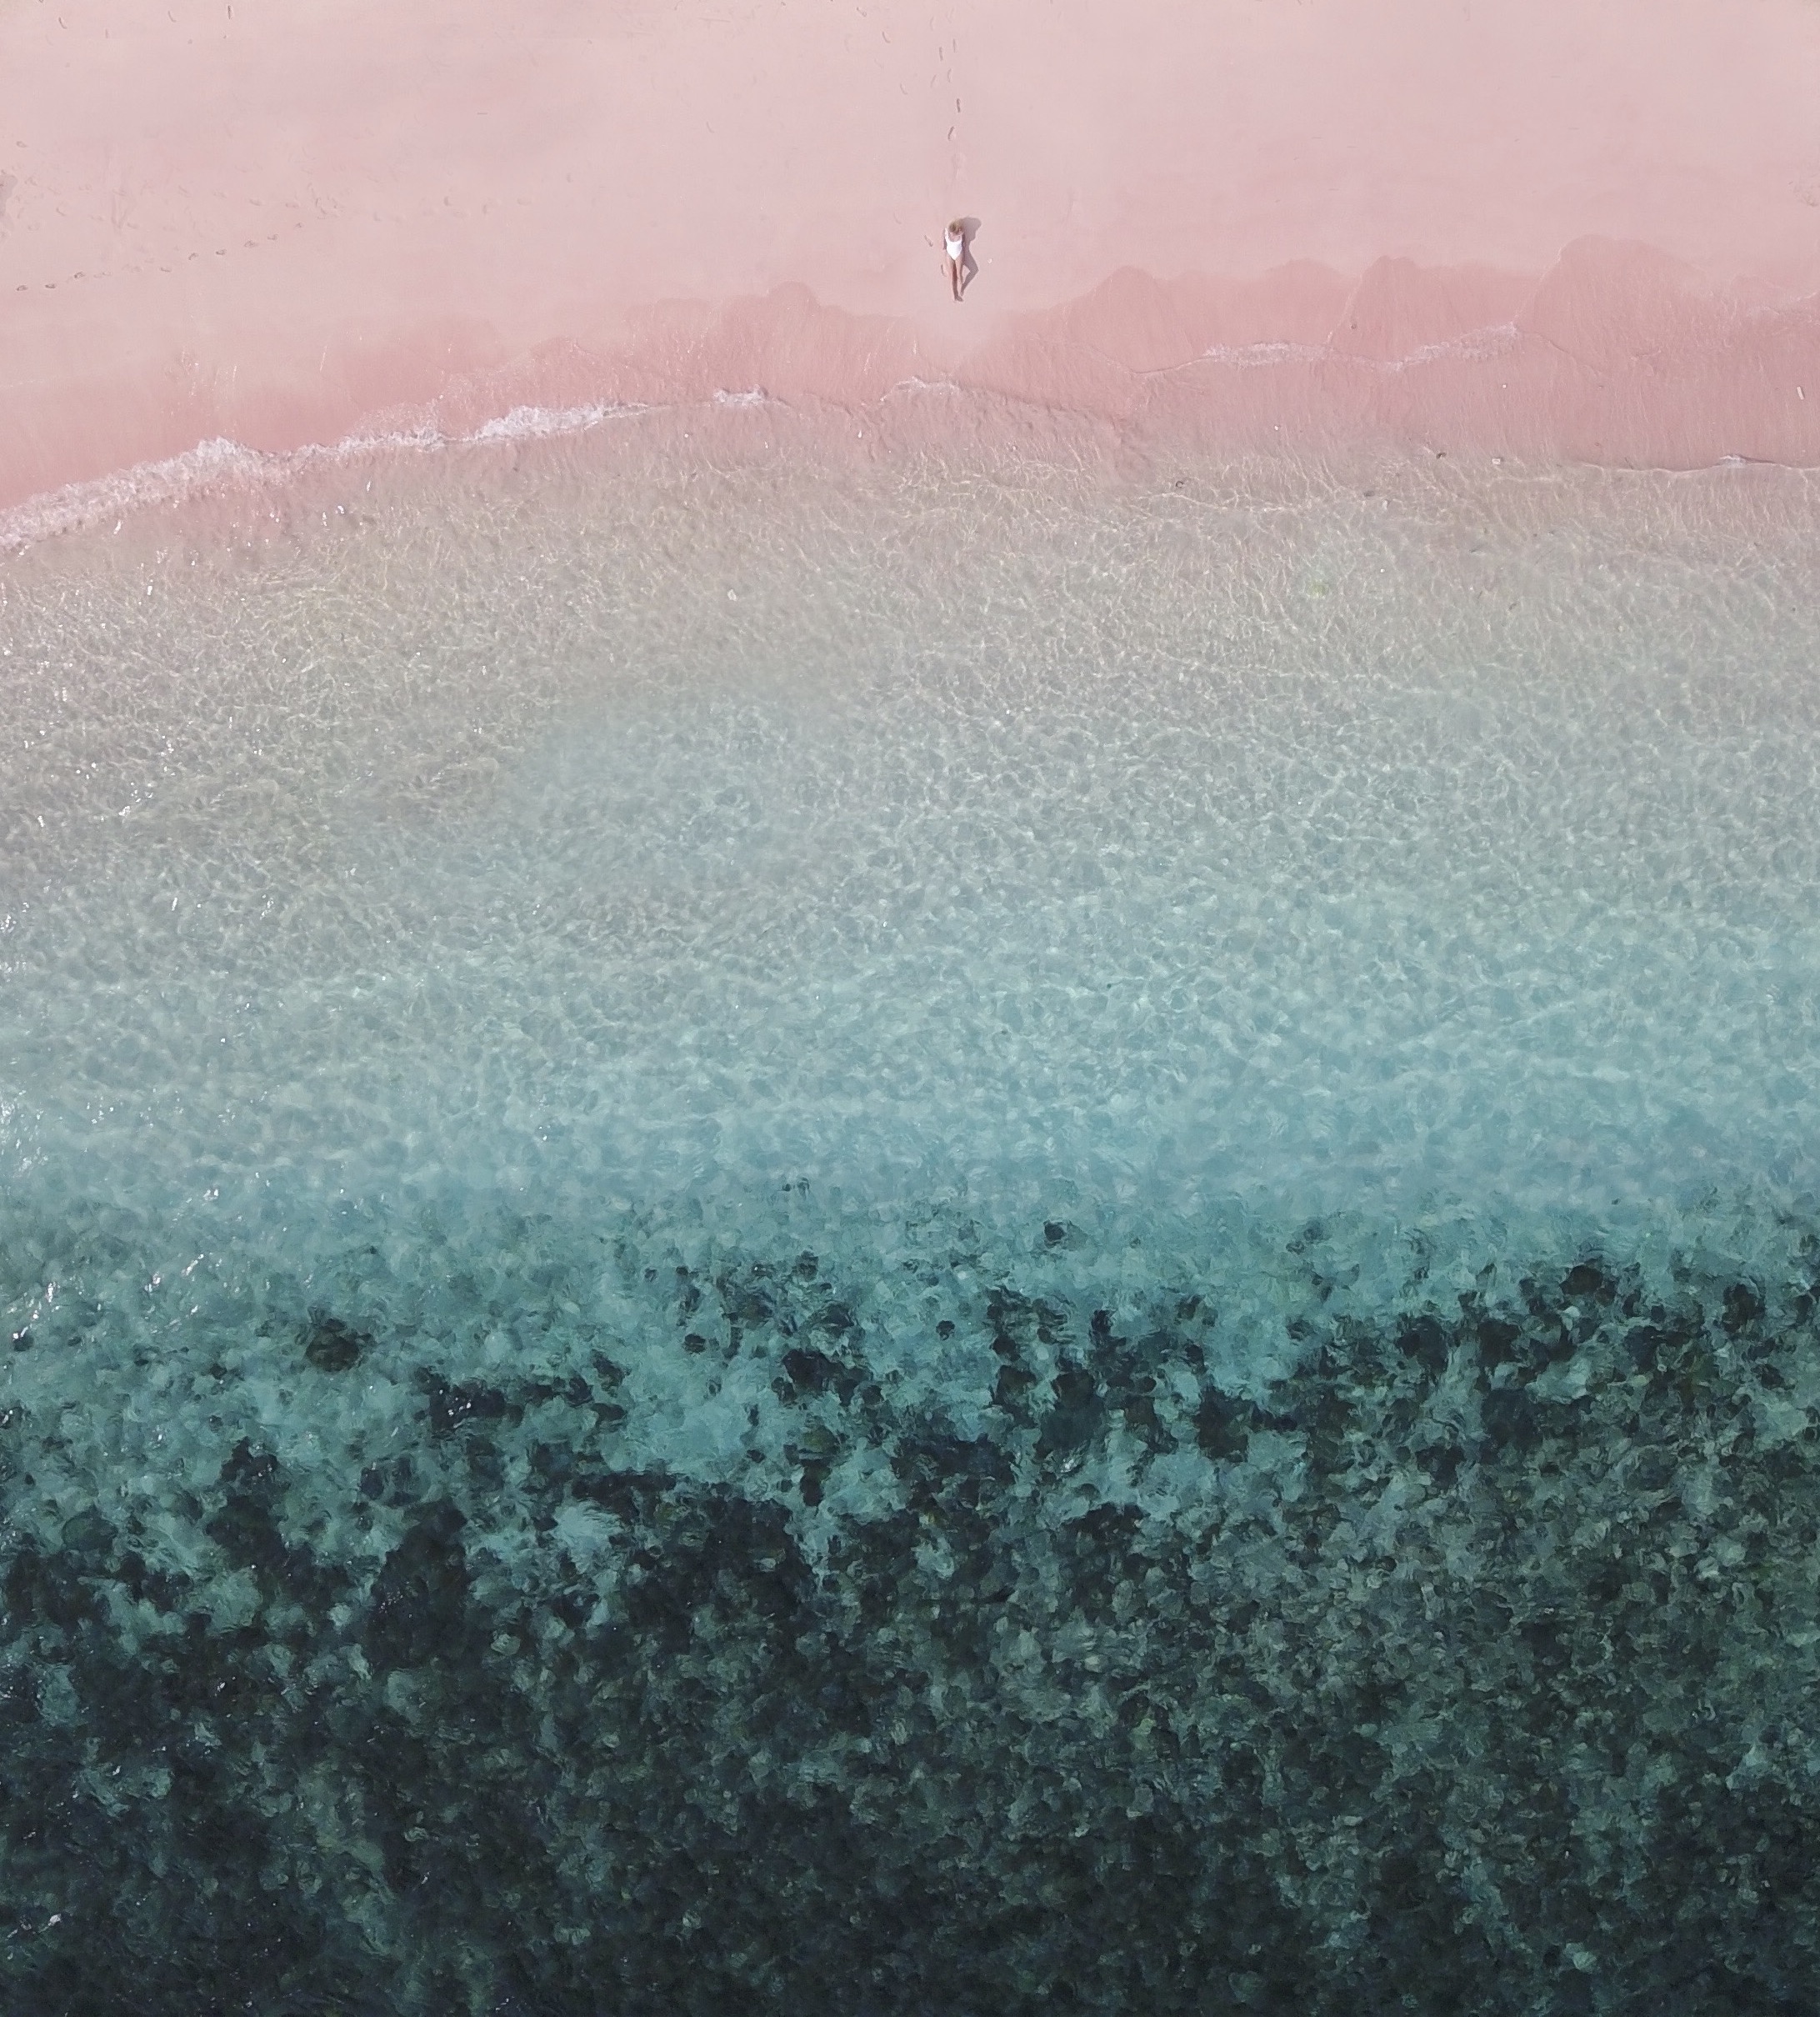
If you’re new to drone photography, don’t get overwhelmed by the learning curve. It takes time and practice to perfect your aerial shots. One thing to keep in mind is that not all sunny days are ideal for drone photography. In fact, too much sunlight can lead to overexposed images, especially when shooting at the beach or on snow. This is when polarizers might come in handy. When planning your drone photography outing, check the daylight hours of your location to anticipate shadows or high sunlight.
And if you’re shooting in RAW format, you can easily edit your images later by lifting shadows and reducing highlights.
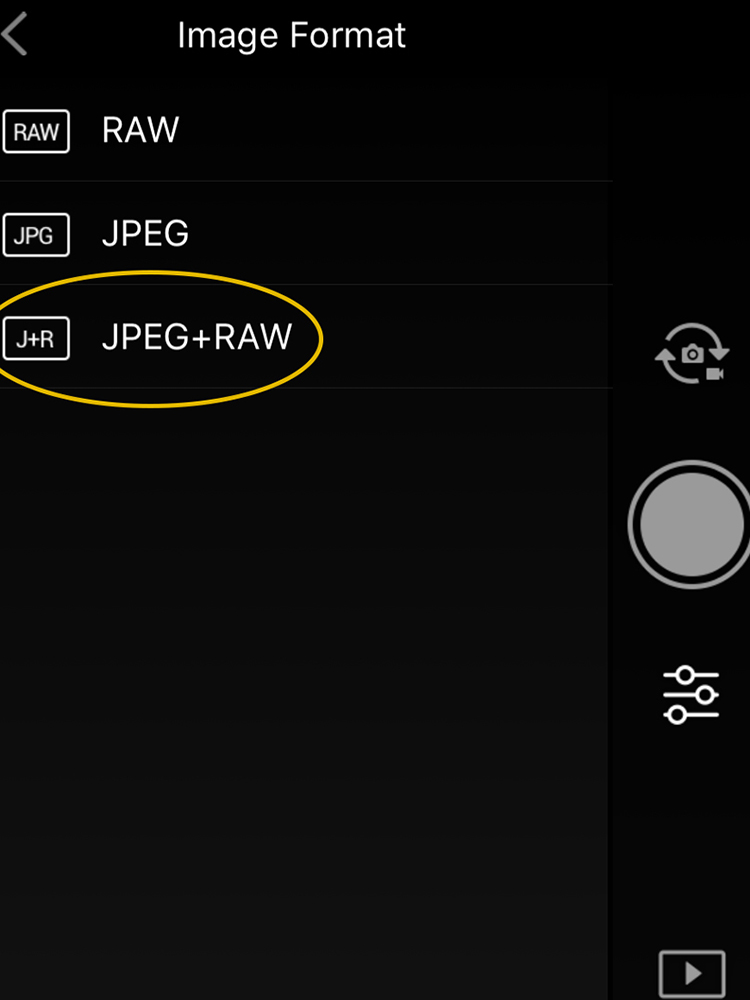
Drone Shooting in RAW Format
If you’re looking to step up your drone photography game, shooting in RAW format is a game-changer. It’ll give you much higher quality images and make editing a breeze. However, keep in mind that RAW format images are typically not “readable” by your phone, so you won’t be able to transfer them directly from the DJI app. To get the best of both worlds, select “JPEG + RAW” in your drone camera write settings. This will take up more space on your SD card, but the high-res results are worth it. And if you’re worried about running out of memory, make sure to bring a backup SD card!
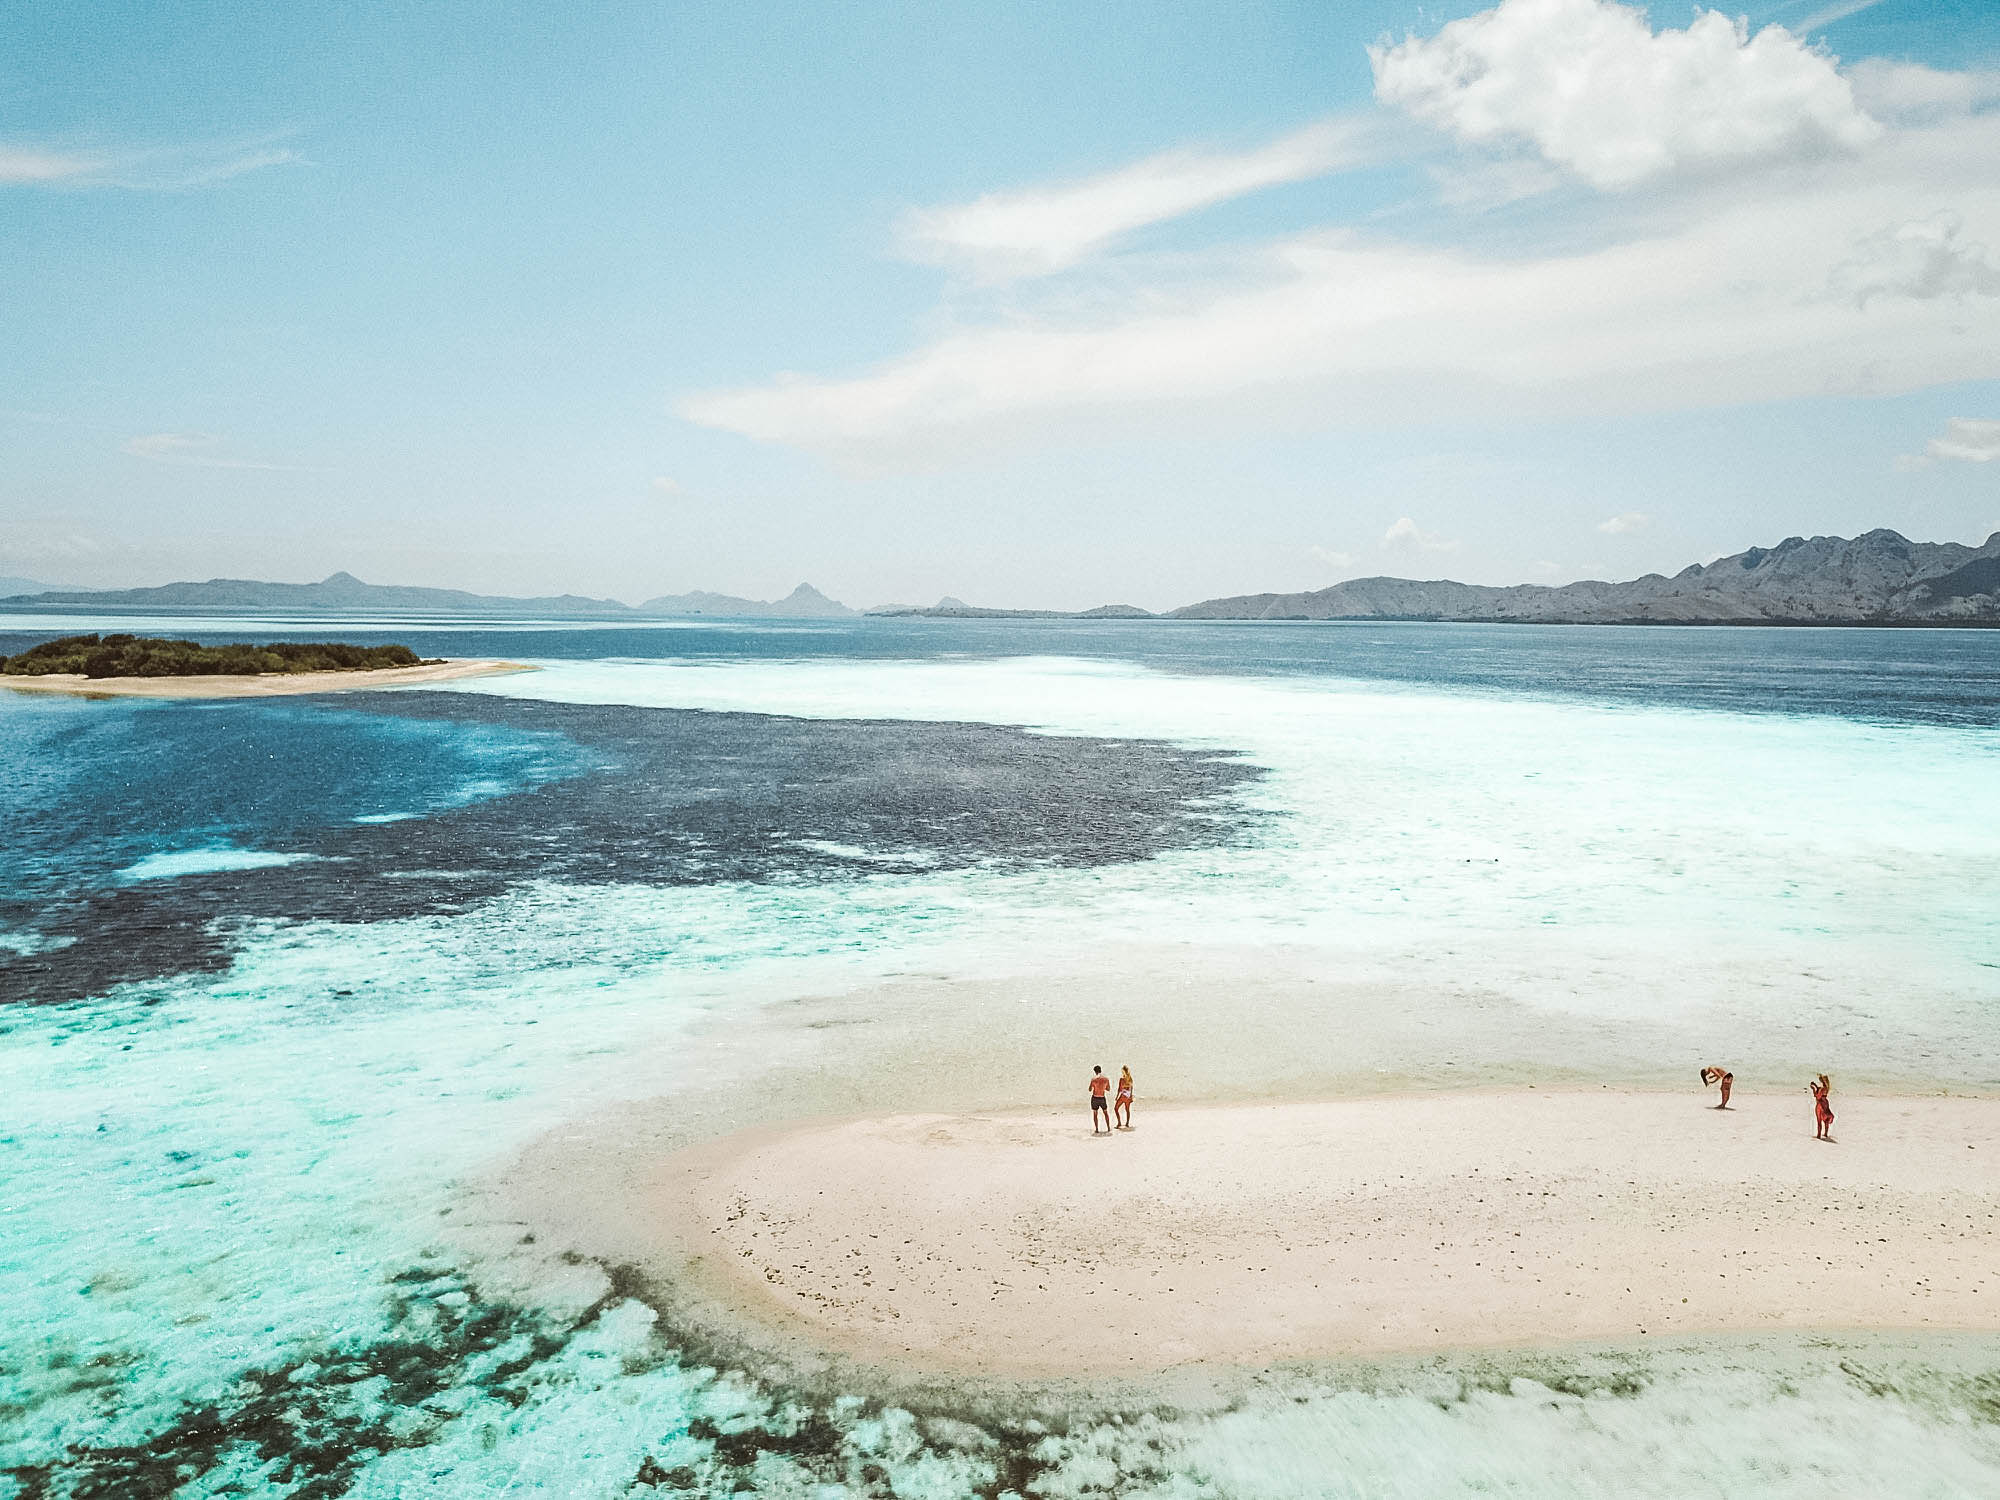
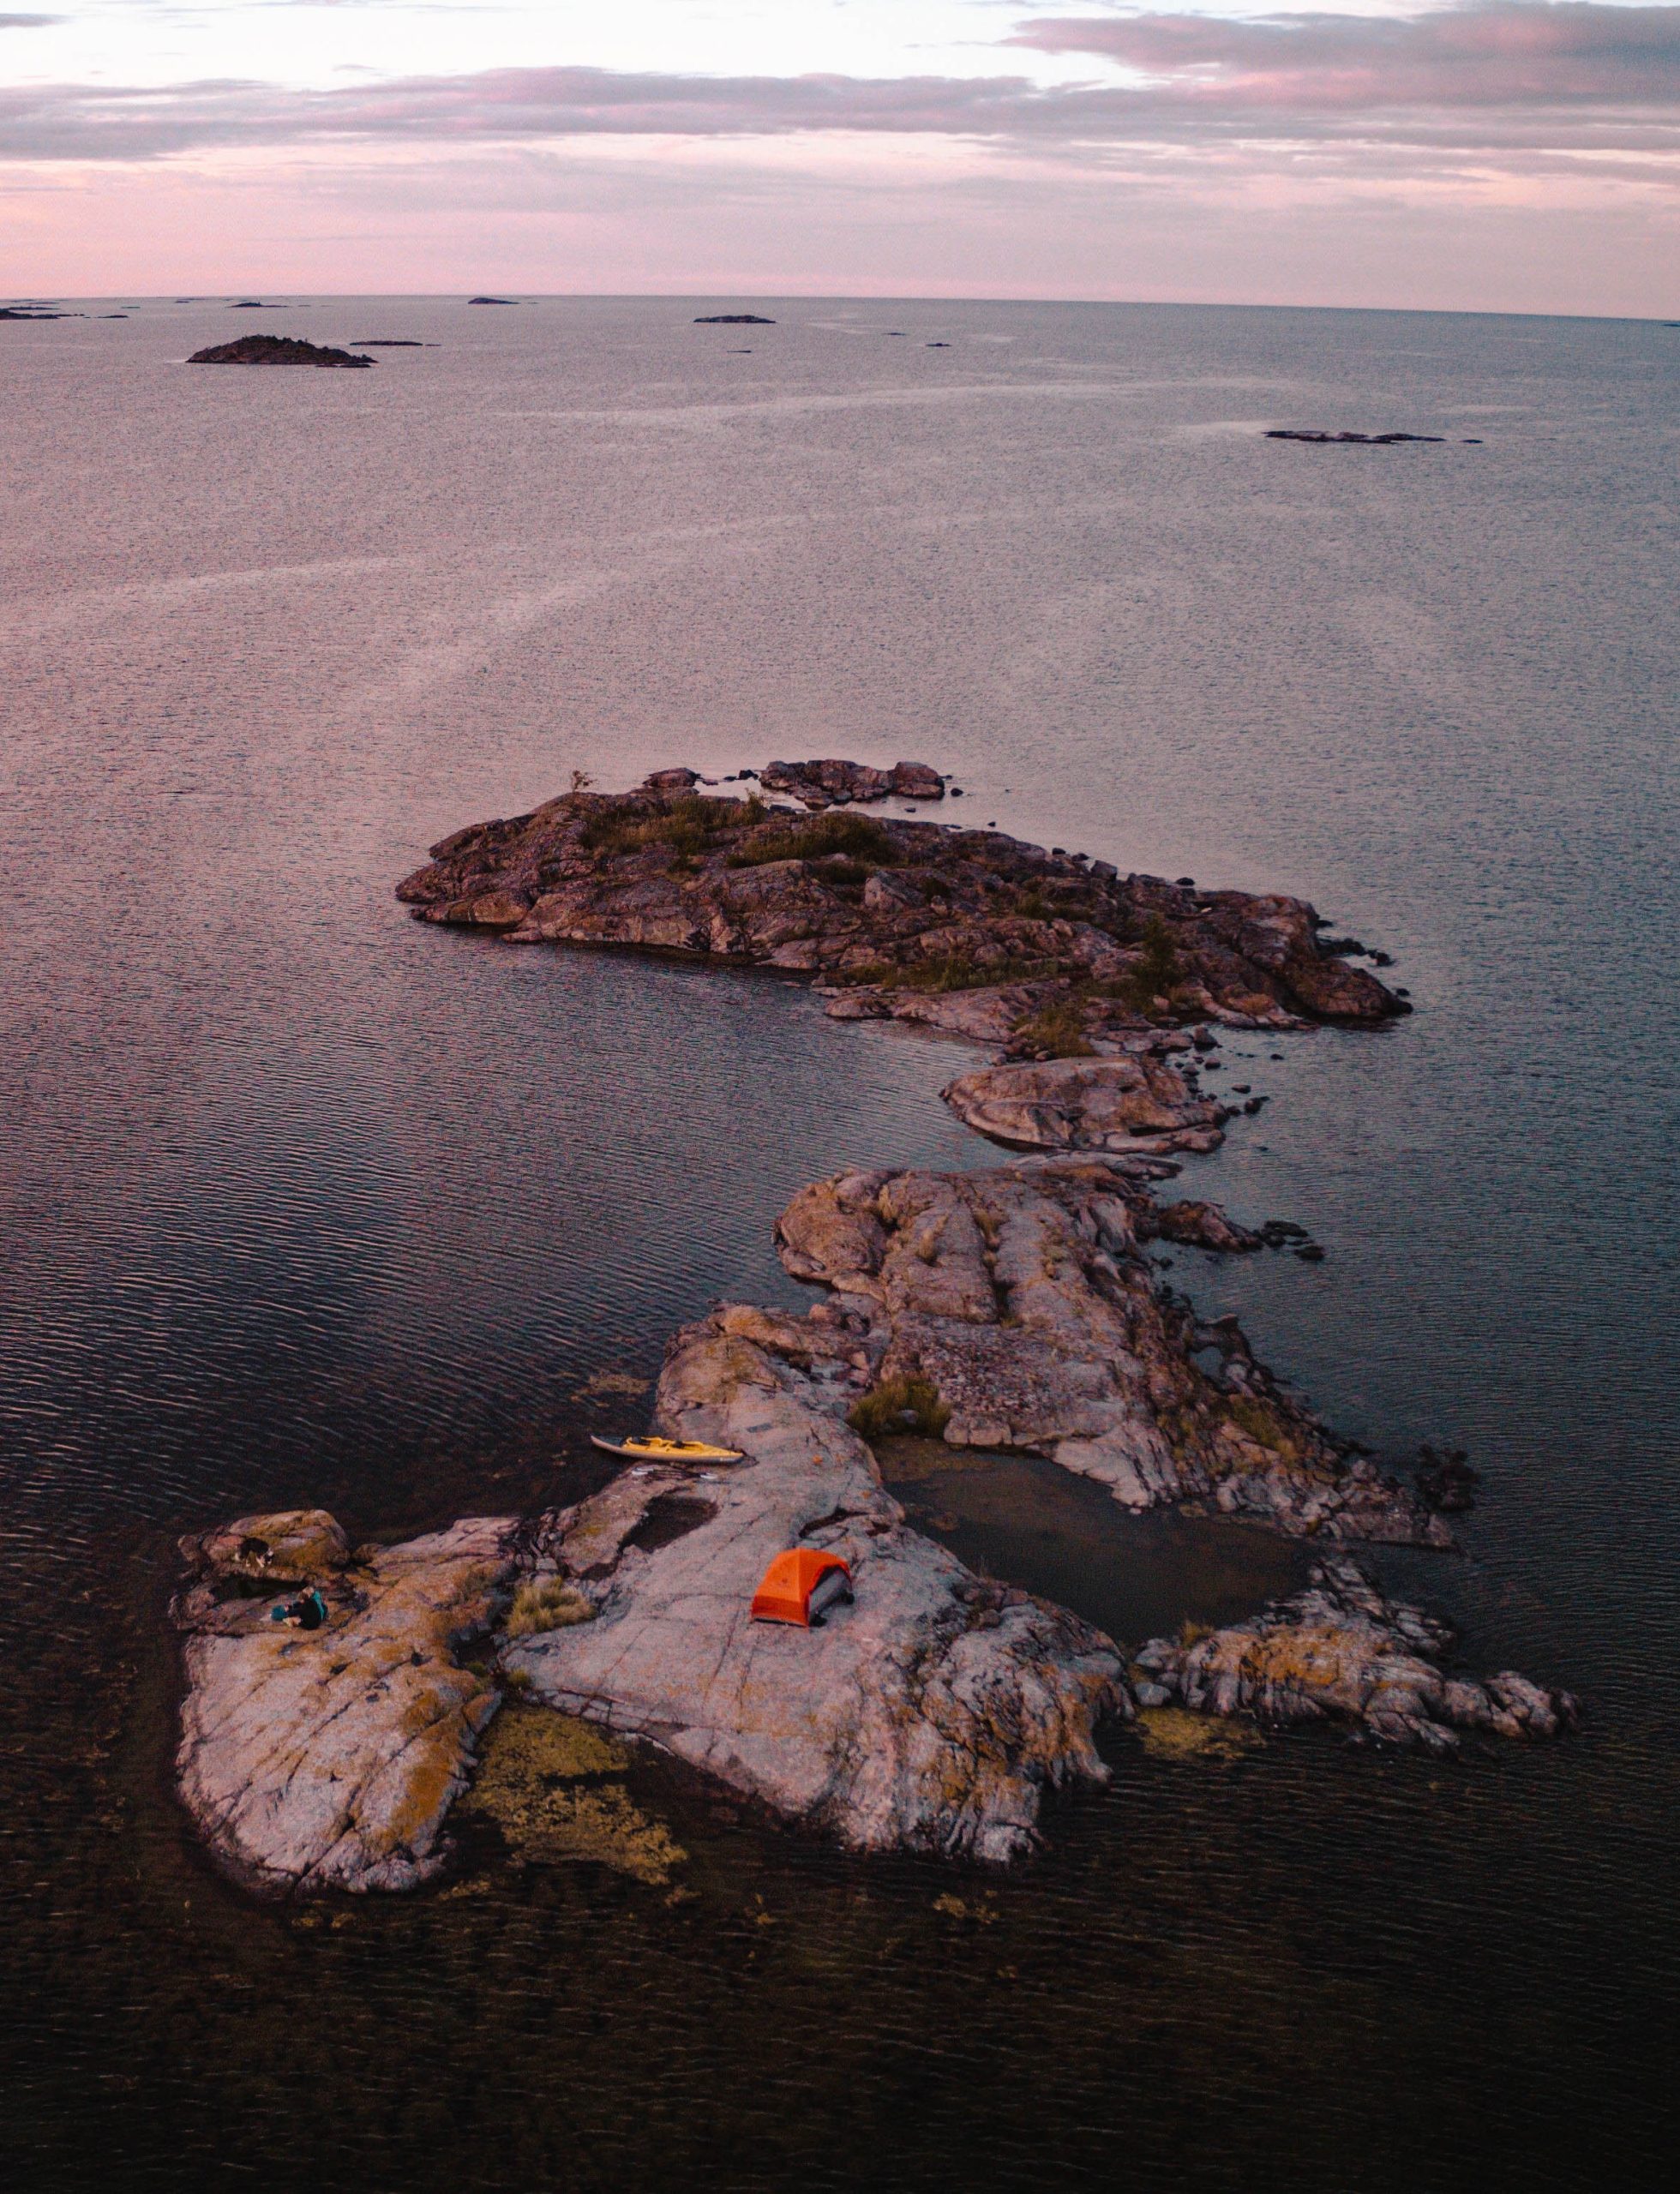
My Drone Photography Tips
Hey, if you’re into more photography tips, you might want to check out my photography page! I share a bunch of tips and tricks for all kinds of photography. Plus, I’ll spill the beans on what camera gear I use when I’m on the go. Come on over and take a look!
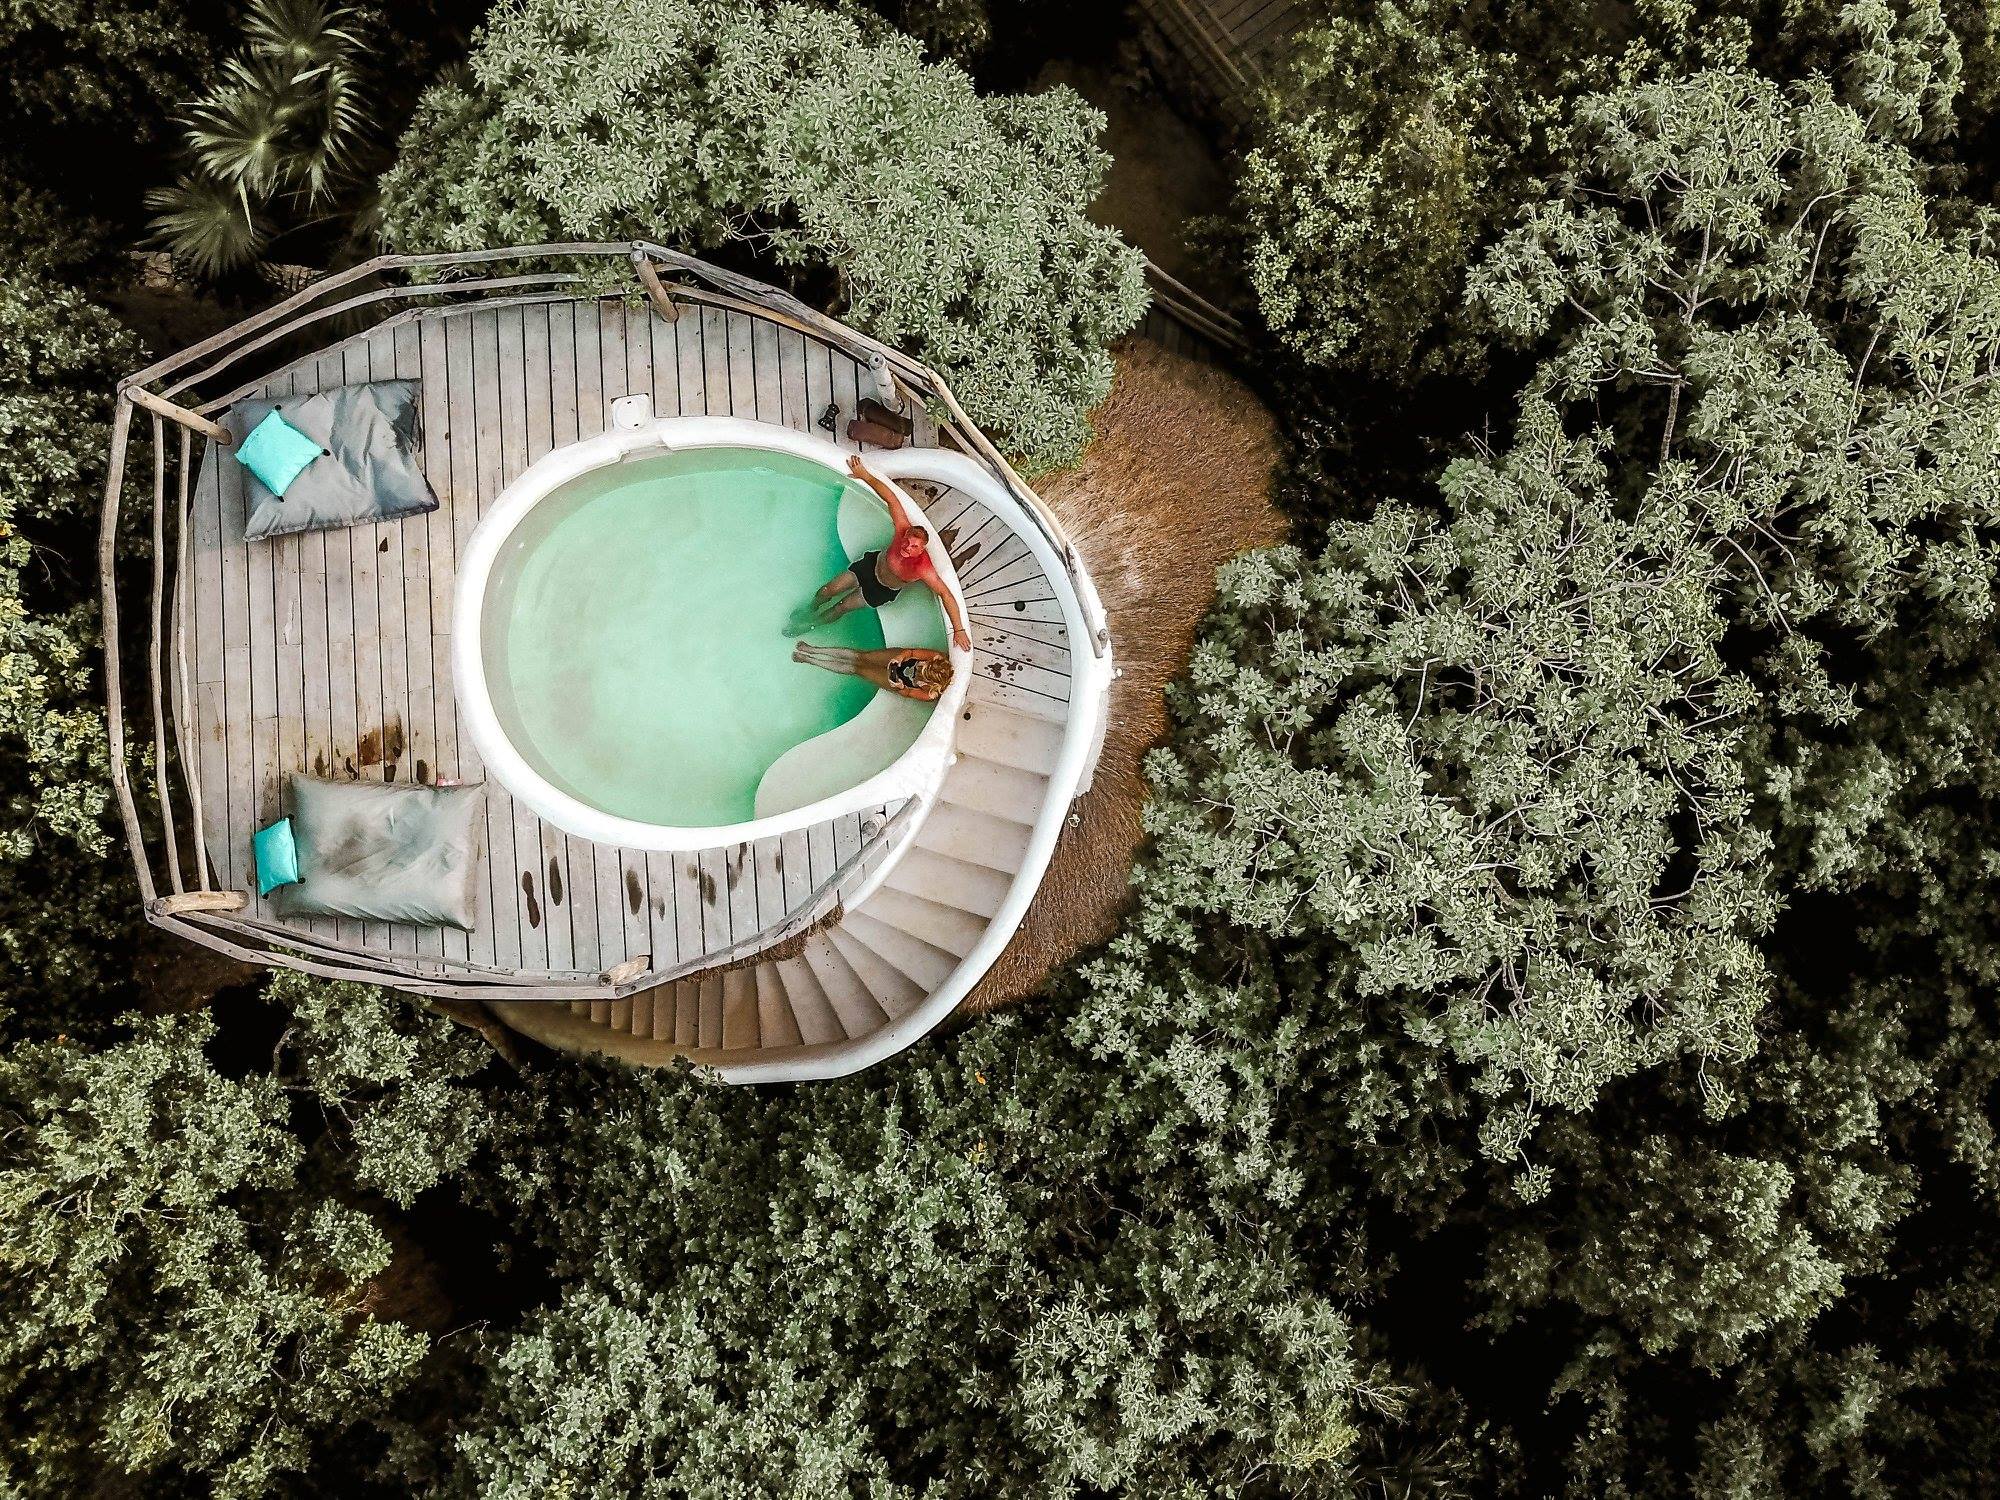
Learn the Rule of Thirds
When it comes to composing your drone shots, keep in mind the key elements of symmetry, patterns, and lines of interest.
If you’re not sure what the rule of thirds is all about, there are loads of helpful videos on YouTube that break it down for you. Pro tip: use the grid overlay on your display to help you line up the perfect shot. When you’re framing your shot, try to place your subject and scene on those lines of interest to make your photo really pop. Trust me, it’s all about those little details!
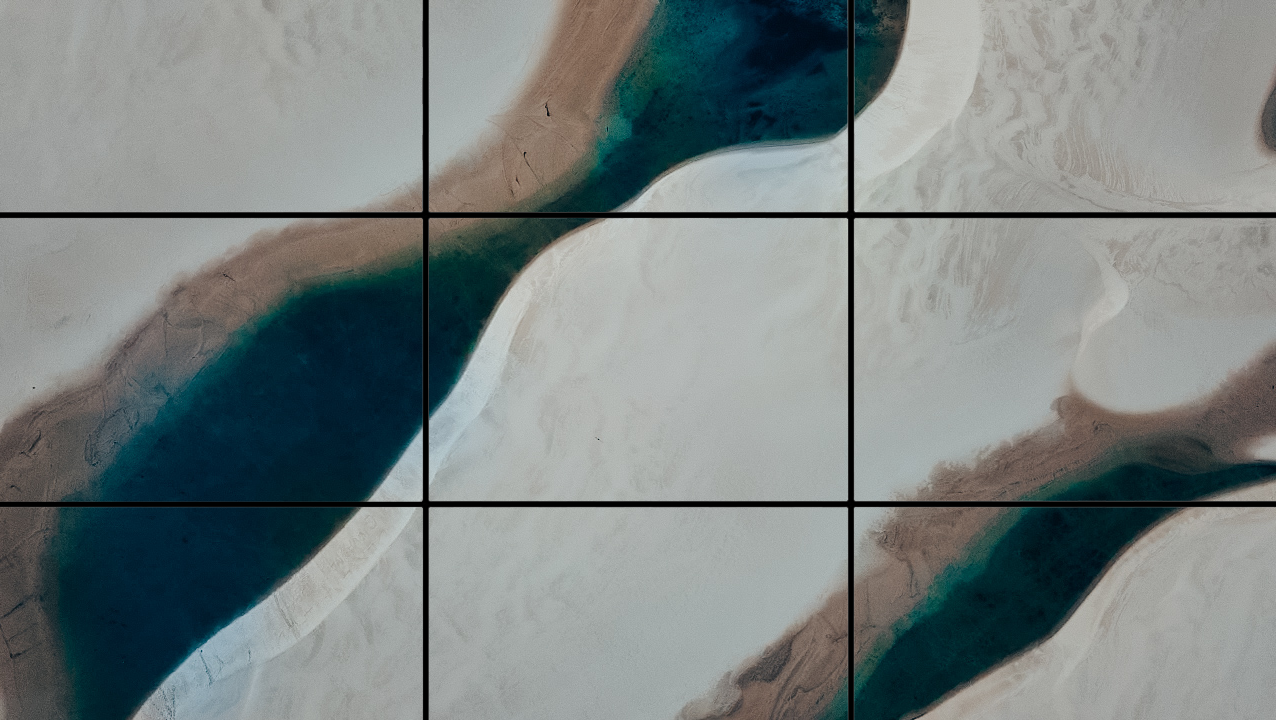
Drone Photography Camera Settings
If you’re new to the game, starting with auto settings is a great way to ease in. However, the DJI drones really come alive when you switch over to manual settings. So I recommend diving in headfirst and getting comfortable with those manual controls as soon as you can.
To help you out, make sure to get familiar with the DJI GO 4 app’s user interface and where all the settings are located. No worries, it’s not as daunting as it sounds. Check out this quick guide to find all the controls you need.

Here is some essential manual settings for your drone photography:
ISO: A lower ISO is always a better option, and using the light meter to determine proper exposure is crucial.
Exposure: Keep an eye on the light meter and try to aim for zero (properly exposed). If you’re in mixed lighting situations, it’s better to underexpose slightly, as it helps to edit your photos with ease. You can lift shadows, but it’s trickier to drop highlights.
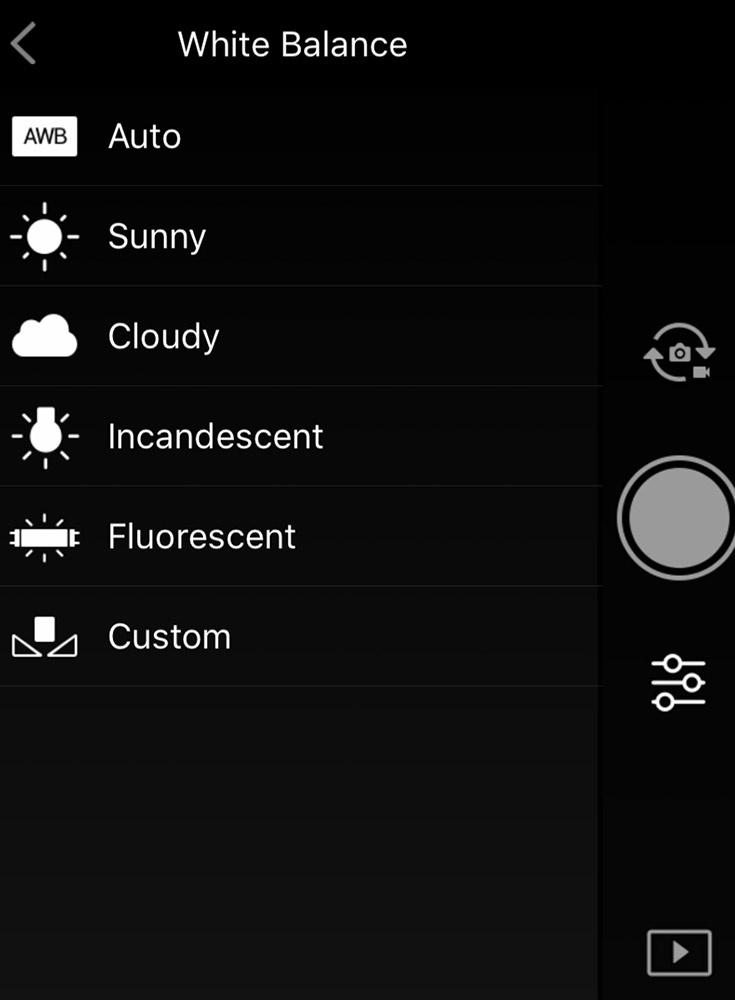
White Balance: This setting determines the naturalness, warmth or coolness of your images. To keep things simple, you can choose from the presets like Sunny, Cloudy, etc., depending on the lighting/weather conditions you’re shooting in. It makes the job easier and quicker!
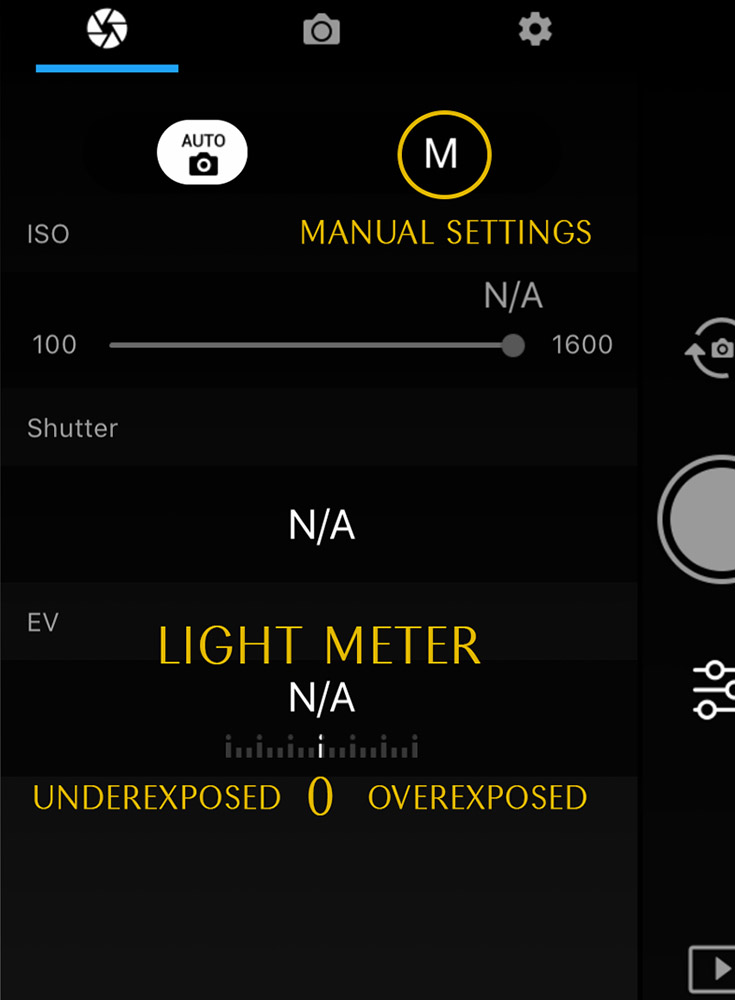
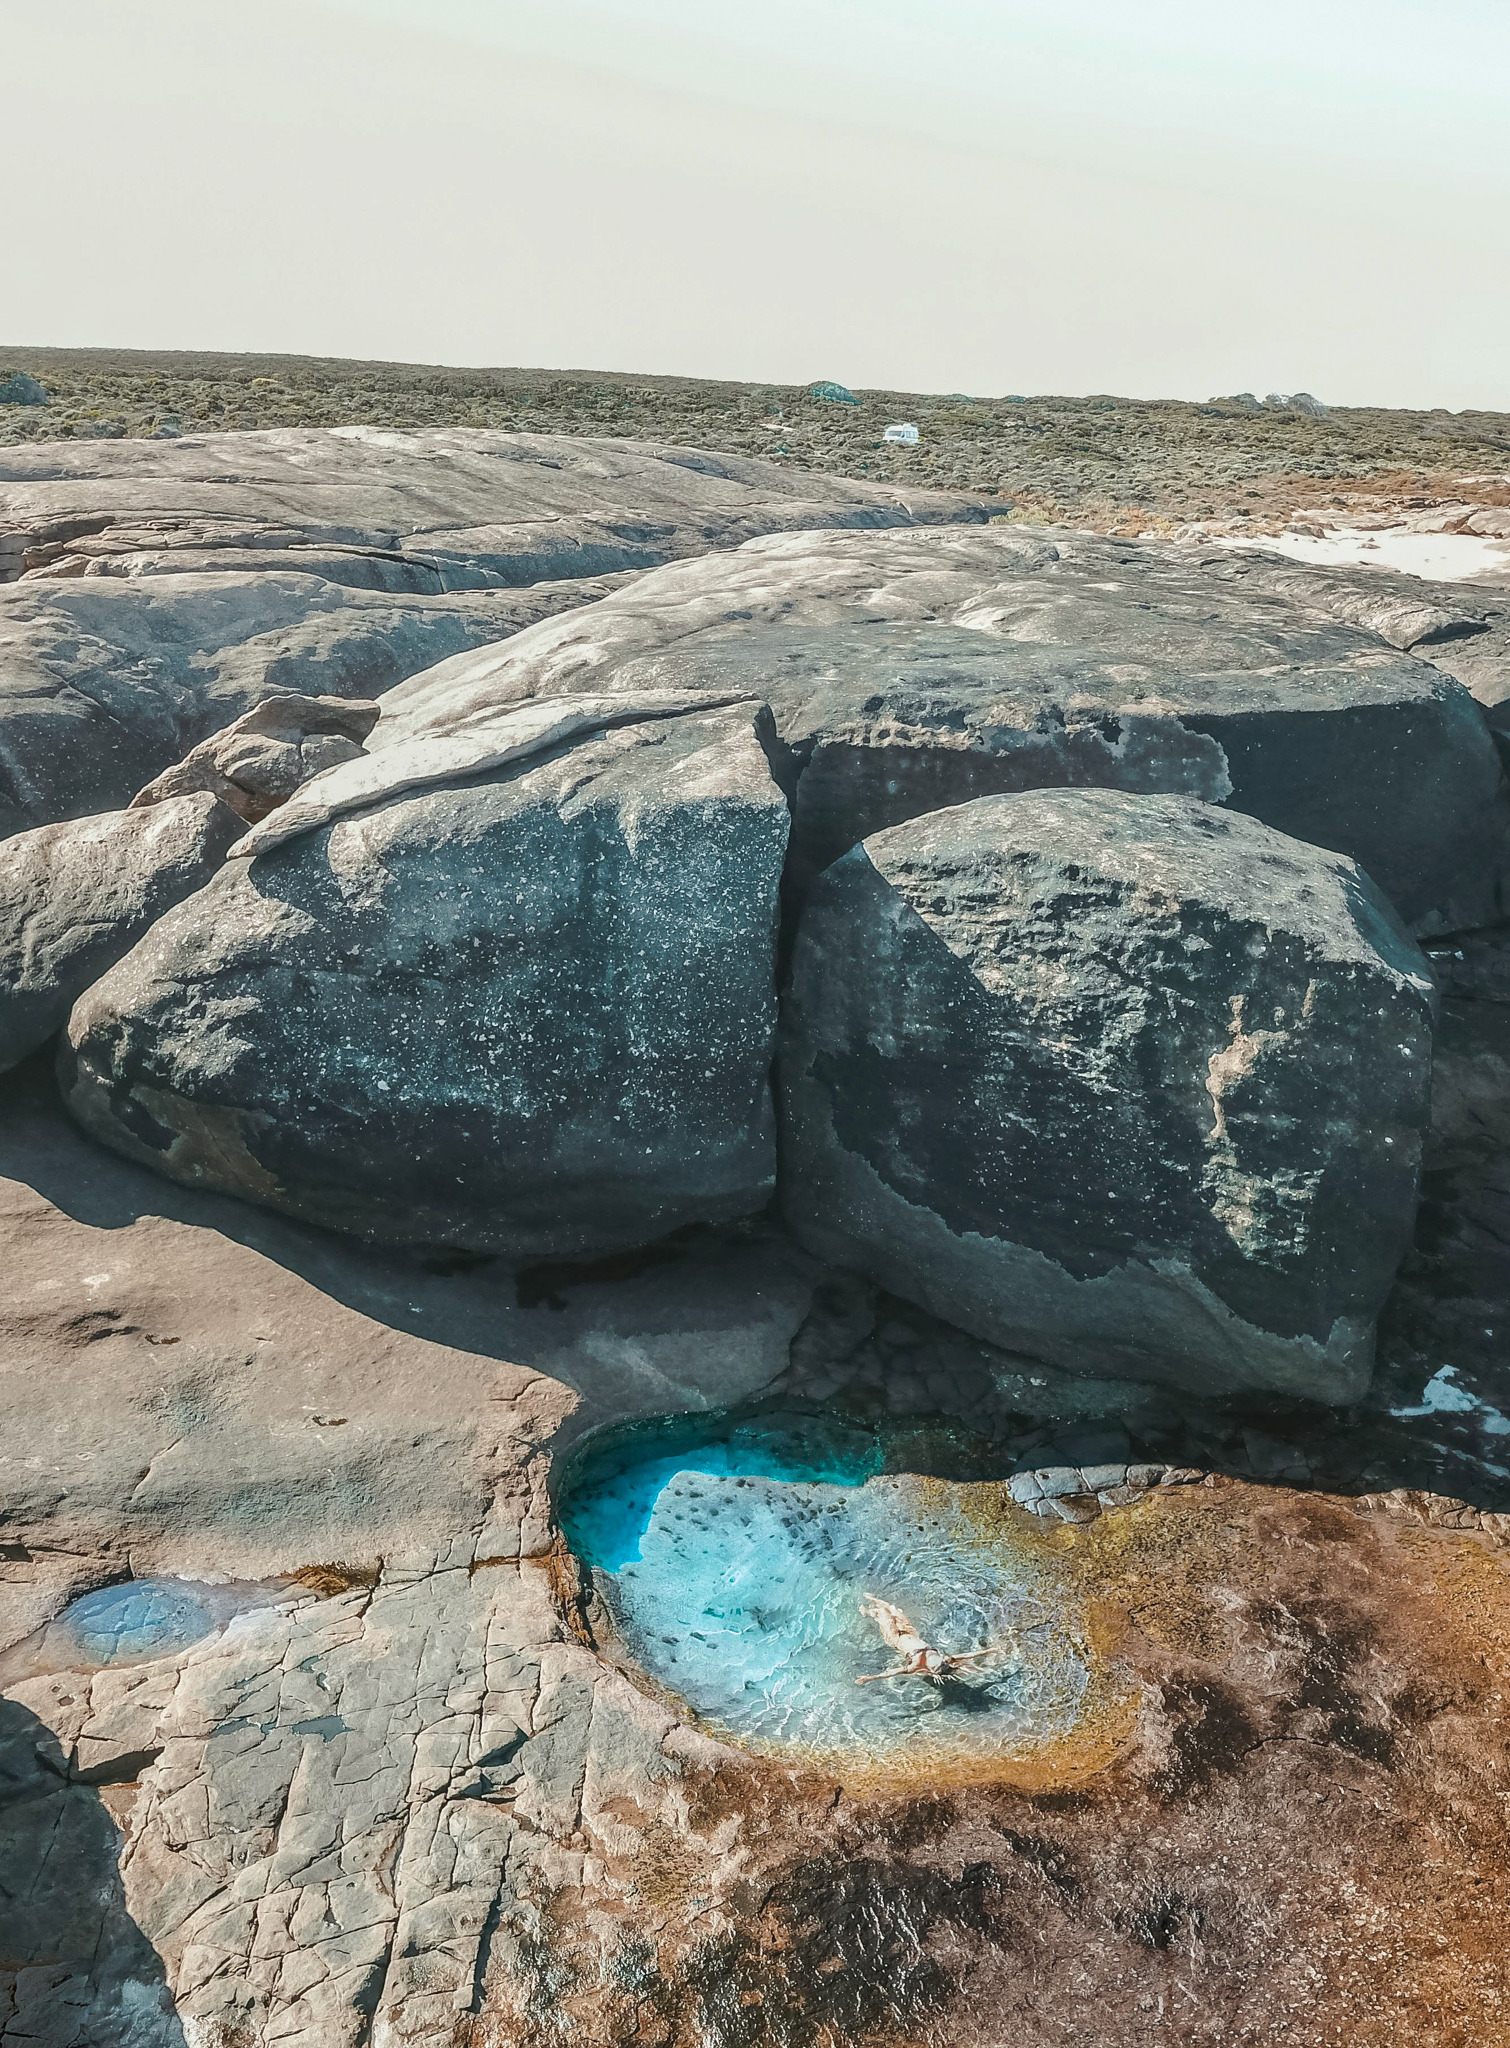
Panoramic portrait – stitched up via two images in Photoshop.
Drone Panoramic Mode
If you’re not already using the pano mode on your drone, you’re missing out on some seriously cool features. Most drones come with at least 3 pano options: 360, Horizontal, and Vertical. While I don’t use 360 or Horizontal that often, I’ve found that the Vertical Pano is an absolute game-changer.
Here’s why: if you love to shoot vertical photos for platforms like Instagram, you need to know that the new Mavic Pro 2 doesn’t let you rotate the gimbal. That means you can only shoot in landscape mode. Bummer, right? But never mind, the Vertical Pano setting is here to save the day! With this setting, you can capture and stitch together a high-resolution portrait JPEG, perfect for sharing on Instagram.
So, if you’re looking to take your drone photography to the next level, give the pano mode a try!
Try Different Drone Aspect Ratios & Angles
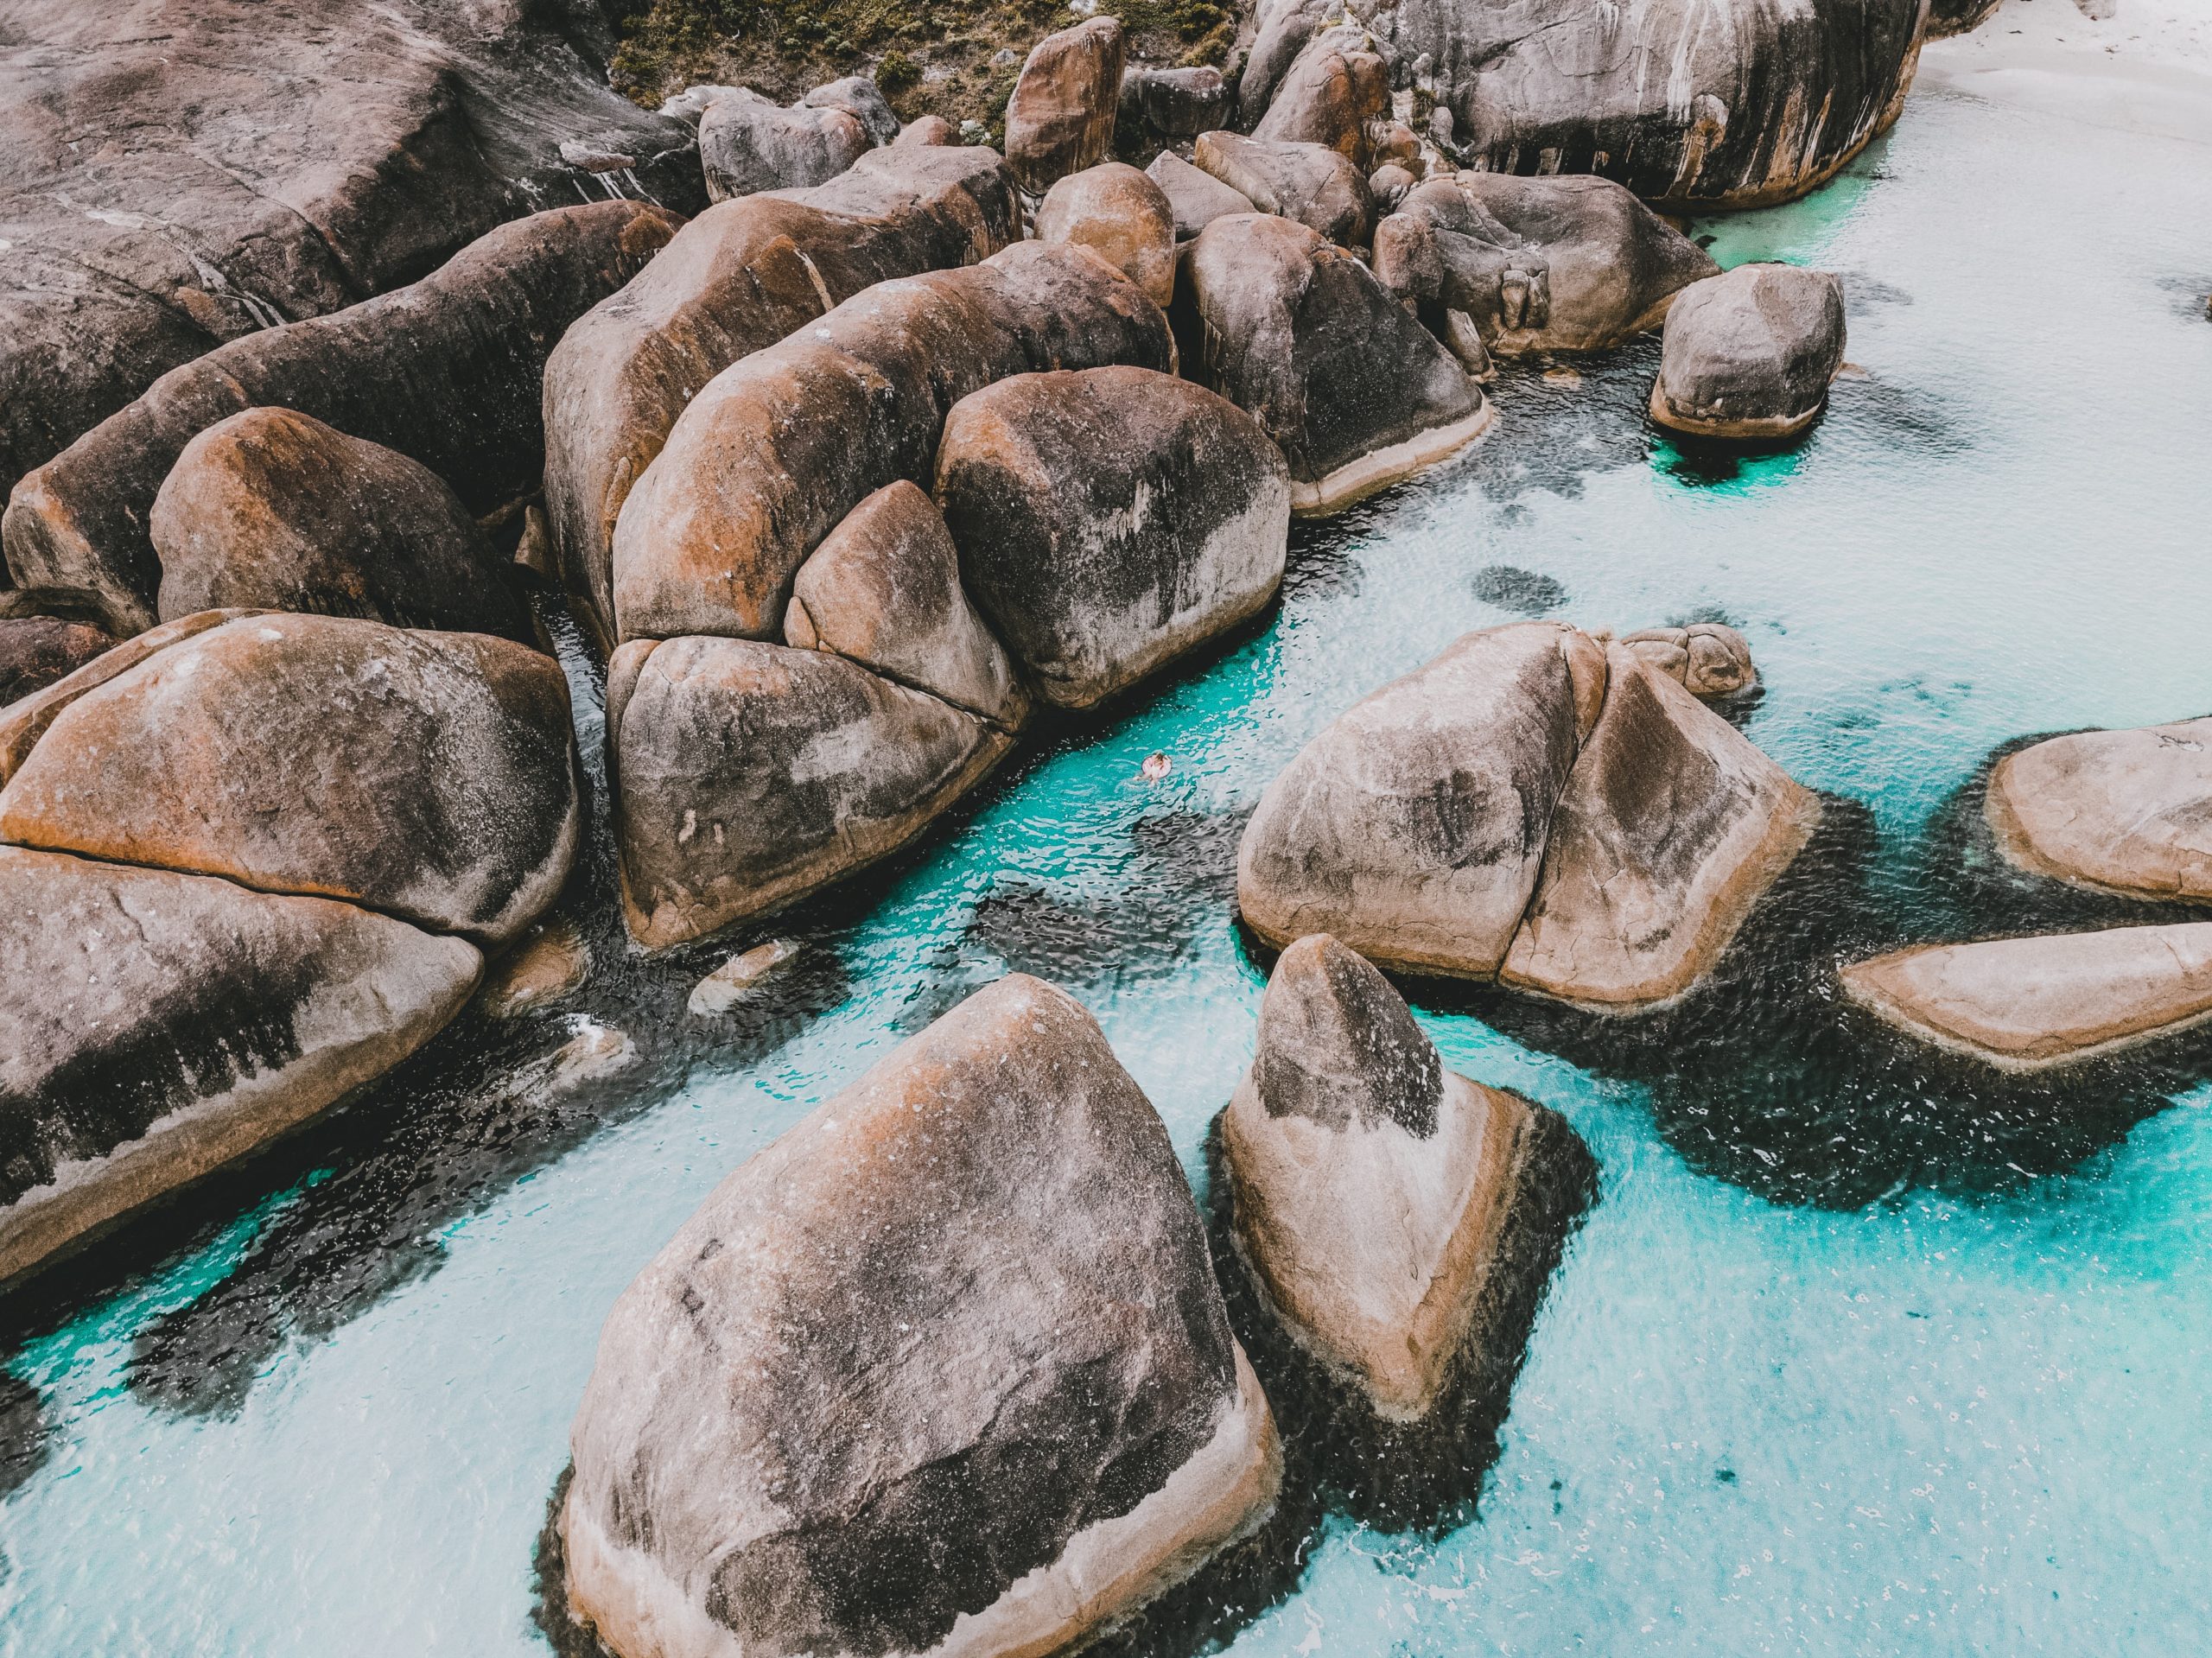
Are you tired of the same old landscape drone shots? Let’s spice things up! Don’t be afraid to switch things up and try shooting in portrait mode or experimenting with wide framing.
If you’re shooting vertically and want to capture a high-resolution image, you have a few options. You can fly farther away and crop the photo later in RAW format or use the Vertical Pano setting to stitch together a tall and stunning JPEG. Looking for something with a broader view? Give the 180 Pano a try and capture the beauty of stunning landscapes!
And here’s a pro tip: don’t limit yourself to shooting straight down or thinking that “higher” is always better. Experiment with different angles and heights by tilting the gimbal and finding unique perspectives that will make your shots stand out.
So, whether you prefer portrait or landscape, high or low, let your creativity soar!
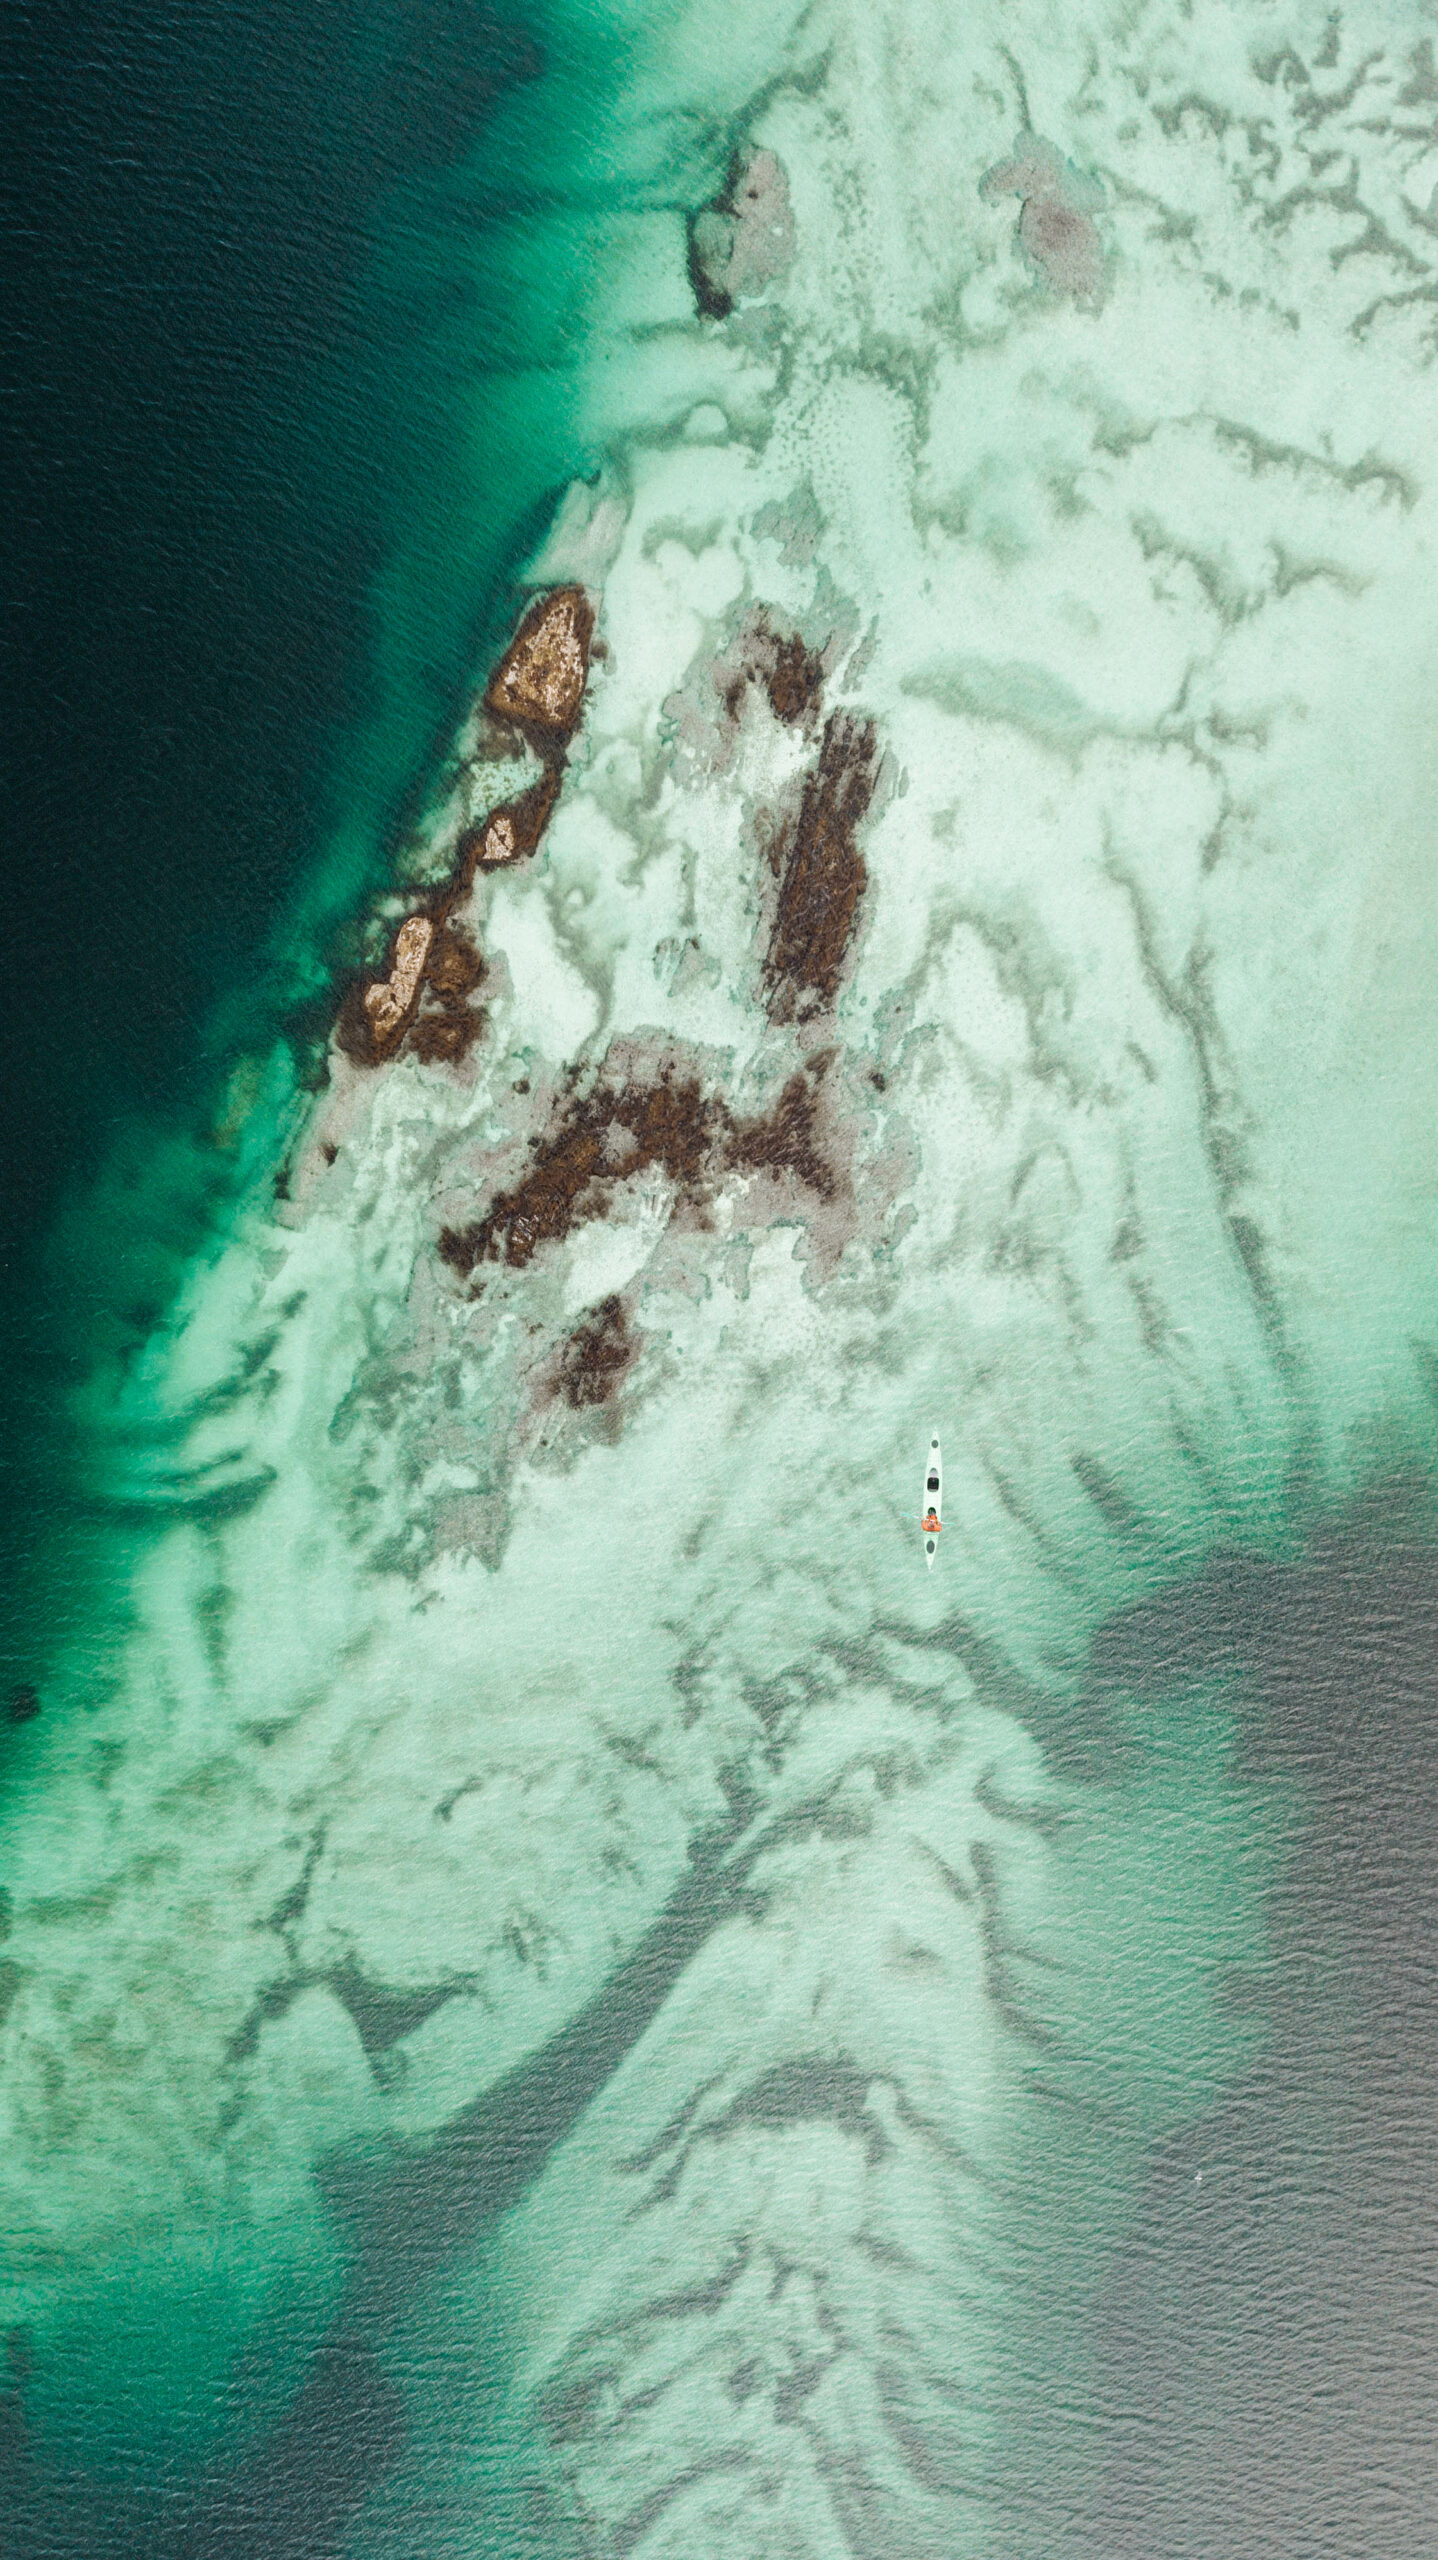
Senja, Norway
Use Polarizing Filters for Drones
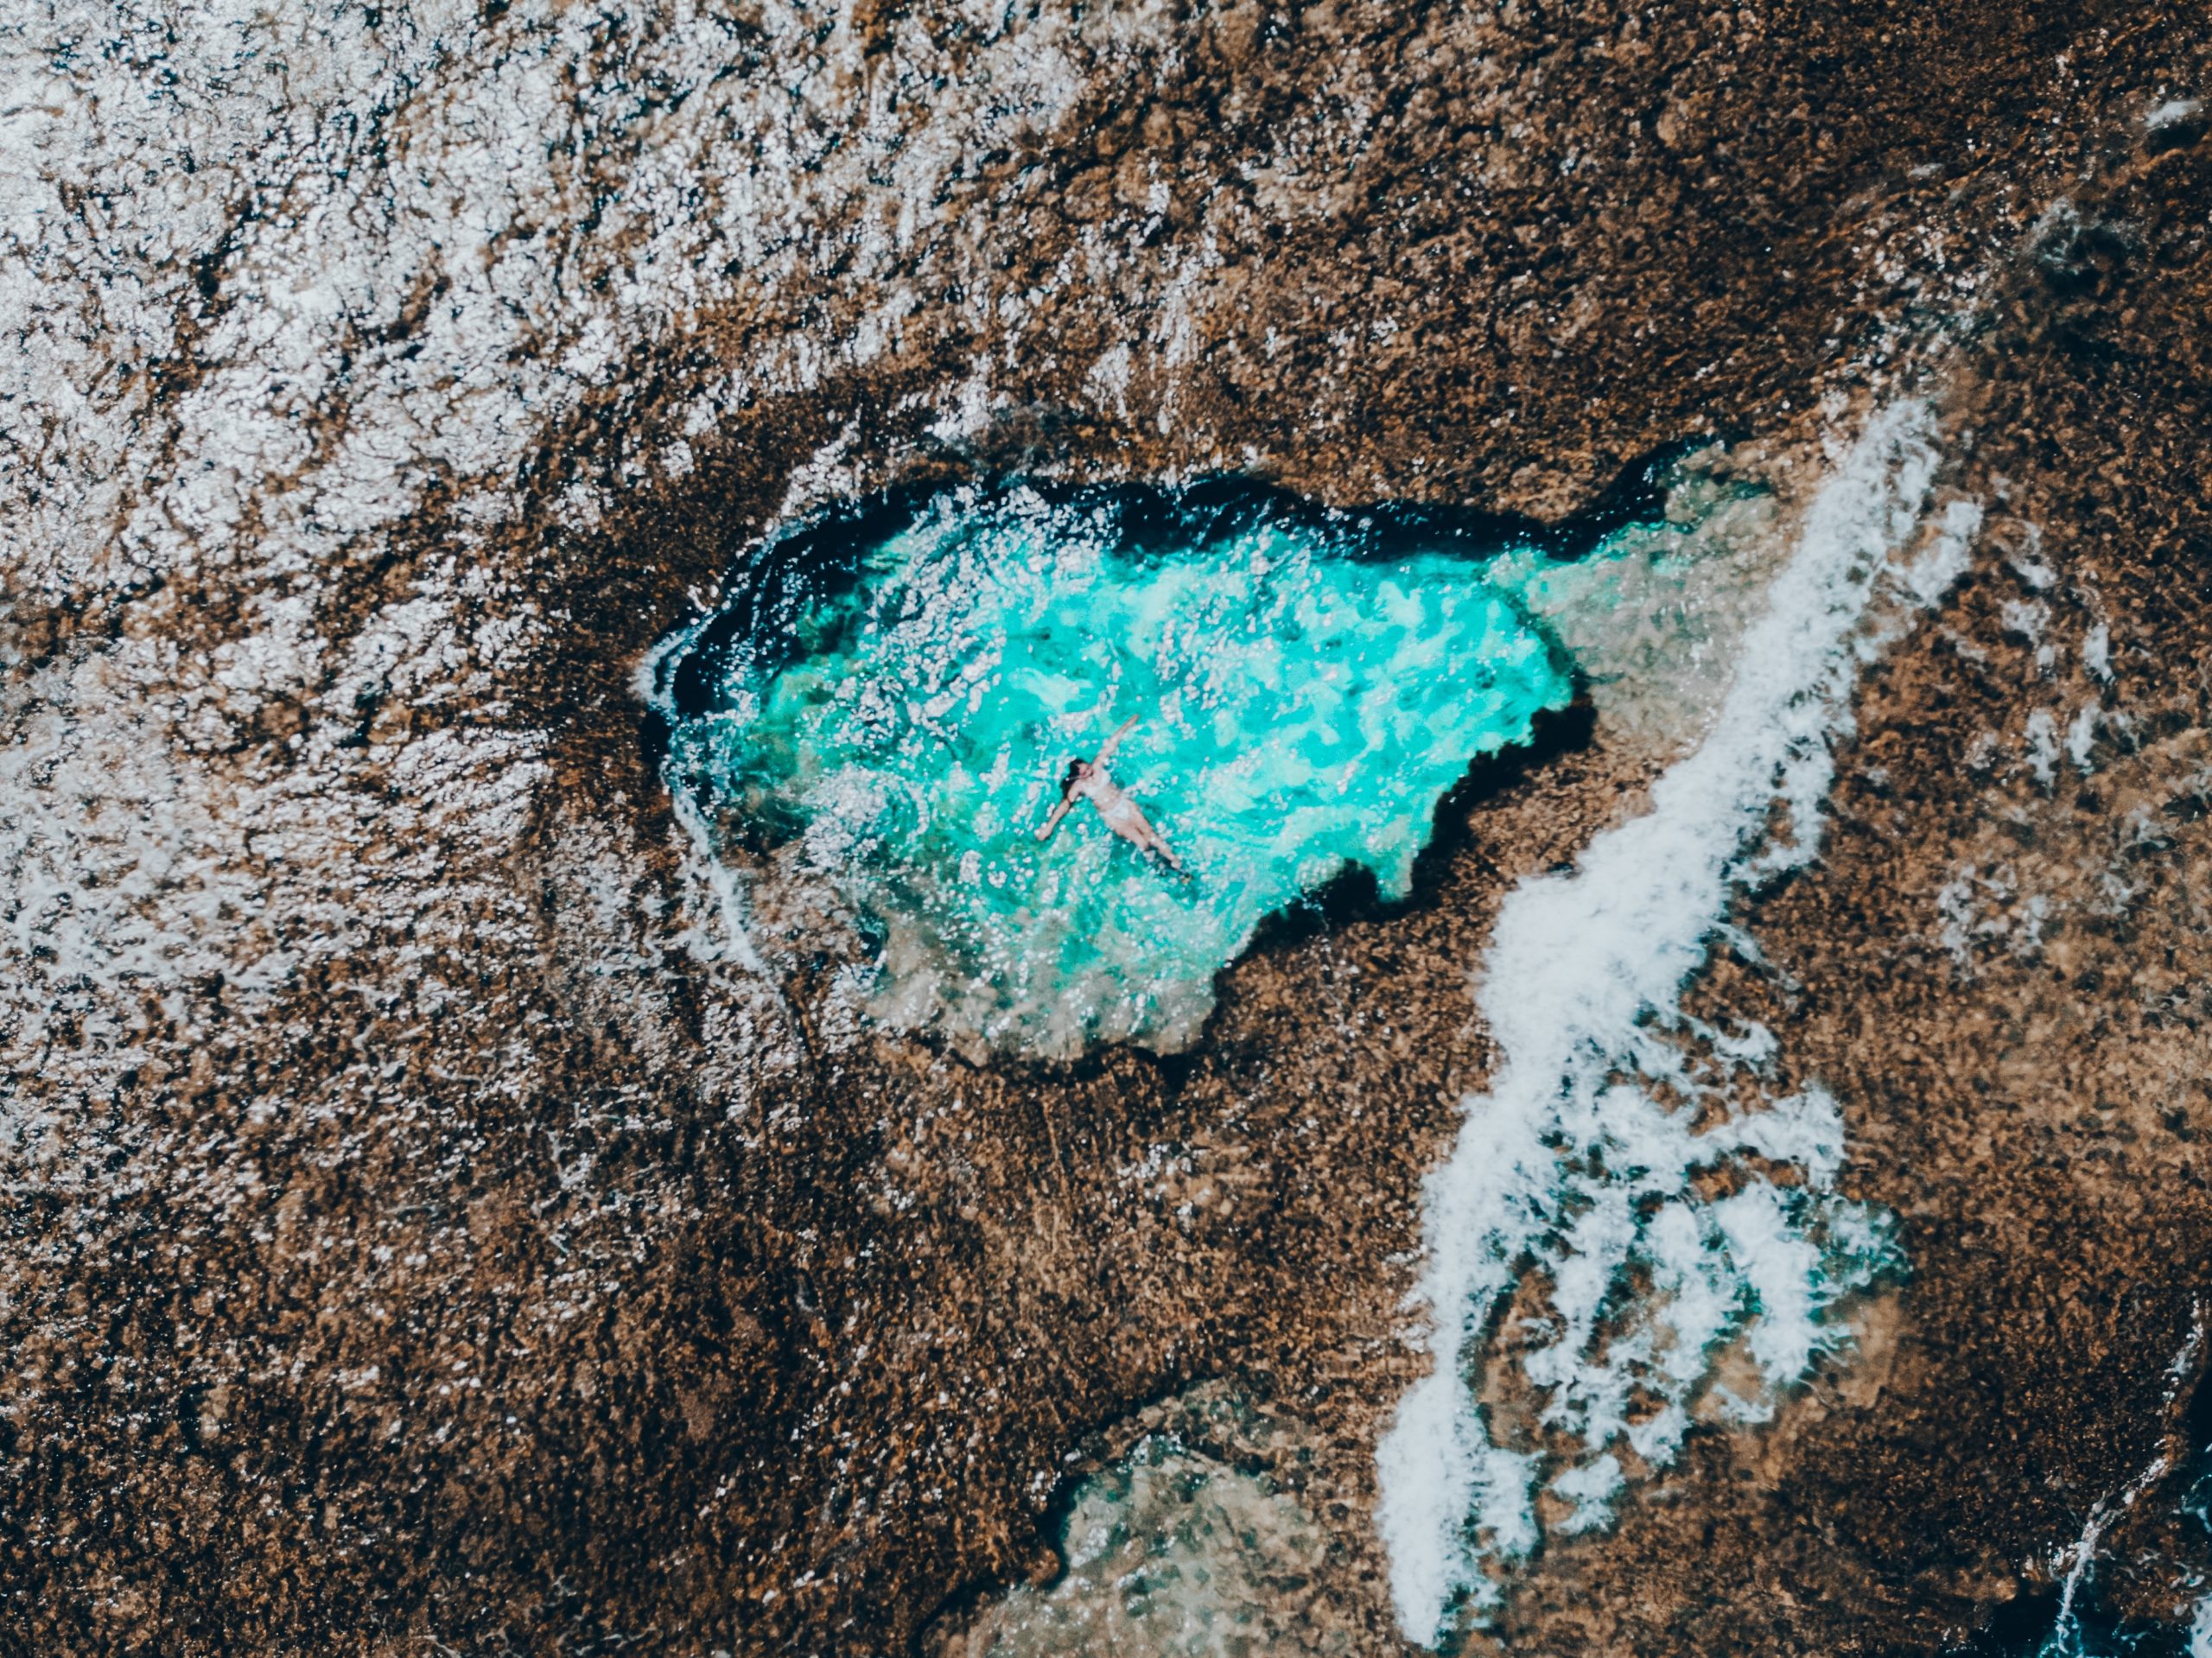
When it comes to drone photography, it’s important to plan for the weather as best as possible, but even more essential to have a polarizing filter on hand. This handy little tool can really enhance your photos, especially when shooting above water, by cutting out those pesky sun flares. Just like polarized sunglasses, polarizing filters help to reduce glare and harsh reflections. So don’t forget to pack one in your drone bag before your next flight!
The Best Feature of the Mavic Pro Drone
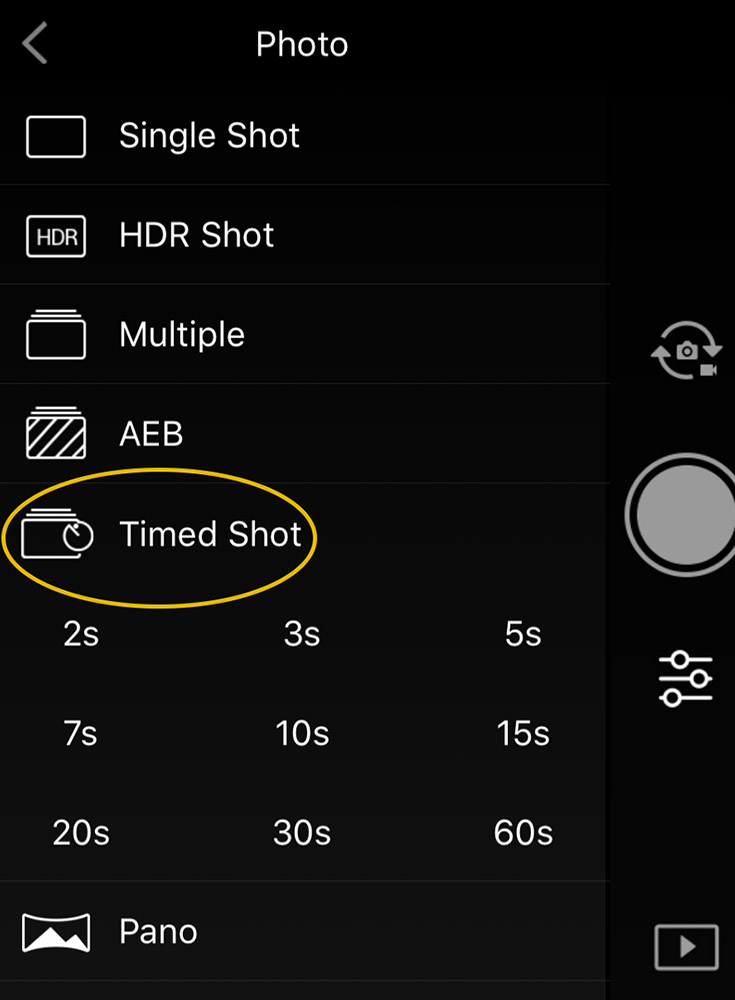
When it comes to capturing drone shots, I have my own unique style that works for me – and that’s the timed shot. It’s a great way to get the perfect shot while keeping your remote out of the frame.
Here’s how it works: simply set your timer interval and let your drone keep shooting until you’re happy with the result. For instance, if you set the interval to 5 seconds, your drone will snap a shot every 5 seconds until you press the shutter again. This technique can significantly increase your chances of nailing the perfect shot.
Editing Drone Photos in Lightroom
If you want to up your drone photography game, the secret is – Lightroom presets! I can’t stress enough how crucial it is to find the perfect preset that matches the mood you’re going for. With just a click, you can transform a bland image into a masterpiece! So, if you want to add that extra “wow” factor to your drone photography, go ahead and experiment with different Lightroom presets. Trust me, you won’t regret it!
Key Drone Takeaways
1. Be Aware of Local Drone Laws
2. Use Drone Apps
3. Planfor the Best Light
4. Shoot in RAW Format
5. Learn the Rule of Thirds
6. Adjust Camera Settings
7. Shoot Panoramic Mode
8. Try Different Aspect Ratio & Angles
9. Use Polarizing Filters
10. Discover your Favorite Features
Share



2 Comments