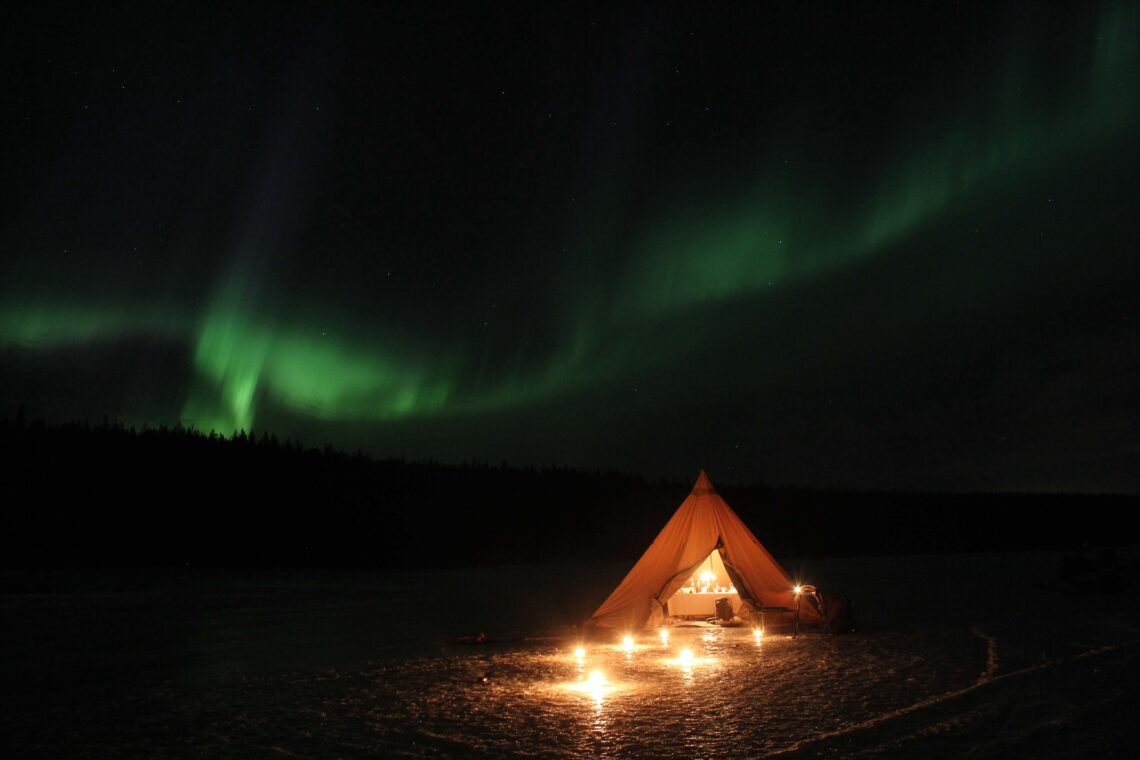
Let me take you on a journey to one of the most awe-inspiring natural phenomena on this planet—the Northern Lights. I recently found myself in Sweden, gazing up at the night sky, and behold, there they were—the Northern Lights dancing in all their glory! Believe me when I say, no photo can truly capture the sheer magnificence of this breathtaking spectacle.
If you’re planning a trip to see the Northern Lights, let me give you a little piece of advice: don’t forget to bring a good camera! Trust me, you’ll want to capture every moment of this magical experience. As an avid traveler and photography enthusiast, I always bring my trusty Sony a7rii camera with me everywhere I go.
Are you wondering how to take the perfect Northern Lights photo, don’t worry! While I’m not a professional photographer, I have picked up a few useful tips and tricks along the way that have helped me capture some amazing shots. So, let me share some of my insider tips with you to help you capture the Northern Lights like a pro!
Ready to get started? Here’s a beginner’s guide to photographing the Northern Lights!
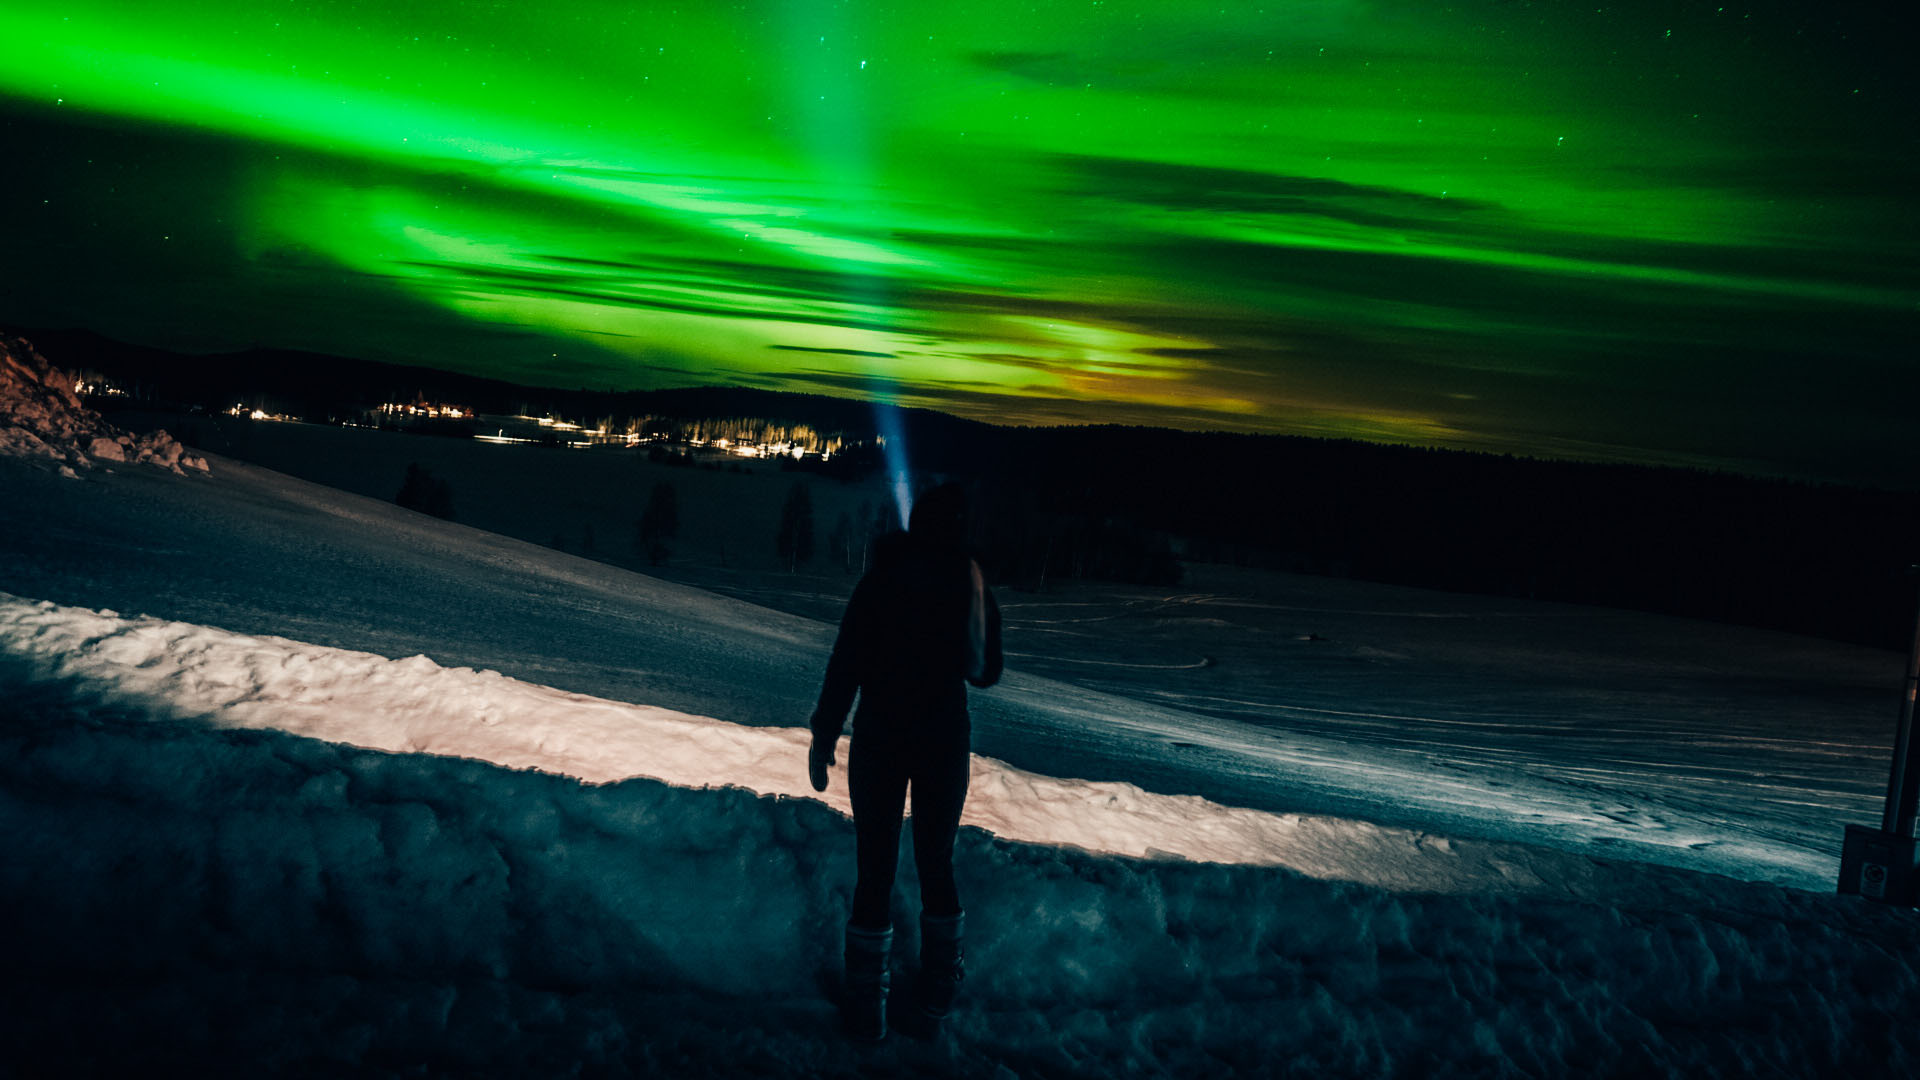
Where and When to See the Northern Lights!
I traveled to Iceland to witness this natural phenomenon, but here’s a little secret: Iceland is not actually the best place to see the lights. In fact, the best places to see the Northern Lights are in the northern areas of Norway, Sweden, Finland, Canada, and Alaska.
But guess what? You don’t need to travel all the way up north to witness this beauty! I actually saw the lights for the first time in my own backyard in Stockholm, Sweden. So, keep your eyes peeled towards the north and you might even catch a glimpse of them in the most southern parts of Sweden on good aurora days.
If you’re wondering when’s the best time to travel to see the Northern Lights, it’s during the winter months from November to March. This is when there’s low light pollution and clear atmospheric conditions, making it the perfect time to view the lights. And if you’re wondering where’s the best place to witness the lights, look for a location within 65 degrees to 72 degrees of the far-northern latitude, which is considered the “Northern Lights Zone”.
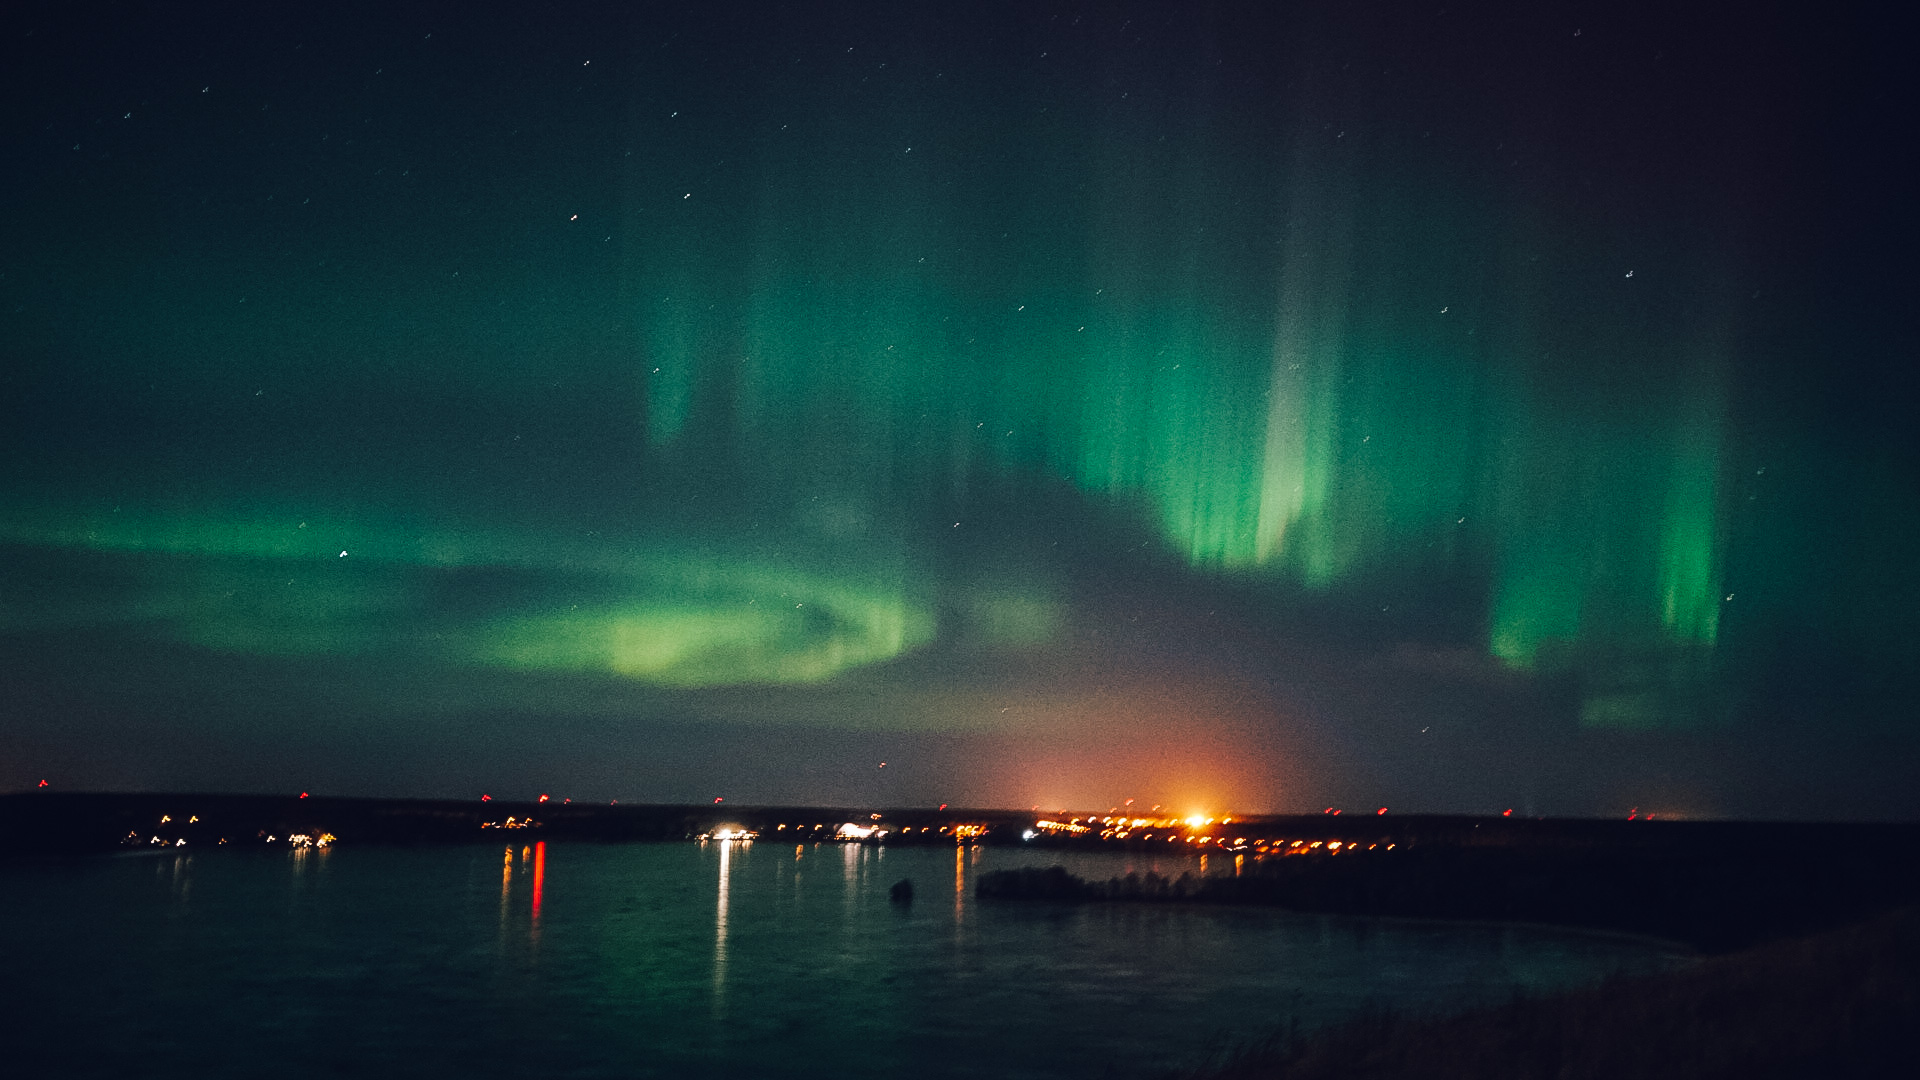
North of Stockholm, Sweden
Weather Conditions
Let’s talk about one of the most important factors in capturing the perfect Northern Lights photo: the weather! You need the right conditions to see this natural phenomenon. If you’re traveling with a guide, they’ll be able to recommend the best times to go. But if you’re going solo, don’t worry! You just need to know how to read the forecast.
The most important thing is finding a night with the perfect level of cloud coverage.
The key is finding a night with just the right amount of cloud coverage. You’ll want a clear night without any dense clouds blocking the lights. But remember, it’s important to get away from any light pollution, so plan on getting out of the city.
Generally, your best chances of catching a glimpse of the lights are during the autumn and winter months. But be patient! The lights are illusive and you might have to wait a while for the perfect shot.
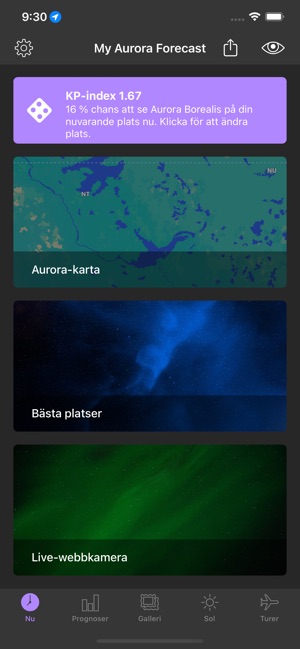
Northern Lights Forecast
An aurora forecast is an essential tool for tracking them down, but it can be tough to understand at first. There are plenty of Facebook groups with Sweden’s most popular one called Norrsken, mobile apps such as My Aurora, and websites giving you a heads-up of your chances. Checking the live camera at Aurora sky station in Abisko, Sweden is a good place to start. If the forecast looks good, the sky is clear and Abisko is seeing Aurora it might be a good chance for you to see it as well in other parts of Scandinavia or Iceland. Also, look out for the KP, which ranges from zero to nine. If it’s over five, you’re in luck!
Spend some time playing around with different times and locations to increase your chances of catching the northern lights in action. Trust me, it’s worth it!
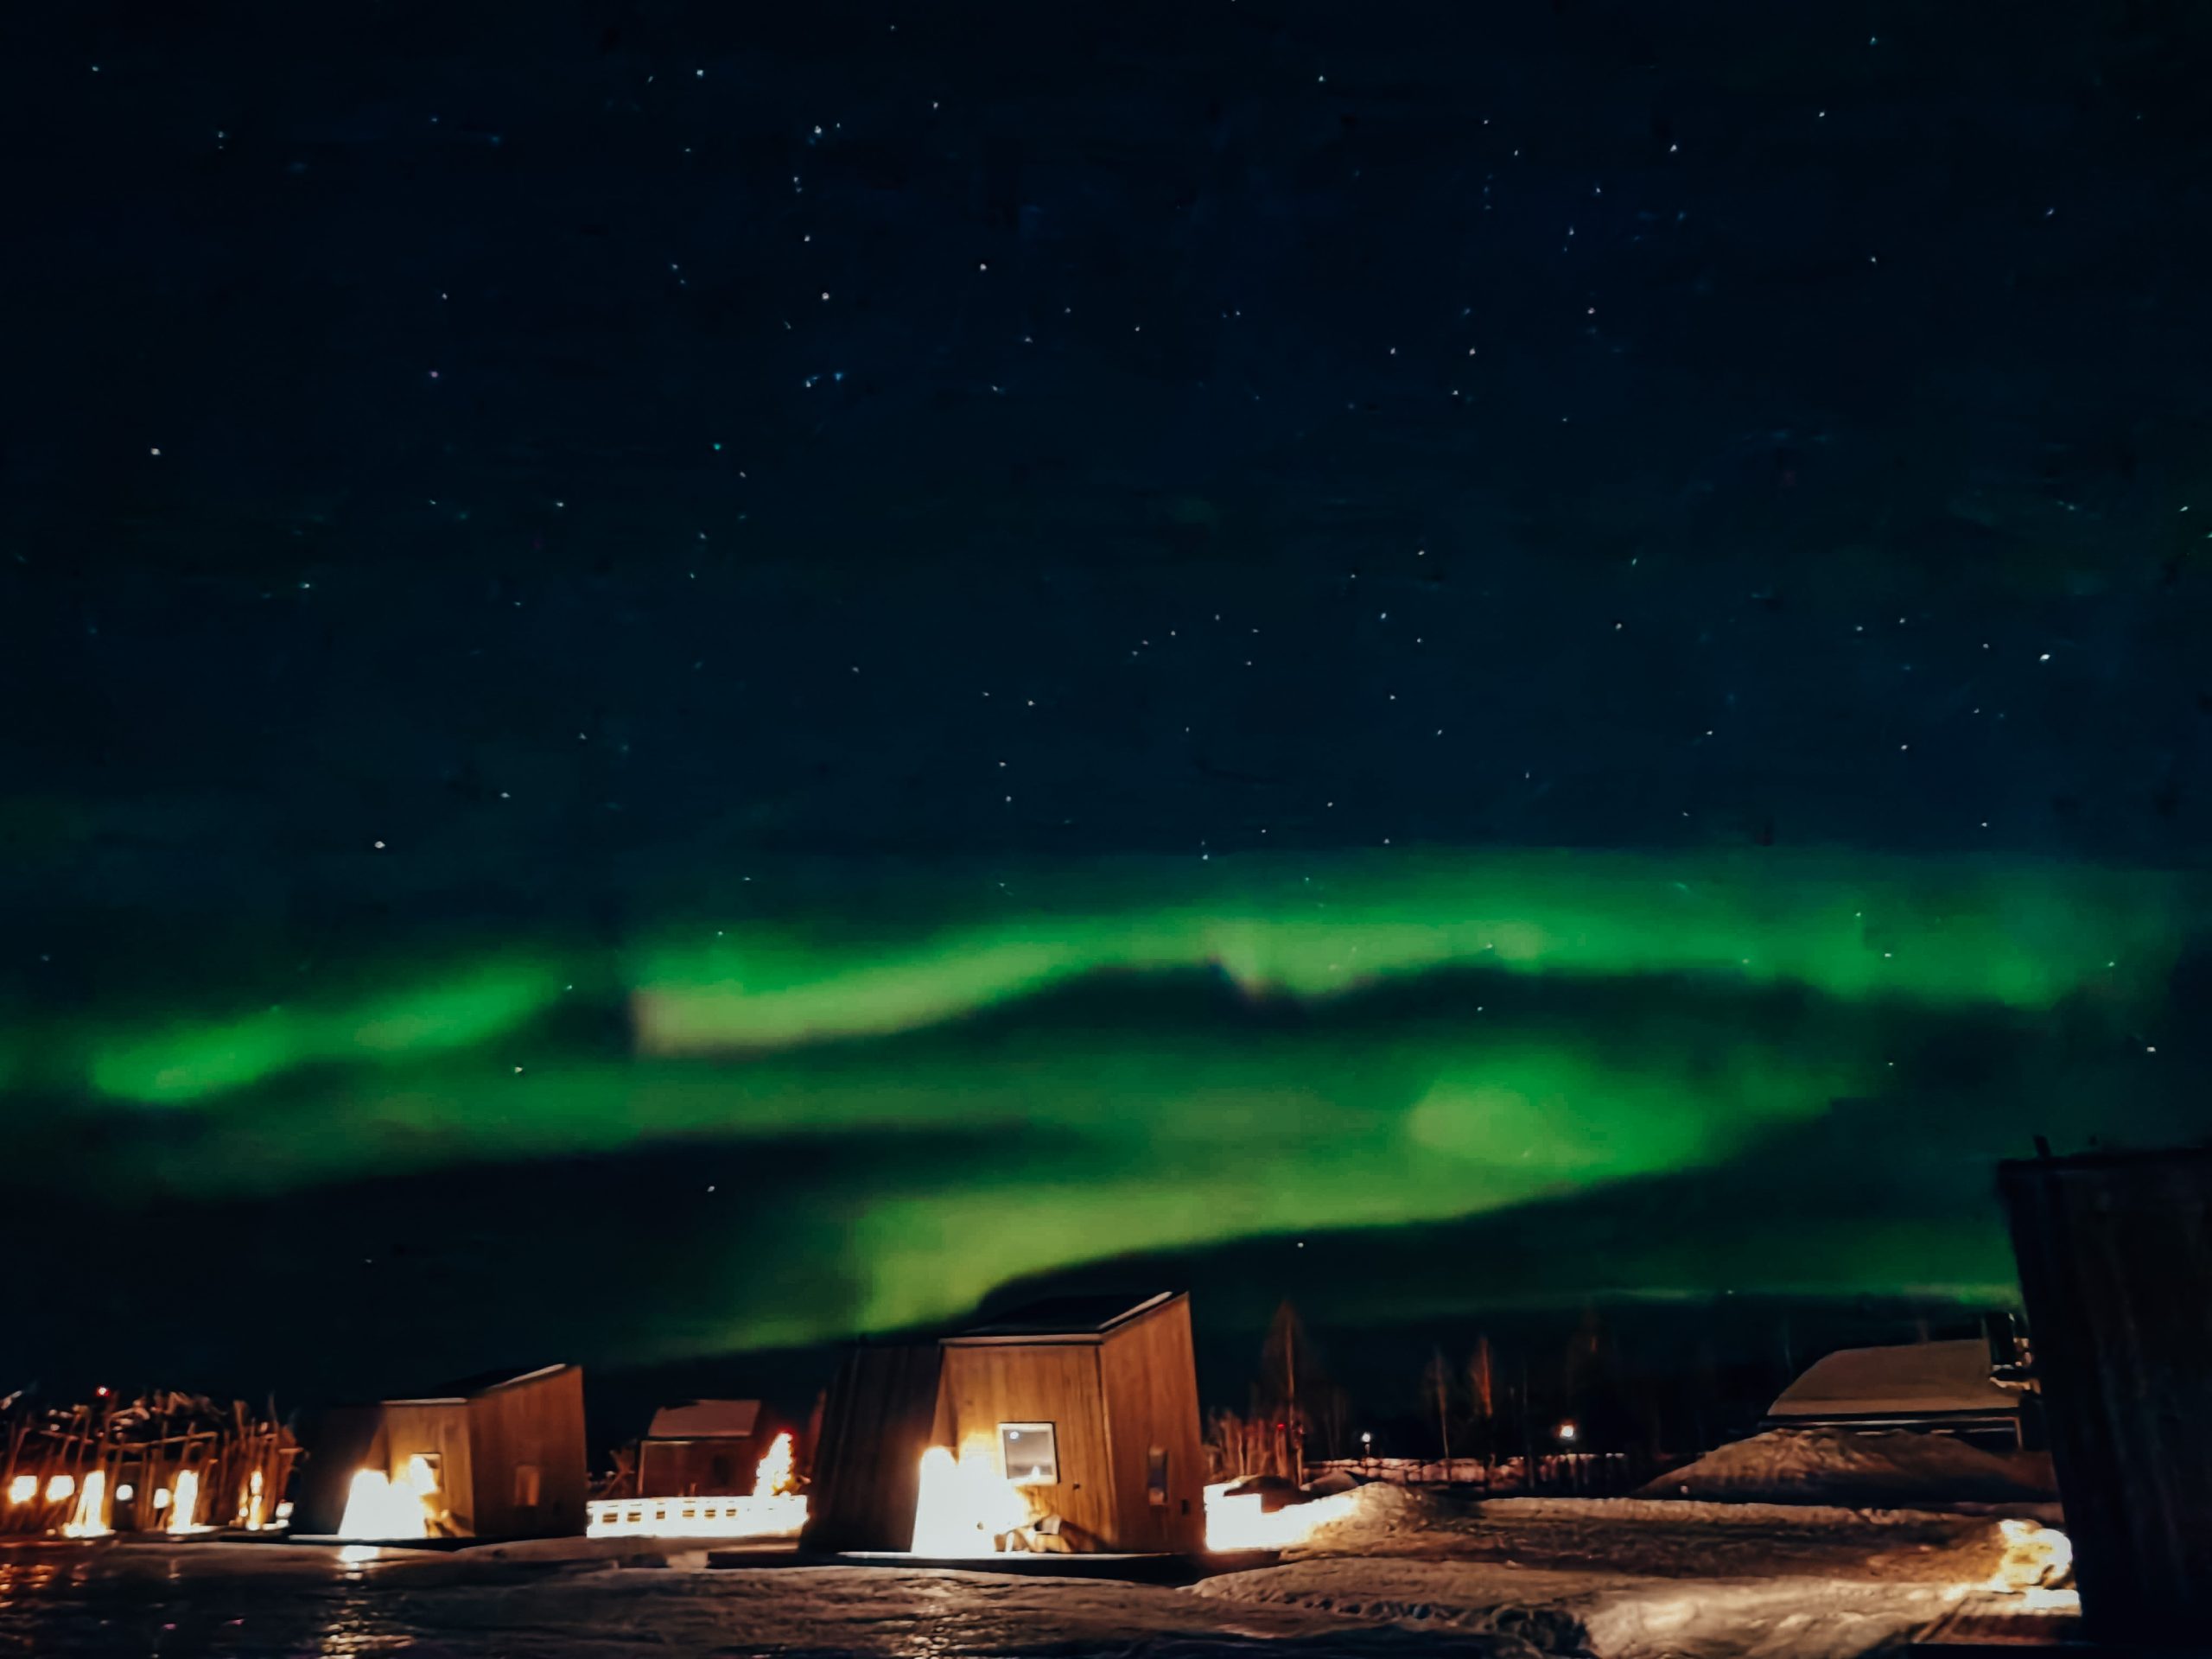
Photographed with mobile phone
Camera Equipment
If you’re planning to capture the Northern Lights, you’ll want to make sure you have the right gear. Here are my top tips:
Camera: Using a quality camera will make all the difference in getting the perfect shot. Personally, I swear by the Sony Mirrorless cameras. Plus, the lightweight makes it easy to travel with.
Lenses: Any lens for your camera will work great!
Mobile Phone: While your DSLR will take higher quality photos, your mobile phone has a great camera for shooting the northern lights too!
Extras: First of all using a tripod is a must. Next, a shutter release cable is a great addition to shooting the lights, but a self-timer will also work. This prevents the camera from shaking when you press down on the button, resulting in a clear, focused photo. And, of course, a bottle of wine or flask of whiskey is always recommended while waiting in the cold!
Check out My Travel Photography Gear for a full rundown of my equipment.

How to Shoot the Northern Lights
Are you ready to capture some amazing pics of the northern lights? Here’s what I suggest you do:
Helpful Tip: Make sure you know how to access the manual settings for your specific camera, as every camera has different settings.
Set up your tripod to keep your camera steady.
Use your widest lens to get the perfect view, and wide-angle lenses work best. Make sure the aperture is close to f/2.8 max.
Turn your camera to full manual mode.
Adjust your aperture to no higher than f/5.6, but ideally f/2.8.
Set your ISO between 800-3200 based on your camera and conditions.
Focus on infinity if you’re only shooting the sky. Otherwise, focus on your subject.
Use a 2 or 10-second timer, or a shutter release cable to avoid shaking the camera.
If you’re self-shooting and want to be in the shot, the timer is essential.
Leave the lens open for at least 10 seconds per shot, depending on the strength of the aurora. Avoid going over 15 seconds to prevent star movement.
It’s important to take some time to practice shooting the night stars in advance to get familiar with night photography, so you don’t miss the once-in-a-lifetime opportunity to see the northern lights with your own eyes.
Once you finally spot the lights, take a deep breath and relax, and let your camera do the work. Enjoy the fantastic sight in front of you while capturing some incredible memories.
Remember This
Seeing the Northern Lights can be a real treat, but it’s important to keep in mind that they are a natural phenomenon and are not guaranteed to show up every time. Don’t get discouraged if you don’t see them right away – it took me two trips without luck before catching them!
Sometimes, the aurora can be difficult to spot with the naked eye, but luckily, your camera can pick up even the faintest colors. Whenever the chances of seeing the Northern Lights are good or if you’re unsure whether they’re visible or not, try setting up your camera. This is a trick I always do, and it’s paid off big time! You never know what you might capture, and even a slight tinge of color in the sky can turn into a stunning photograph. So don’t give up hope, and keep snapping those pics!
So there you go! I hope you’ve enjoyed this post on how to photograph the northern lights.
Share



1 Comment