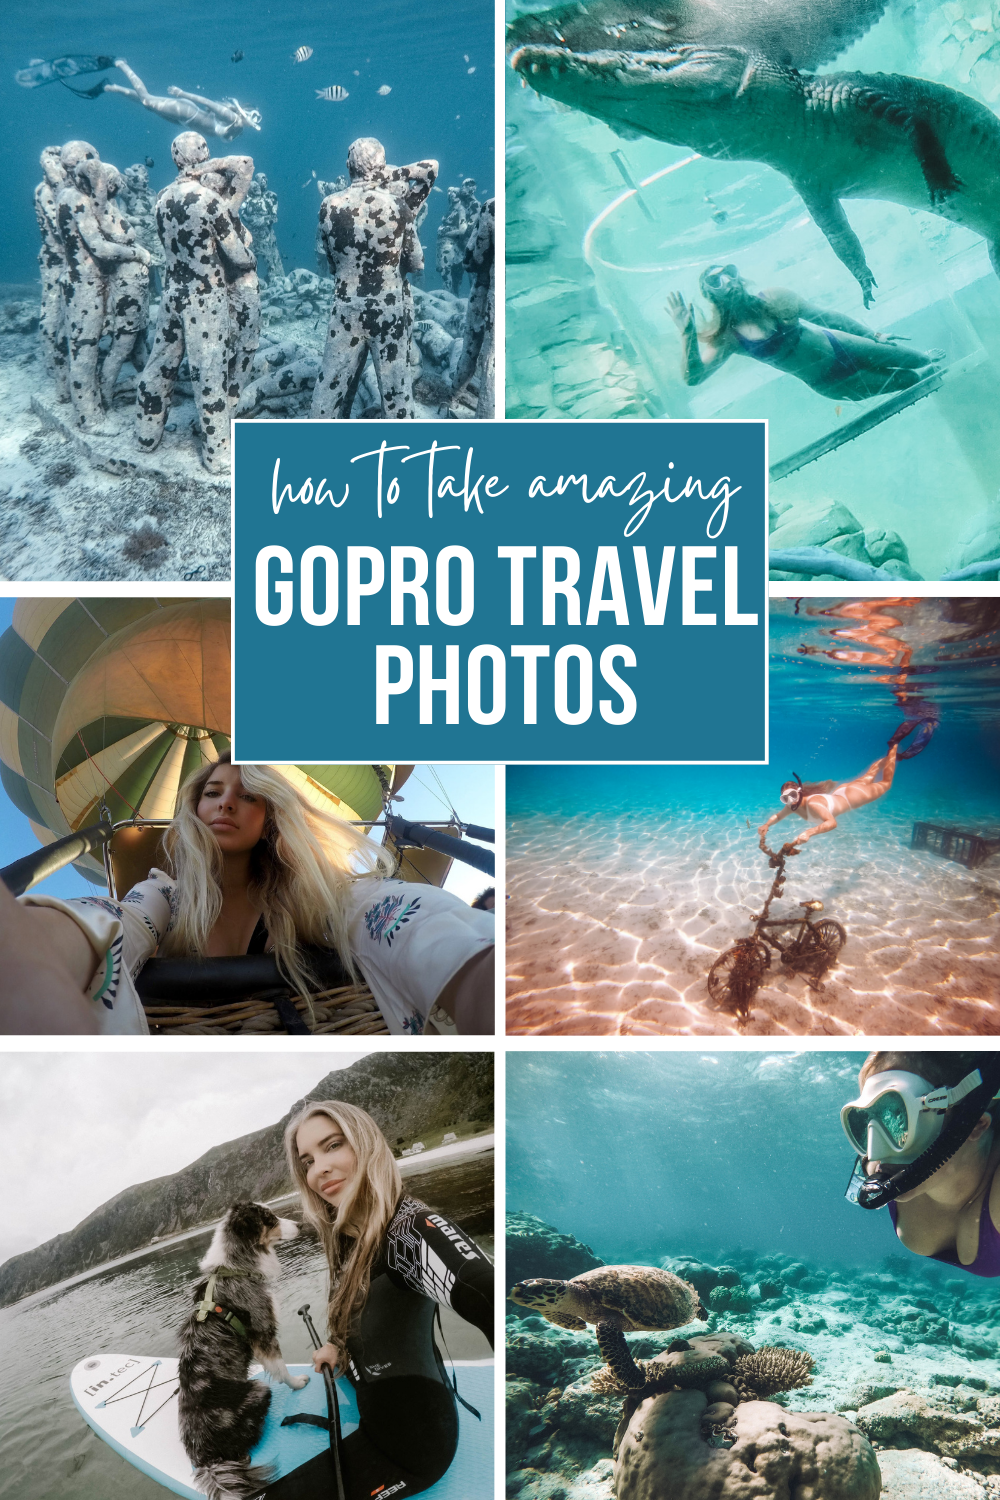
You know how important it is to capture those breathtaking moments while you’re out exploring the world, and sometimes a traditional camera just can’t do the job. That’s where the GoPro comes in! I’ve been using it for years and it’s perfect for action-packed adventures and water activities.
If you’re thinking about upgrading, the new GoPro HERO11 Black is a game-changer! But even with an older model, there are simple things you can do to take your photos to the next level. So, let me share with you some of my favorite tips and tricks for using your GoPro to capture those unforgettable moments like a pro!
Get ready to step up your photography game and create some amazing travel photos with your GoPro!
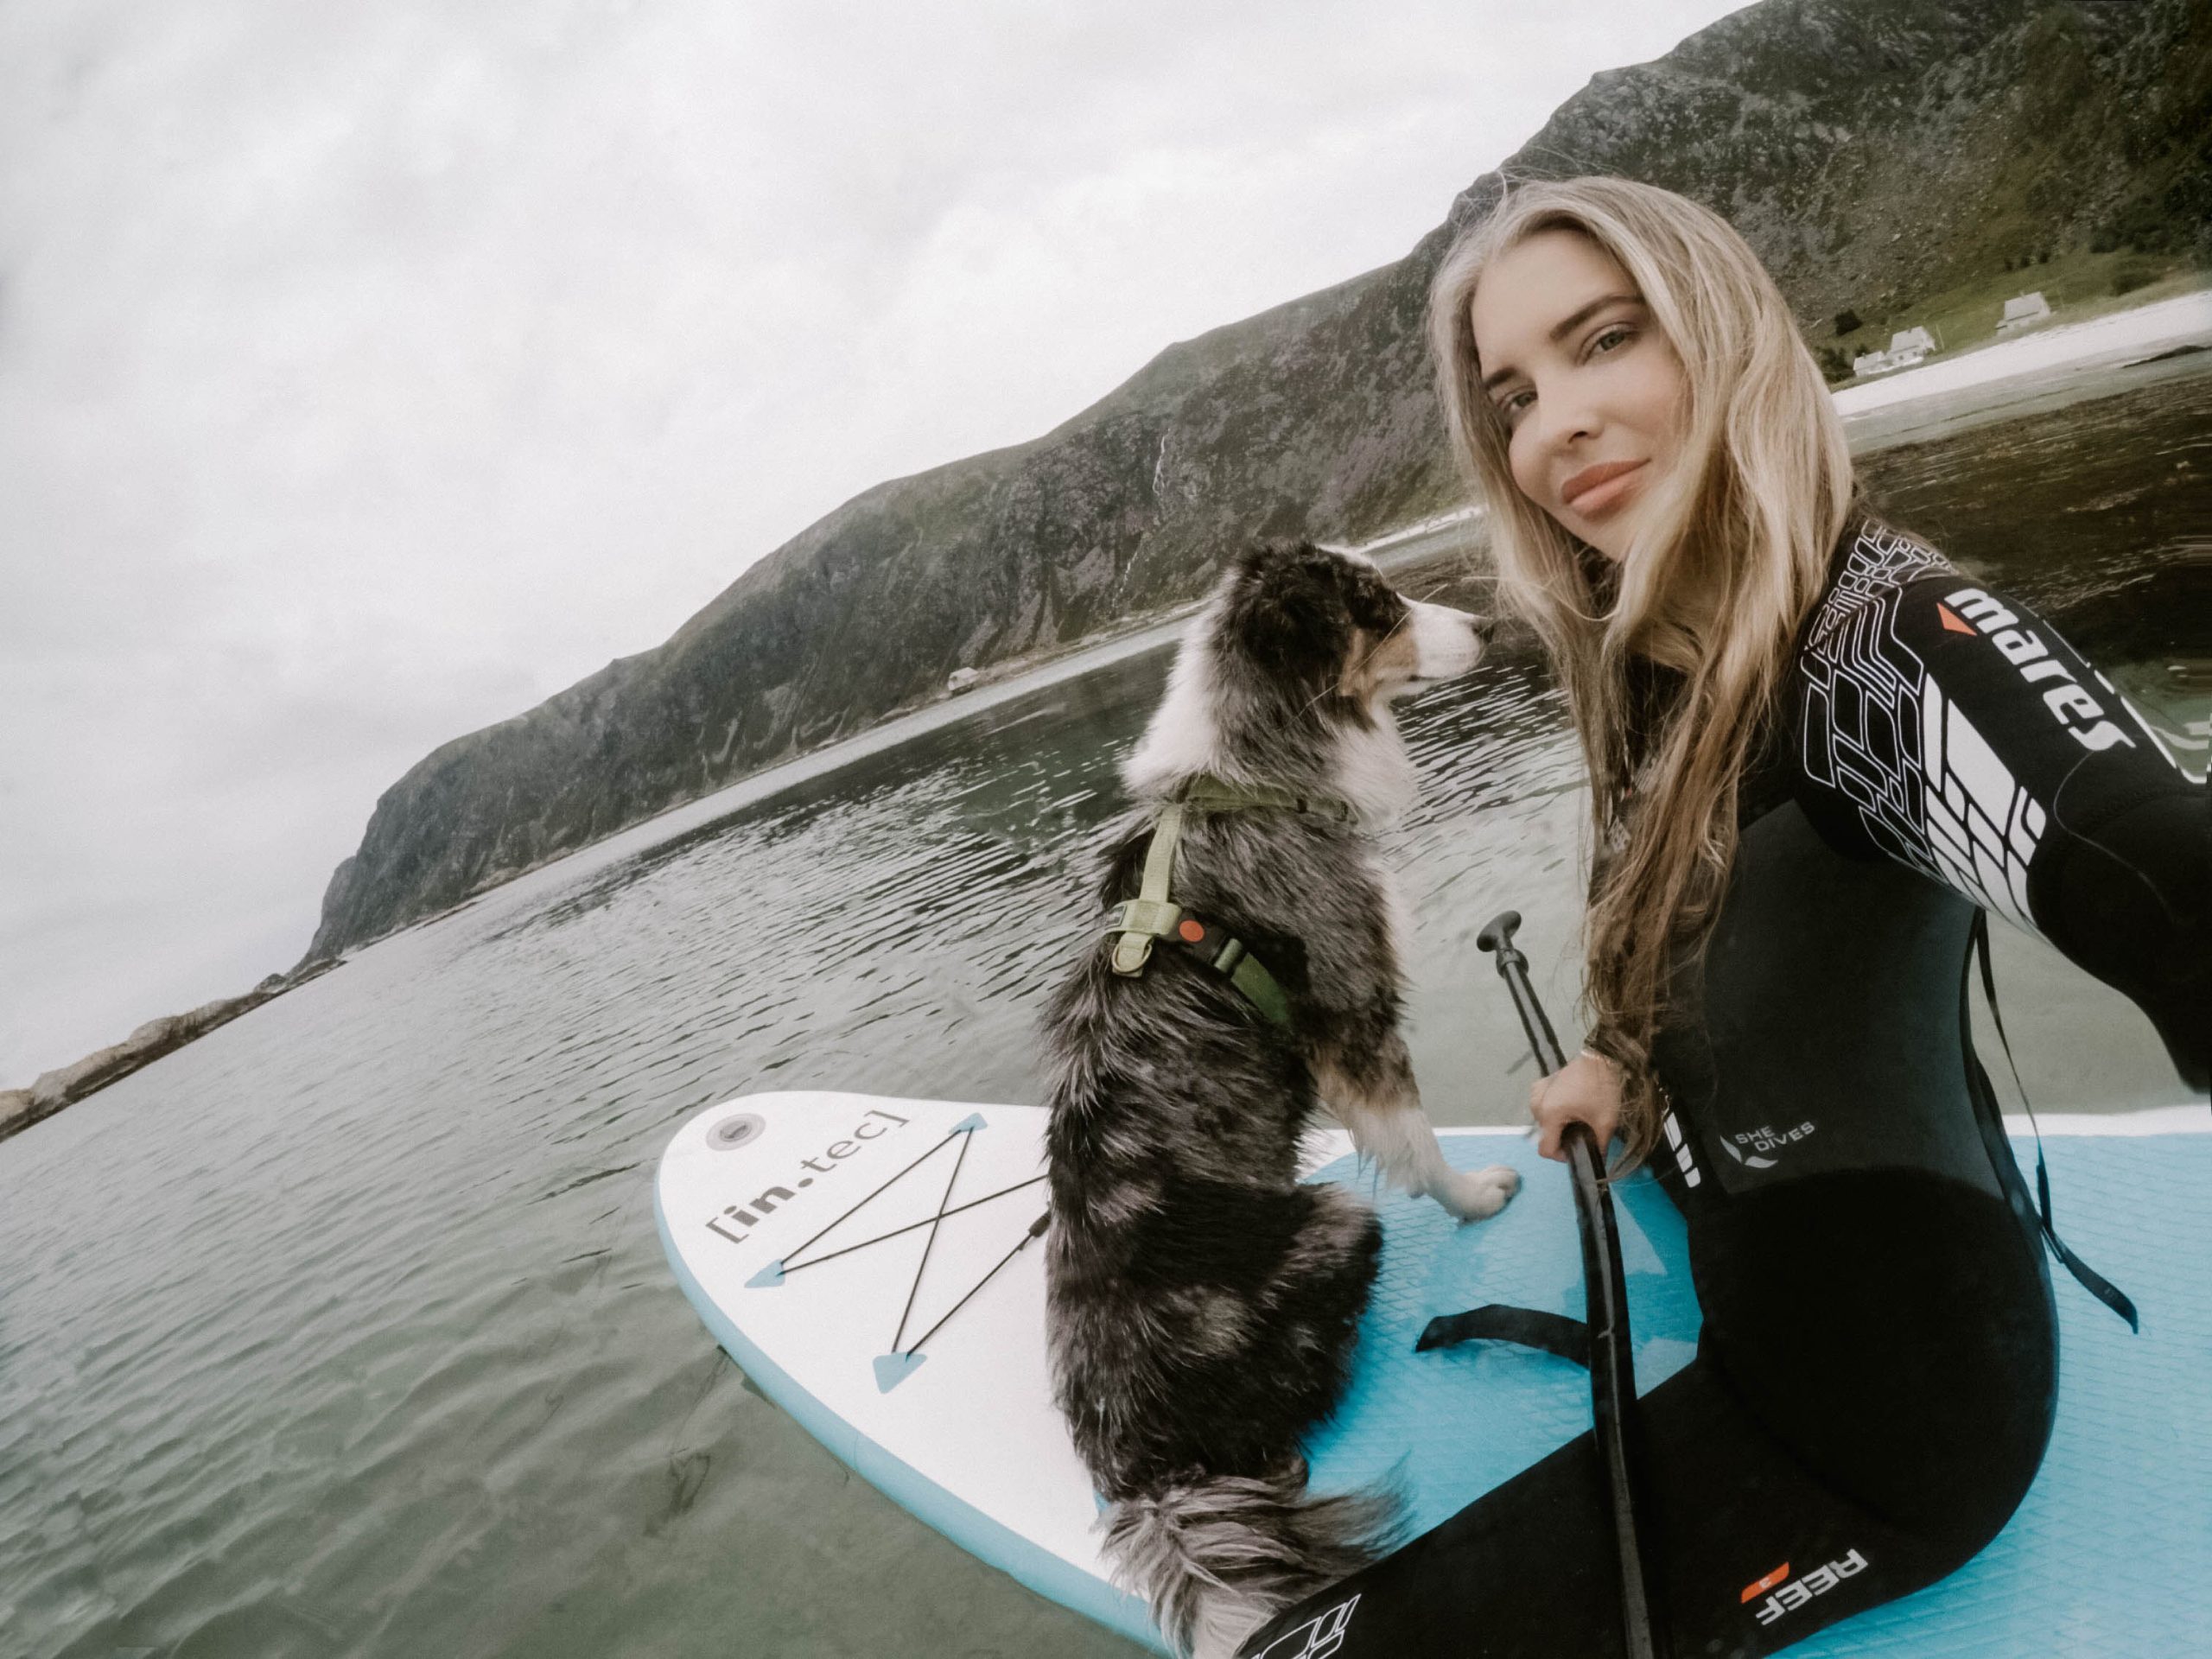
Gopro Travel Accessories
When it comes to using your GoPro, there are tons of options to take your footage to the next level. Whether you’re taking epic footage of your hike, or capturing moments on your next surf trip, the right accessories can make all the difference. But with so many options out there, how do you know what’s right for you? Let’s dive into the world of GoPro accessories and find out which ones will elevate your footage.
Here are my top GoPro accessories that I’m currently using and some other extra tips:
Polarpro Divemaster Filter: For scuba diving and snorkeling, consider a red lens to bring out skin colors and vibrant corals.
Sandmarc ND16b Filter: Use this filter to achieve a speed effect.
Underwater Dome: For half underwater shots, attach an underwater dome to your GoPro, the one I’m currently using is from Polarpro.
Gorillapod Tripod: This tripod allows you to clamp your GoPro to poles and railings. It’s an amazing accessory that helps mount your camera in challenging situations.
Helmet Mount: The adhesive helmet mount or strap mount is great for skiing, biking, and everything else where you use a helmet.
3-Way: It’s a tripod, grip, and selfie stick all in one! It has two joints, which allows you to bend the mount so that the pole isn’t in your shot.
El Grande: If you need an extra distance in your selfie, swap the 3-Way with the El Grande. It’s a longer pole that’s perfect for “getting the shot” when you’re paragliding, snorkeling, or doing any other adventurous activity.
The Sleeve + Lanyard: It’s another fantastic new accessory. It’s perfect for keeping your GoPro close and ready at a moment’s notice. Wear your camera around your neck so your hands are free for other activities.
Harness Mount: There are plenty of different options for windsurfing, horseback riding, and other action sports.
The Super Suit: This is a must-have for anyone who wants to take their GoPro underwater. It’s waterproof up to 60m and perfect for scuba diving or any water-based activities. And don’t forget to grab some anti-fog inserts to prevent fogging when going between hot and cold climates.
Extra Batteries: Last but not least, spare batteries and a dual battery charger are essential for any serious GoPro user. I always travel with extra batteries for each of my cameras.
These are just a few of my favorite accessories, but there are plenty more out there. So there you have it! These accessories will help you take your GoPro photography game to the next level and capture all of your adventures like a pro.
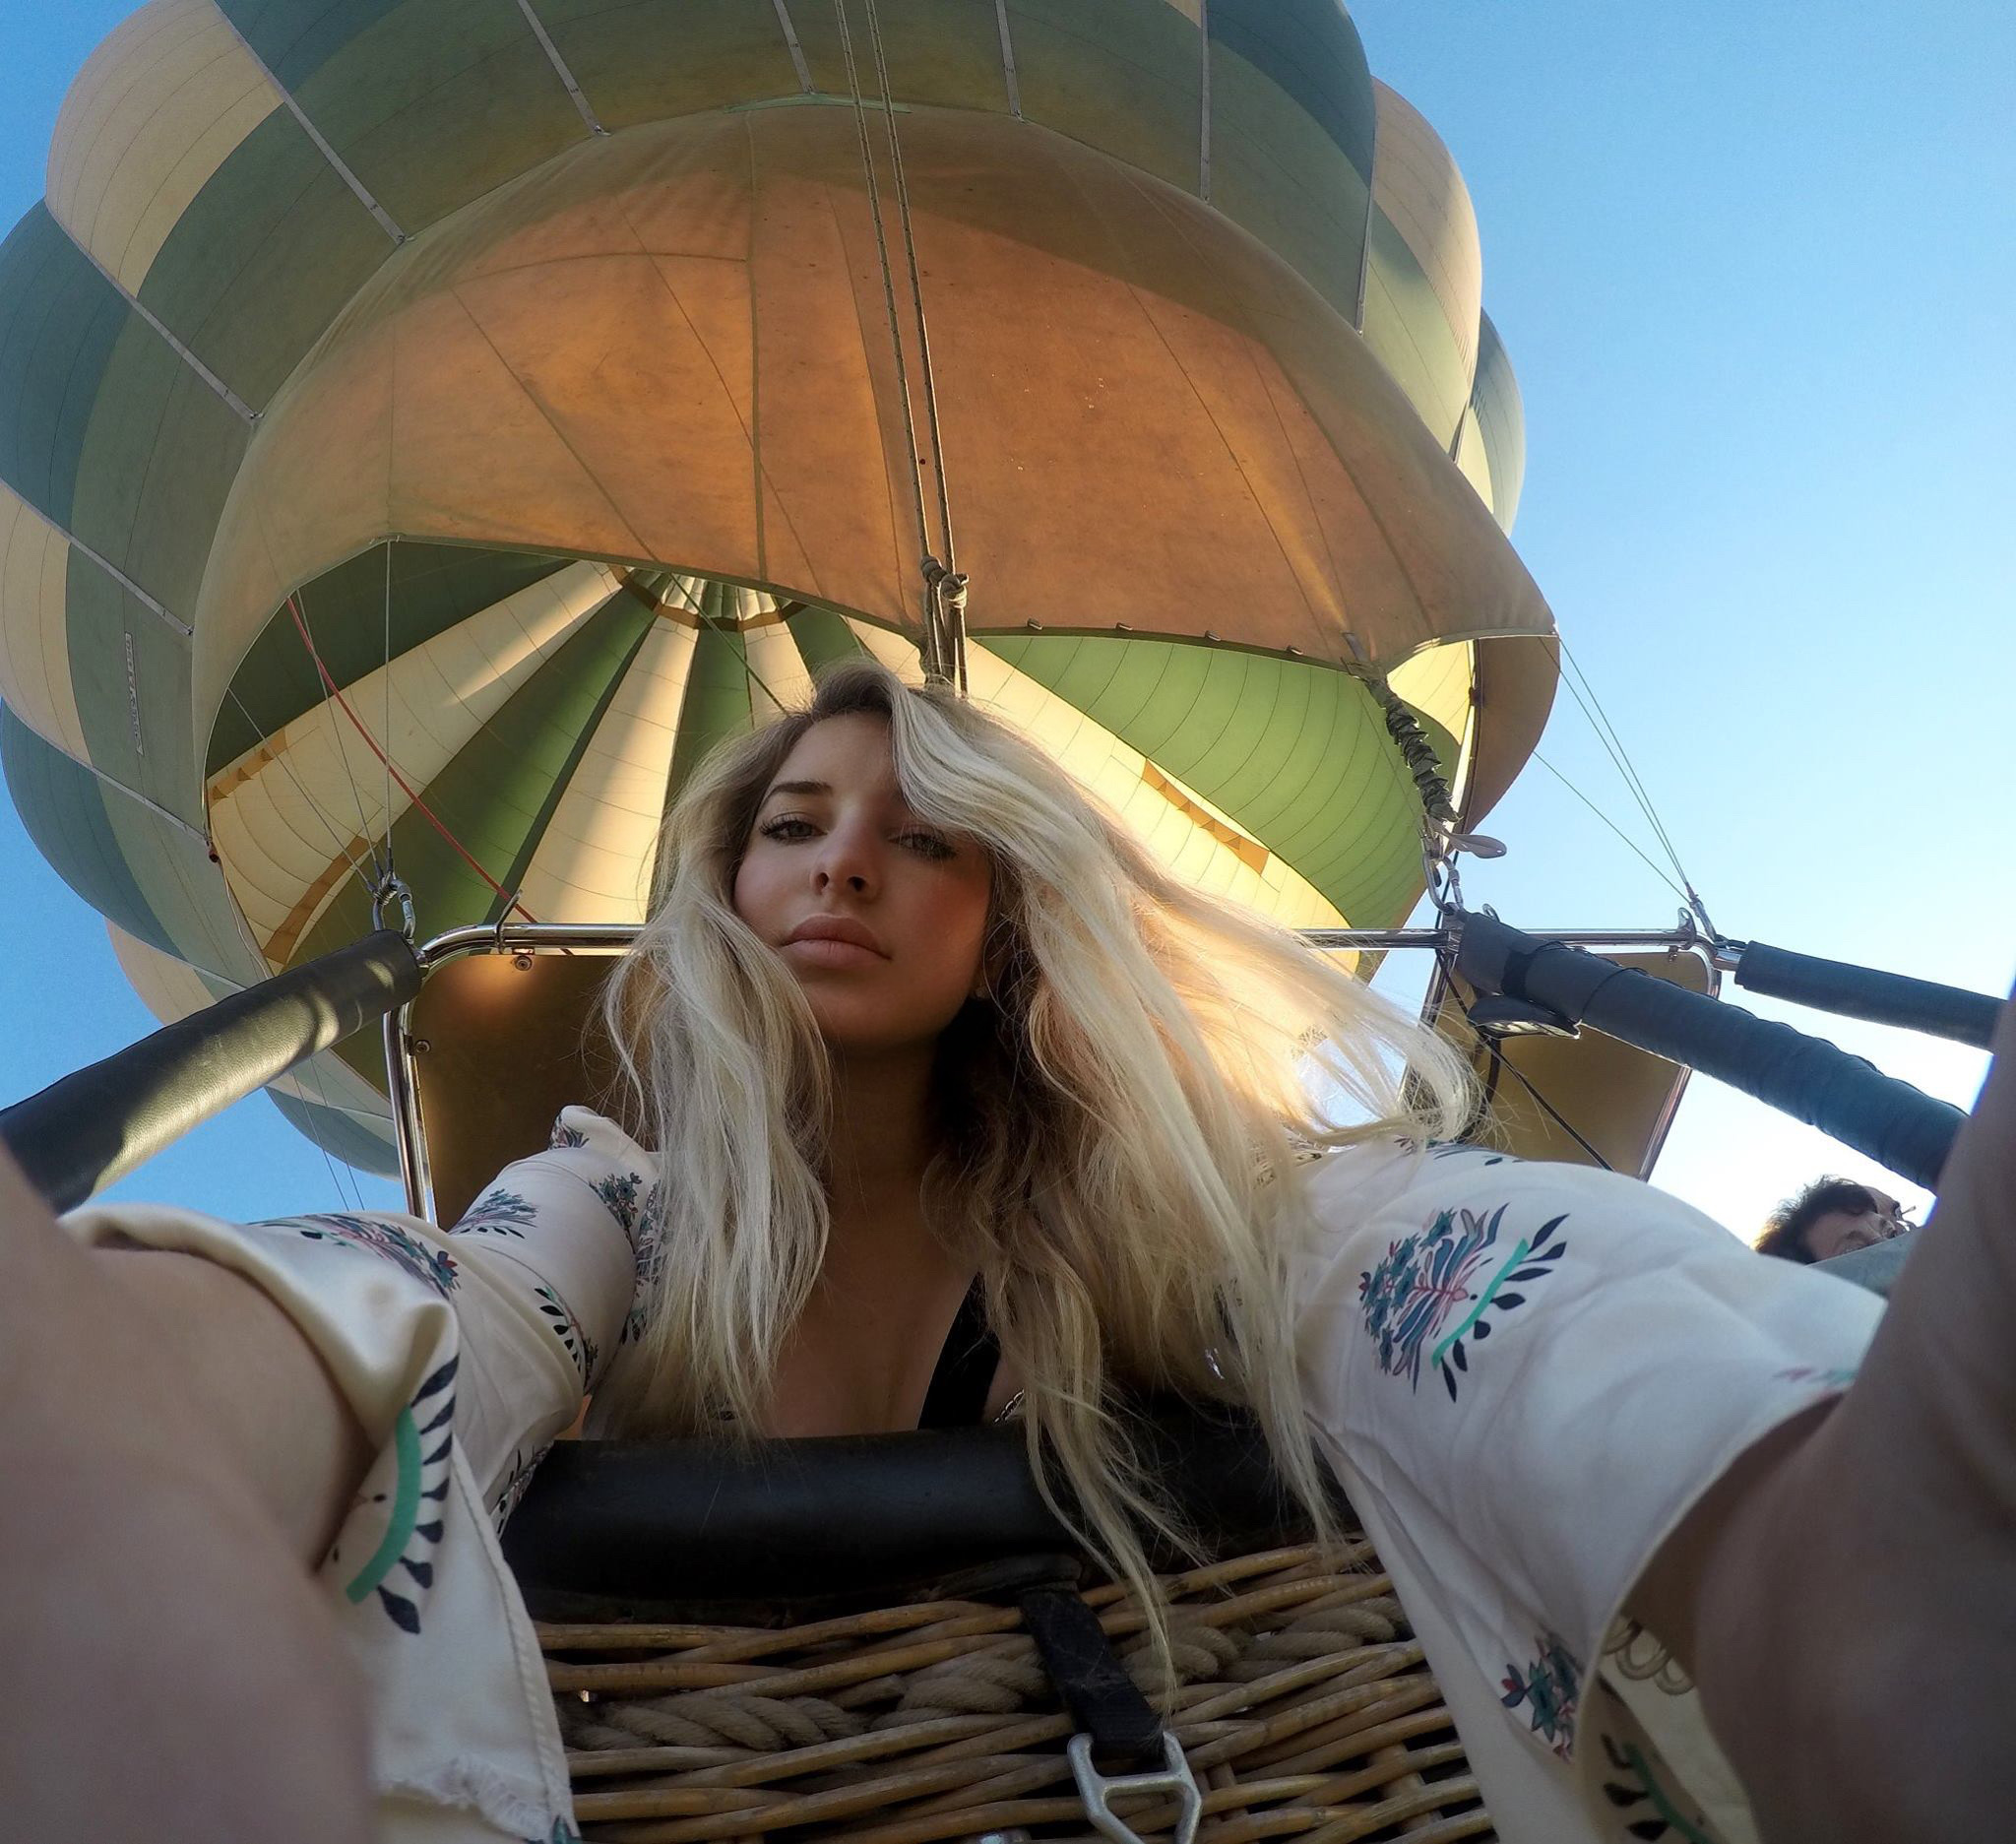
Capture continuous GoPro photos using Night Lapse mode
If you want to take your photography game to the next level, I highly recommend shooting in RAW whenever possible. This will give you higher quality photos that are easier to edit and enhance later on.
When it comes to capturing lots of photos quickly, my go-to setting is continuous shooting. I usually opt for time-lapse, night-lapse, or burst mode to get the best results.
For continuous shooting, I set my camera to Night-Lapse mode and choose the interval and shutter speed to ‘Auto’ with RAW on. This will allow me to capture RAW images continuously, even during the day. And the best part? My GoPro will keep shooting photos every three seconds, which gives me plenty of options to choose from.
If I need to capture a quick moment with a faster continuous setting (0.5 Seconds – 3 Seconds), I’ll switch to normal Time-Lapse mode. This won’t allow me to capture in RAW (images will be in JPEG), but it’s perfect for selfies with moving creatures or any action that needs a super quick capture.
Finally, for activities like cliff diving, jumping, or anything else that requires a lightning-fast capture, burst mode is the way to go. With burst mode, you can take up to 30 photos per second, which means you won’t miss a moment.
And there you have it, my top tips for taking epic GoPro photos. Don’t forget to pack extra batteries and memory cards, and get out there and capture some amazing moments!
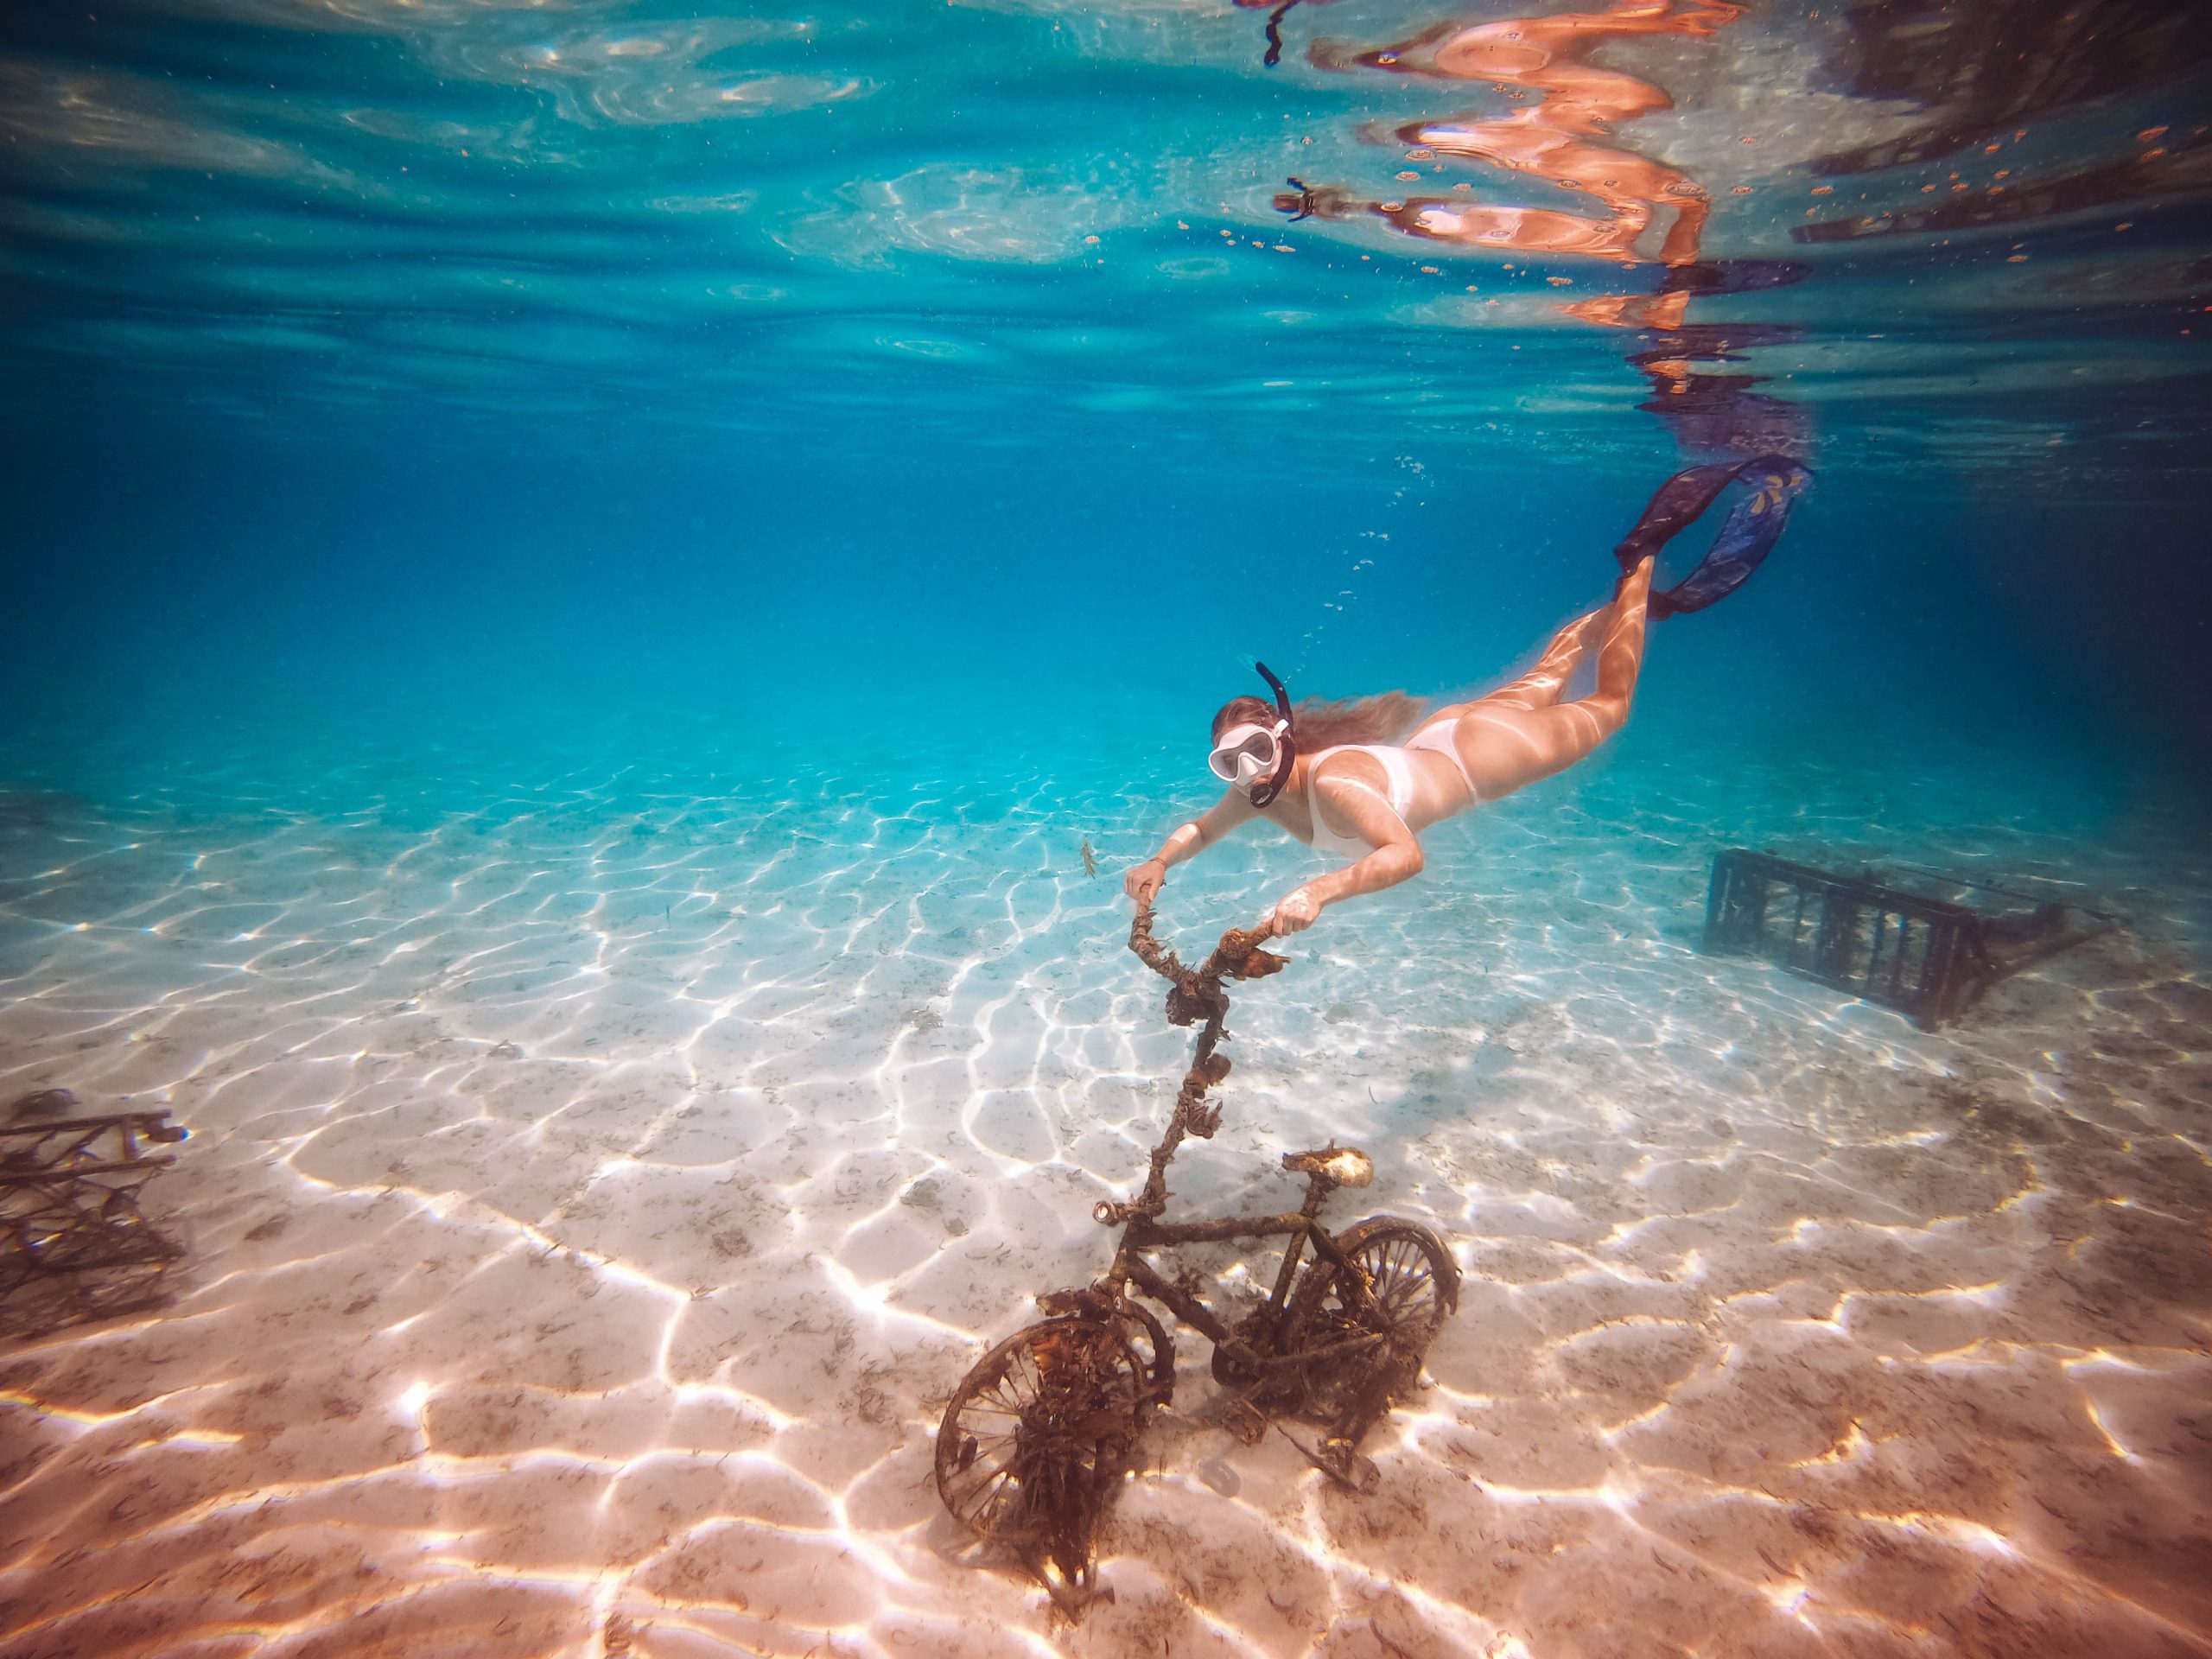
Use GoPro Protune
Let me share a trick that I always use when I’m taking photos with my GoPro. It’s called Protune, and it’s a game-changer. It’s similar to using manual settings on a DSLR camera, so if you’re familiar with that, you’re in for a treat.
With Protune, you can adjust the white balance, ISO, sharpness, color capture, and exposure value compensation. This feature is handy when you want to have more control over your shots. However, be warned, using Protune creates larger files than the default GoPro settings. So, make sure to have an extra micro SD card or a backup handy.
To help you get started, here are the suggested Protune settings:
White Balance: Auto or 5500K (for daylight)
Color Profile: GoPro (Flat if you prefer to edit and color yourself)
ISO Min: 100
ISO Max: 100 (400-1600 if shooting at night)
Sharpening: Low
EV Compensation: 0 or -0.5 (to save highlights)
Now you’re ready to take some epic shots with Protune on! Happy shooting!
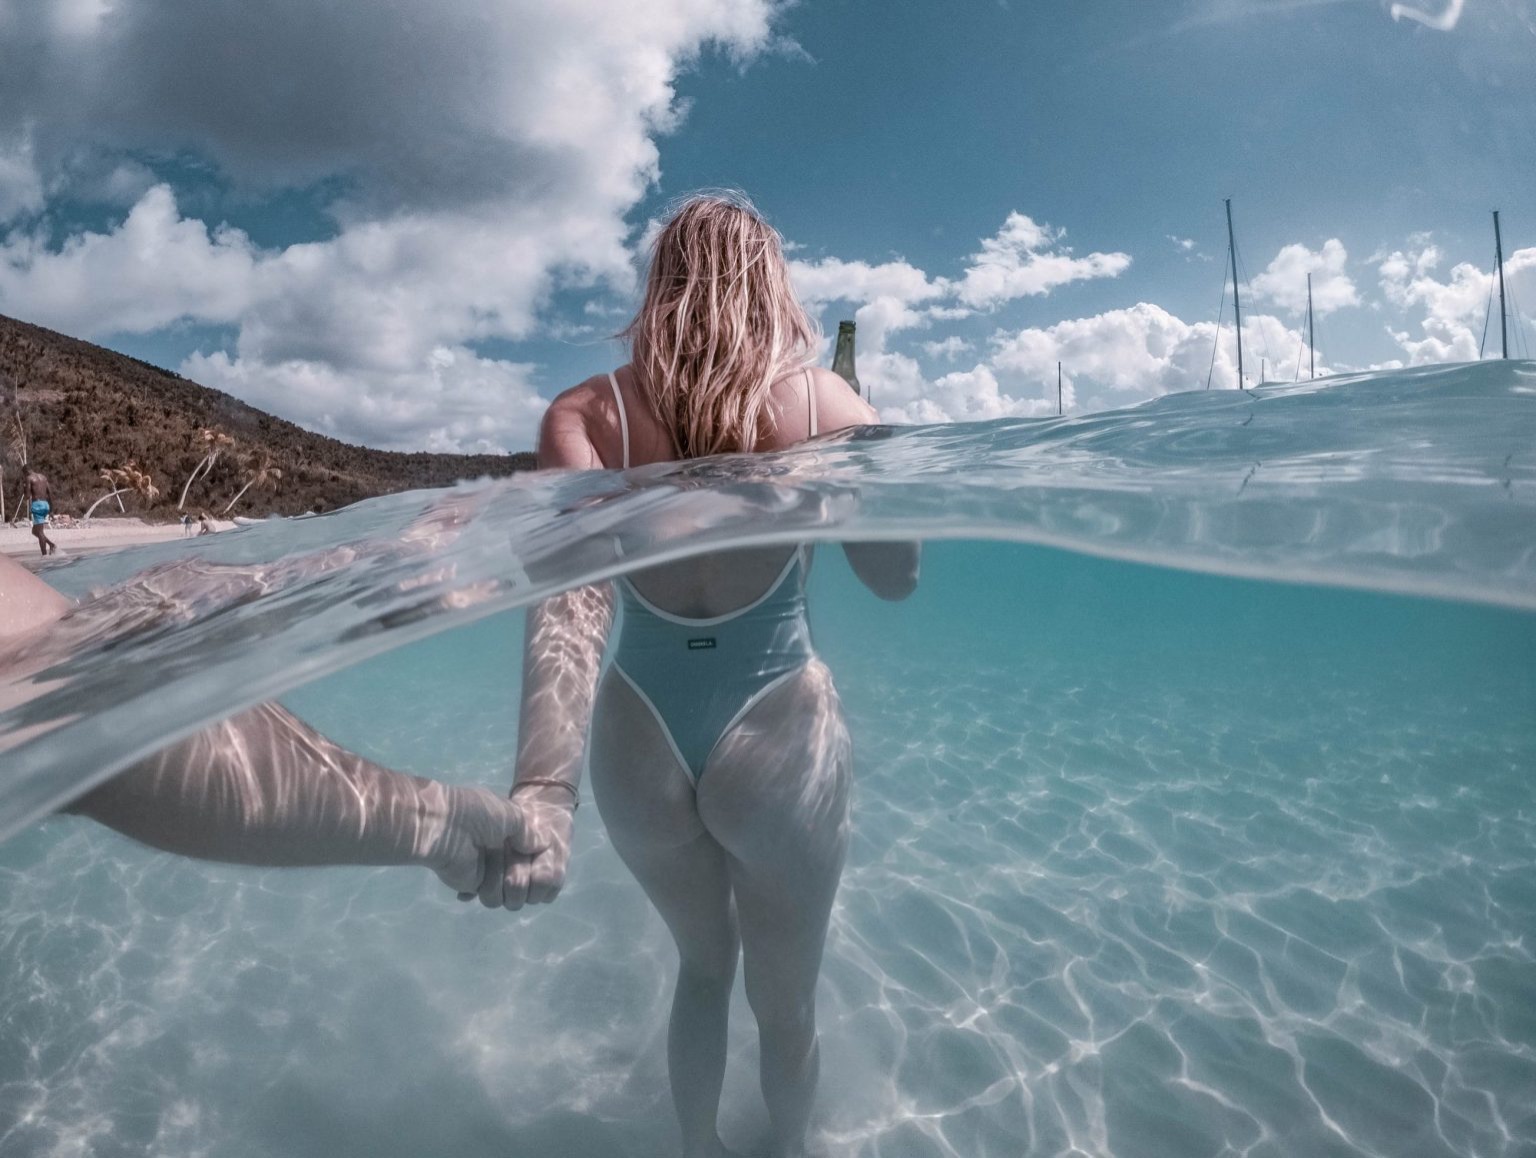
GoPro Wide Angle
When it comes to getting the perfect shot, it’s all about experimenting with different perspectives. And with GoPro cameras, the possibilities are endless! These little gadgets are super versatile, and you can take amazing shots that you’d never be able to get with a regular camera. Personally, I’m a huge fan of wide-angle perspectives – they’re perfect for capturing awesome POV shots, stunning landscapes, large objects or large animals, and even interior shots.
To take things up a notch, try getting low to the ground or holding the camera above your head to capture some unique angles. Don’t be afraid to get a little crazy with it – you never know what kind of amazing shots you might capture!
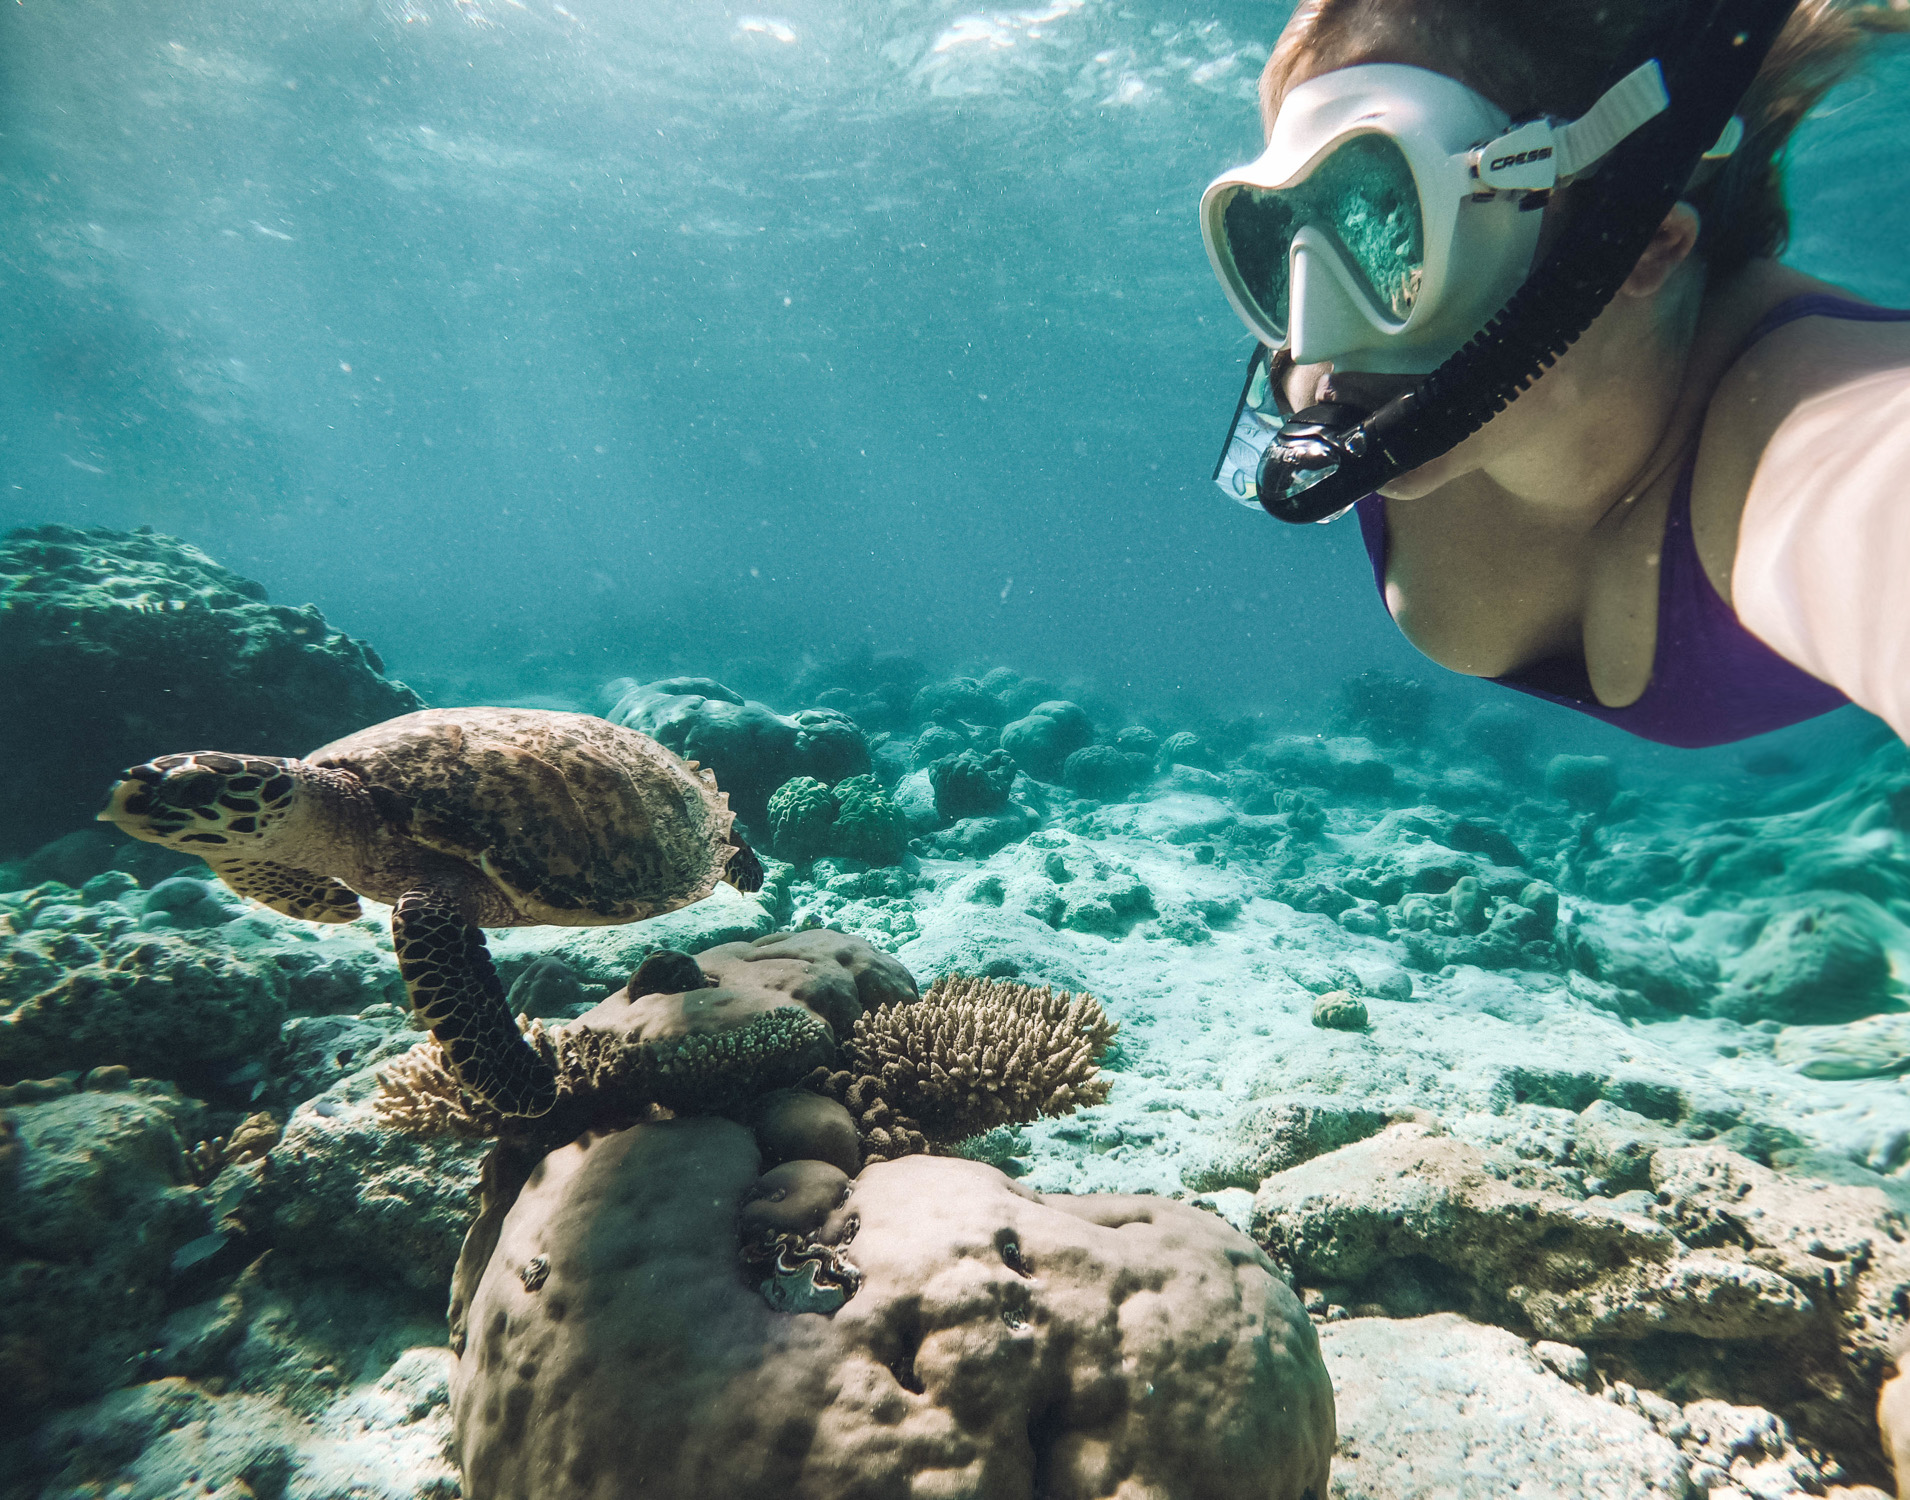
GoPro Voice Control Command
Why fumble with a remote when you can go hands-free with your GoPro? With voice command, you can easily capture all your adventures without having to stop and press the shutter button. Just say the magic words, “GoPro take photo,” and your GoPro will snap a shot from wherever it is within range.
But remember, you need to turn on the voice command feature first. Just swipe down the main screen and tap on the voice command icon, and you’re good to go!
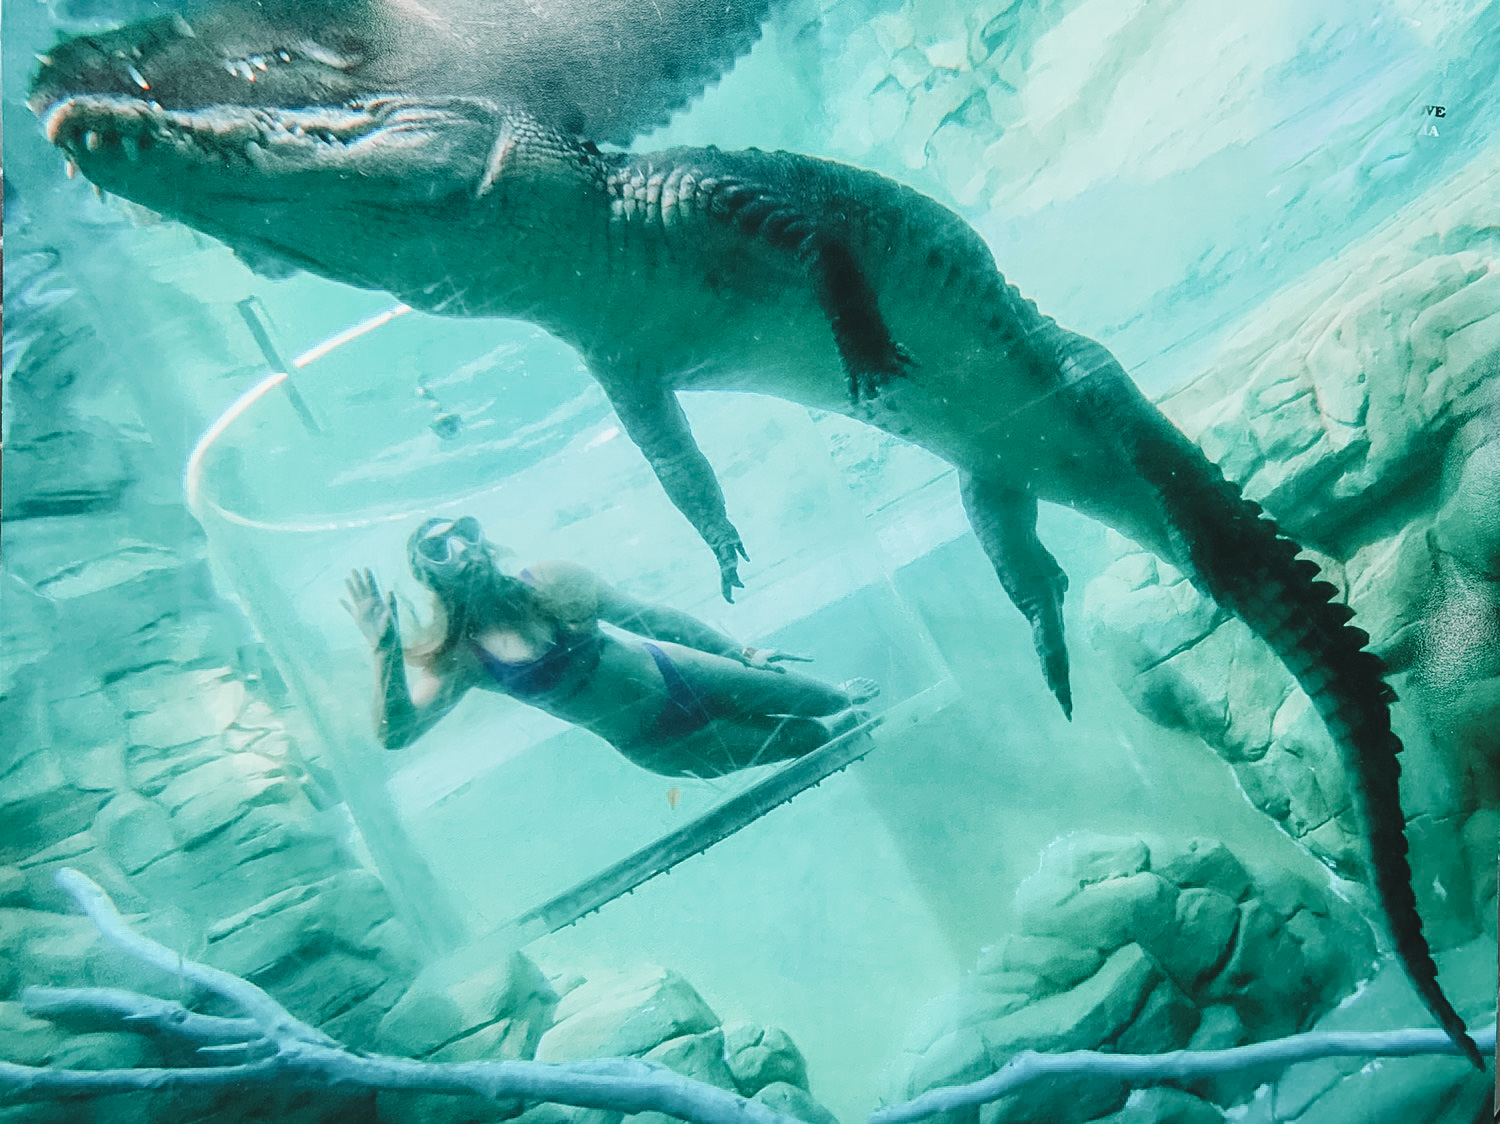
Always Bring Extra GoPro Batteries
The golden rule of photography is to never leave without bringing extra batteries! Trust me, when you’re out there chasing epic shots, a dead battery is the last thing you want to encounter. So, always keep an extra battery handy in your camera bag. This is especially important if you’re on an adventure in remote areas where it might be difficult to find a charging station. Don’t let a dead battery ruin your day!
Be prepared and always have an extra battery on hand.
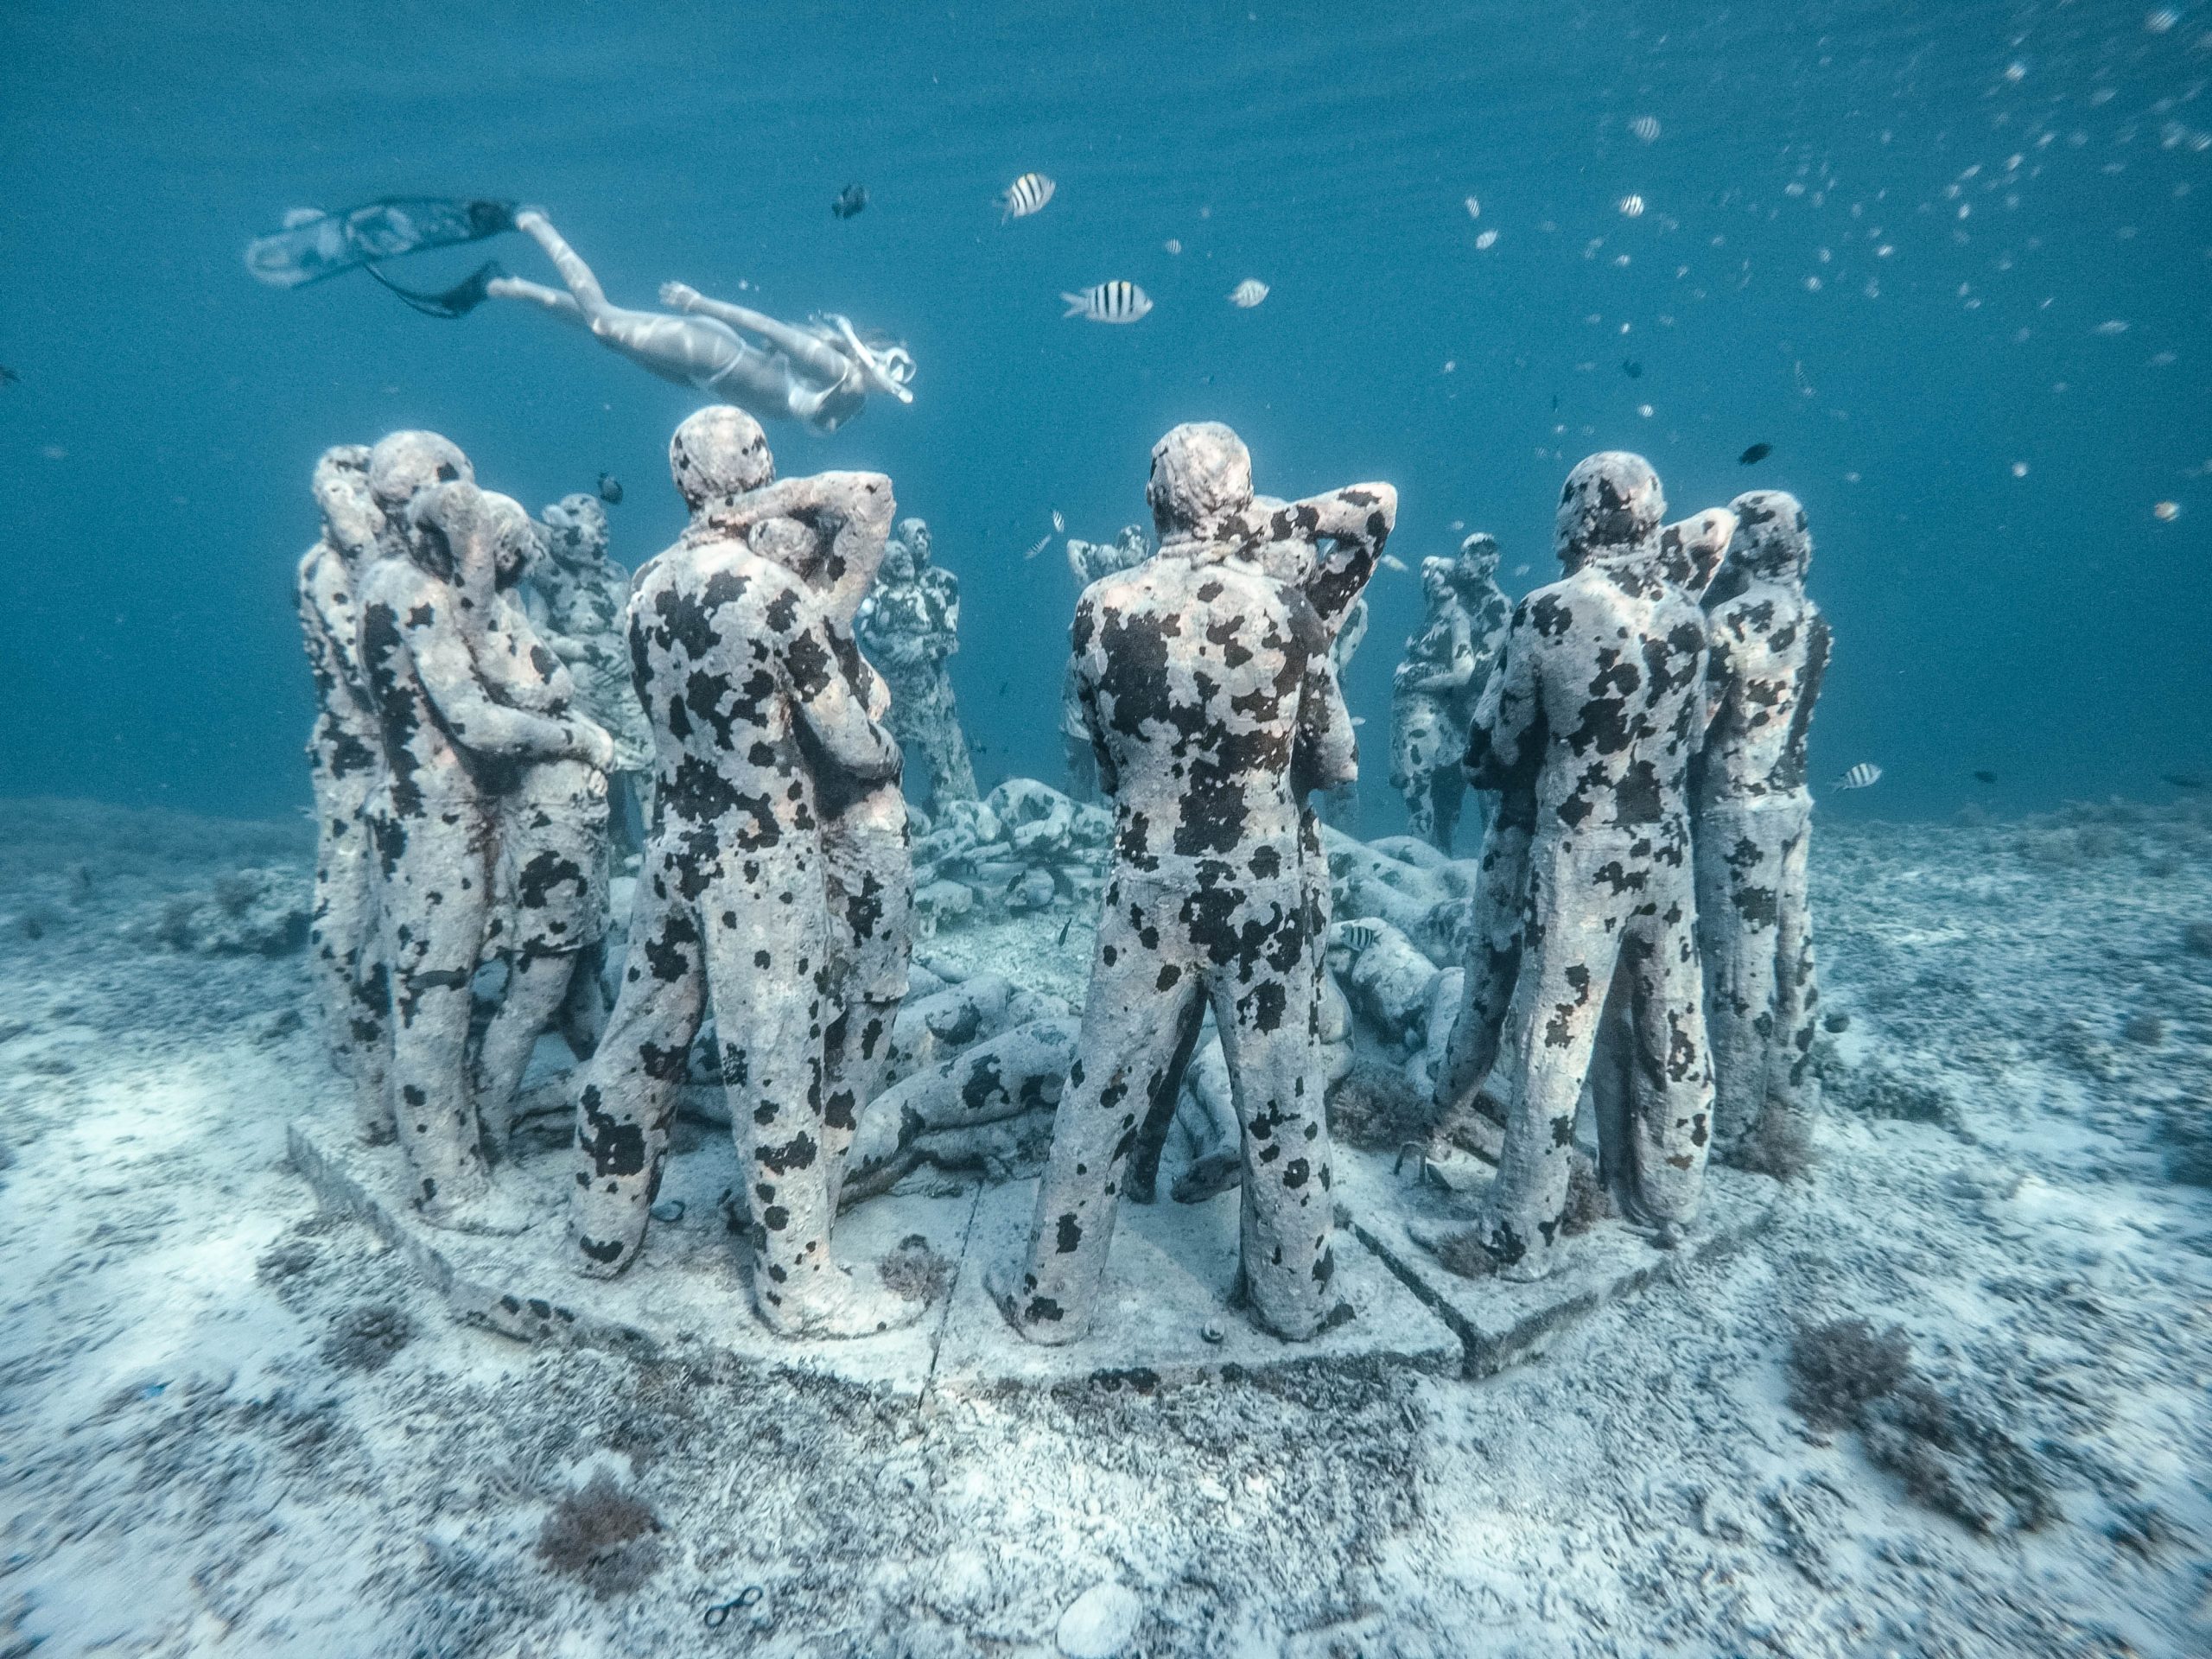
GoPro Master Photo Editing
To be honest, I’m not the most naturally talented photographer out there. But I’ve learned that with a little bit of editing magic, I can turn my photos into something truly amazing! Even the best shots can benefit from a few touch-ups, like adjusting the brightness or tweaking the colors. Trust me, it’s worth taking the time to learn how to edit your photos.
See my Lightroom Guide HERE for photo editing.
I almost never leave for a trip without my GoPro! It’s always ready to capture the perfect moment, especially in situations where it’s the ideal camera for the job.
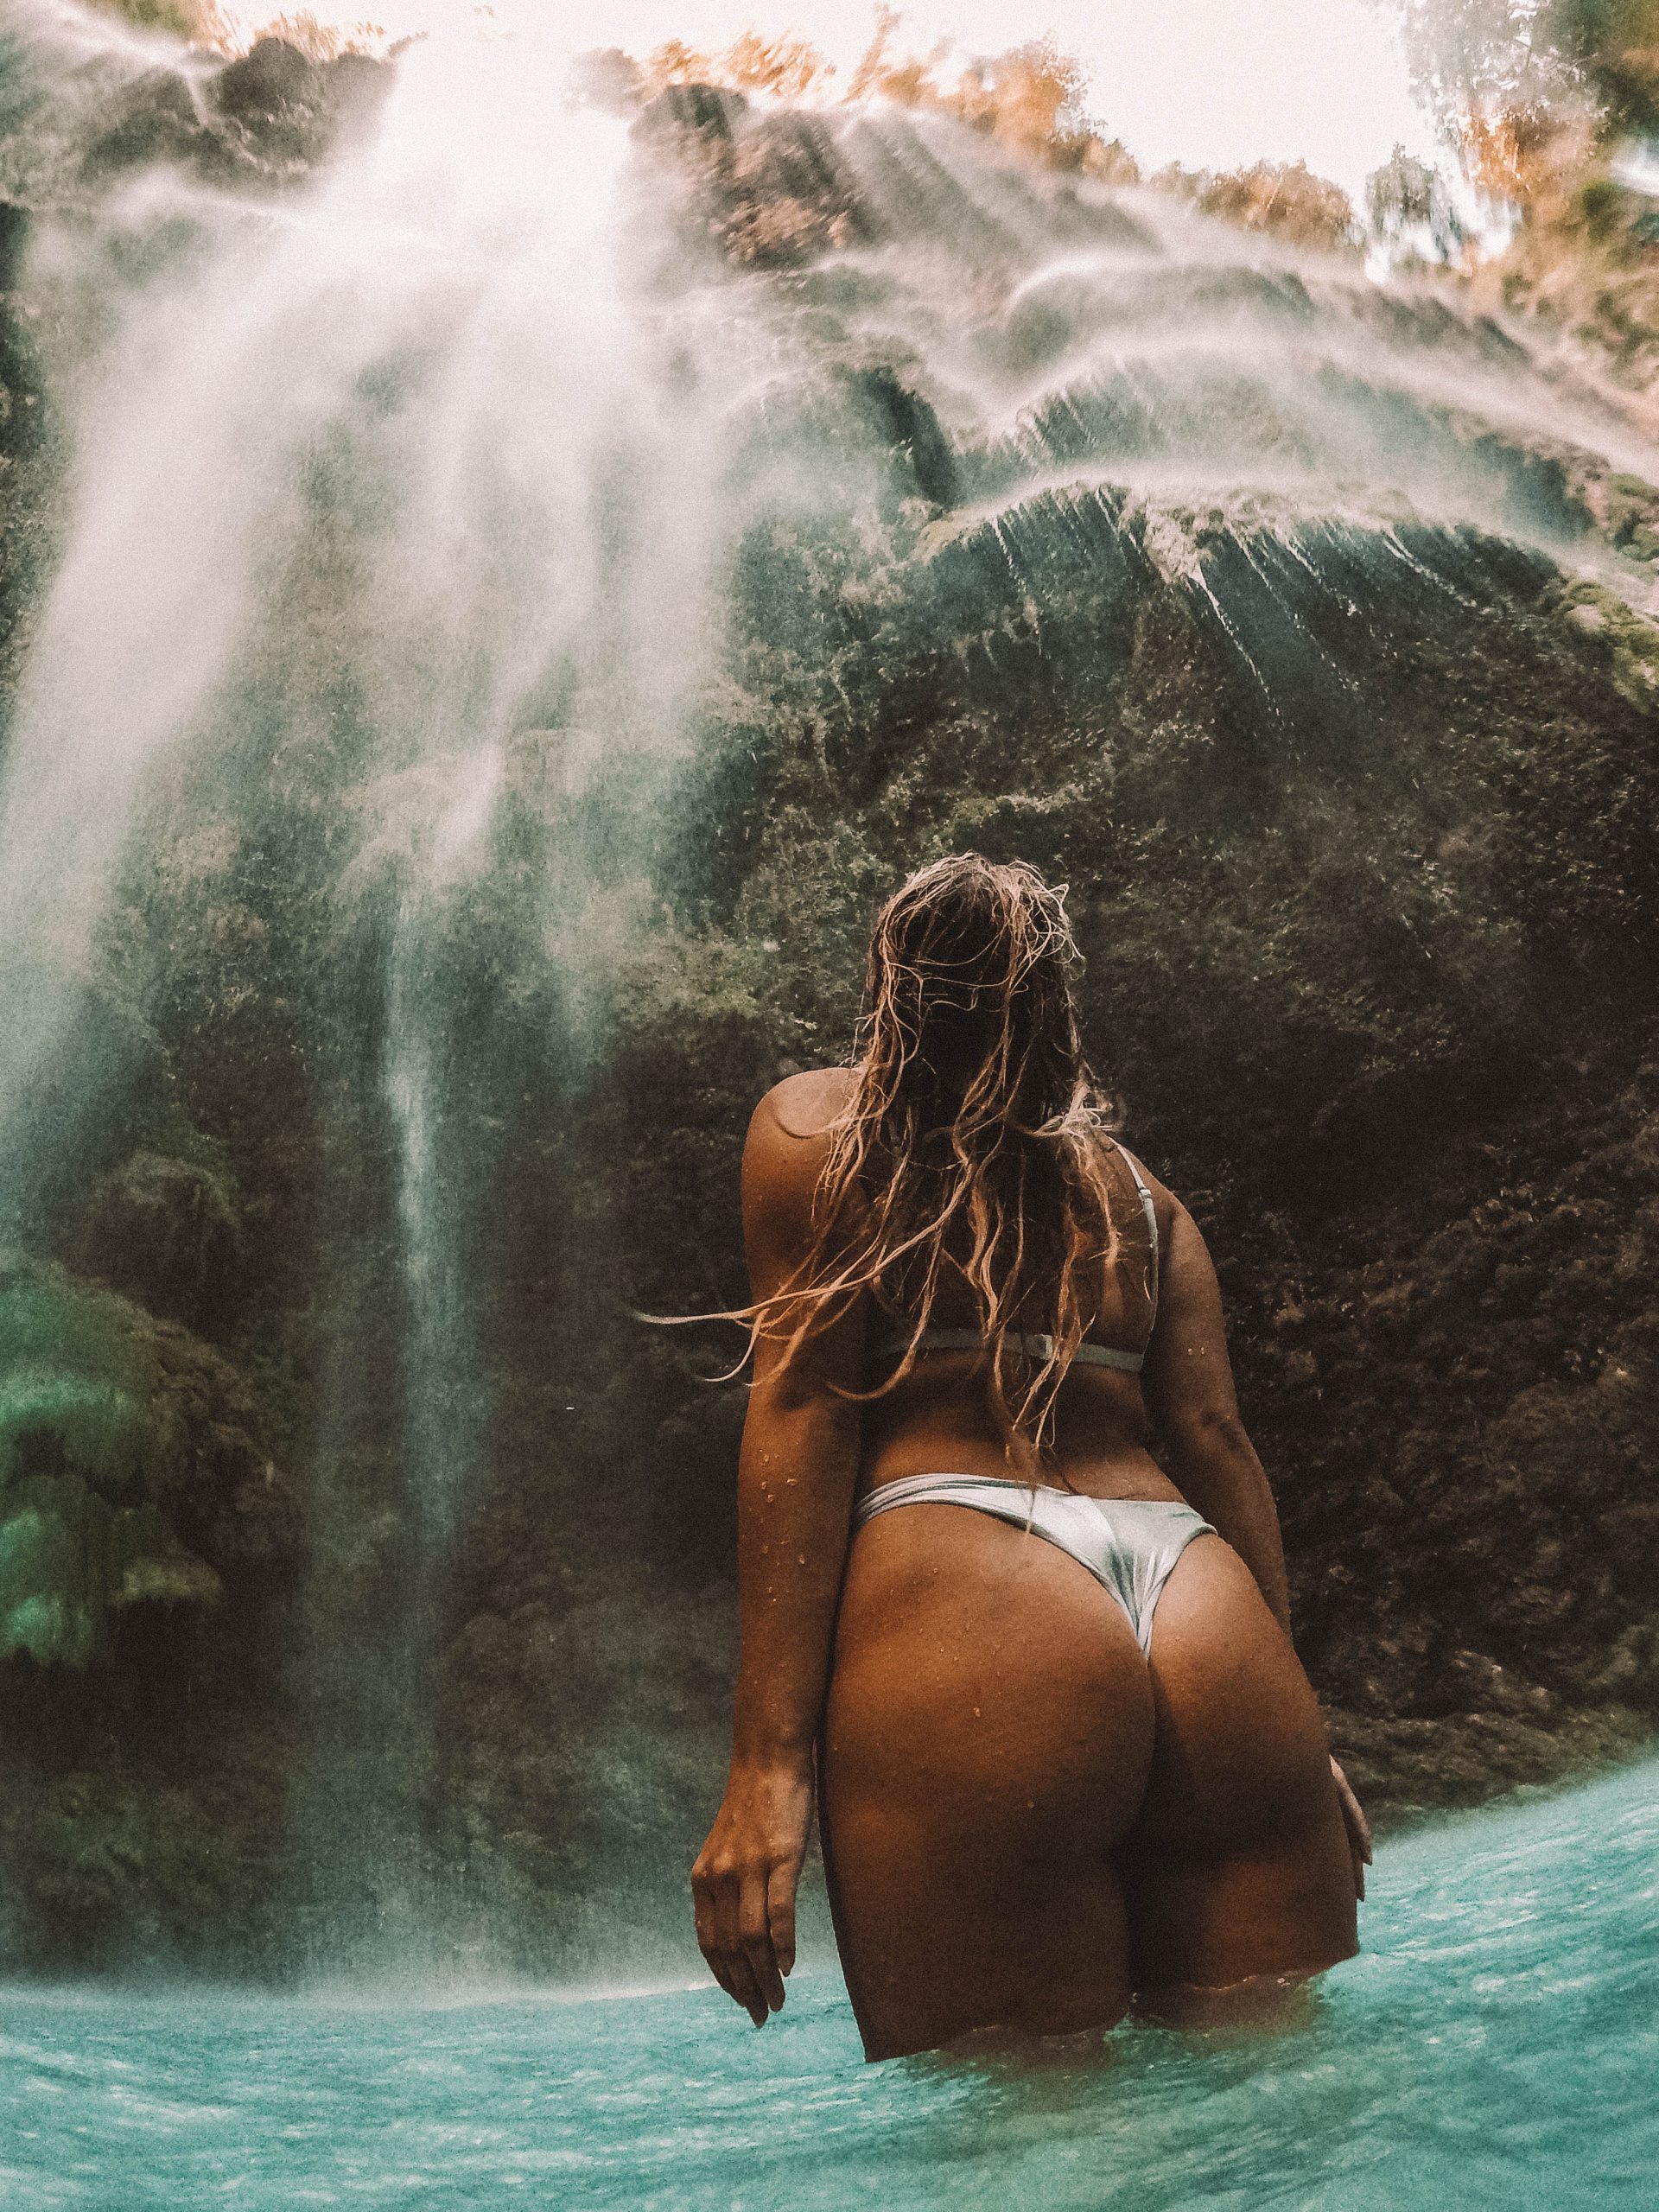
I hope you’ve enjoyed this post on how to take travel photos with your GoPro.
LIKE THIS POST? PIN IT FOR LATER AND SHARE IT WITH OTHERS!
Share




1 Comment